Natural Dyeing
Welcome to our Natural Dyeing information page! Here we share a bit of a beginner's guide as well as our process in preparing dye samples for WoolWorks 2026 and insights we have gained throughout our experience. Our goal is to educate and inspire and give you the tools to try it out for yourself!
Introduction
Where Should I Begin?
This is a great place to get started! We provide a thorough step-by-step natural dyeing process that you can follow or modify to whichever plants you would like to dye with. We also share helpful resources that you can explore as you get started. We recommend learning about the process before you get started, although you will learn much more along the way as you experiment with what you like best and what works best for you!
What Plants Can I Dye With?
You can dye with many different plants! The U.S. Department of Agriculture provides a great list of Native North American Plants Used for Dyes. This site provides a great summary introduction to types of dyes, mordants, and even a brief history of natural dyes in North America. And as you can discover down below, we used a wide variety of plants to make our dye samples, including: Buckthorn, Sumac, Weld, Amaranthus, Cosmos, Dyer's chamomile, Coreopsis, Marigold, Madder Root, Logwood bark, Murasaki root, and Indigo (Persicaria Tinctoria).
Step 1: Prepare The Fibers
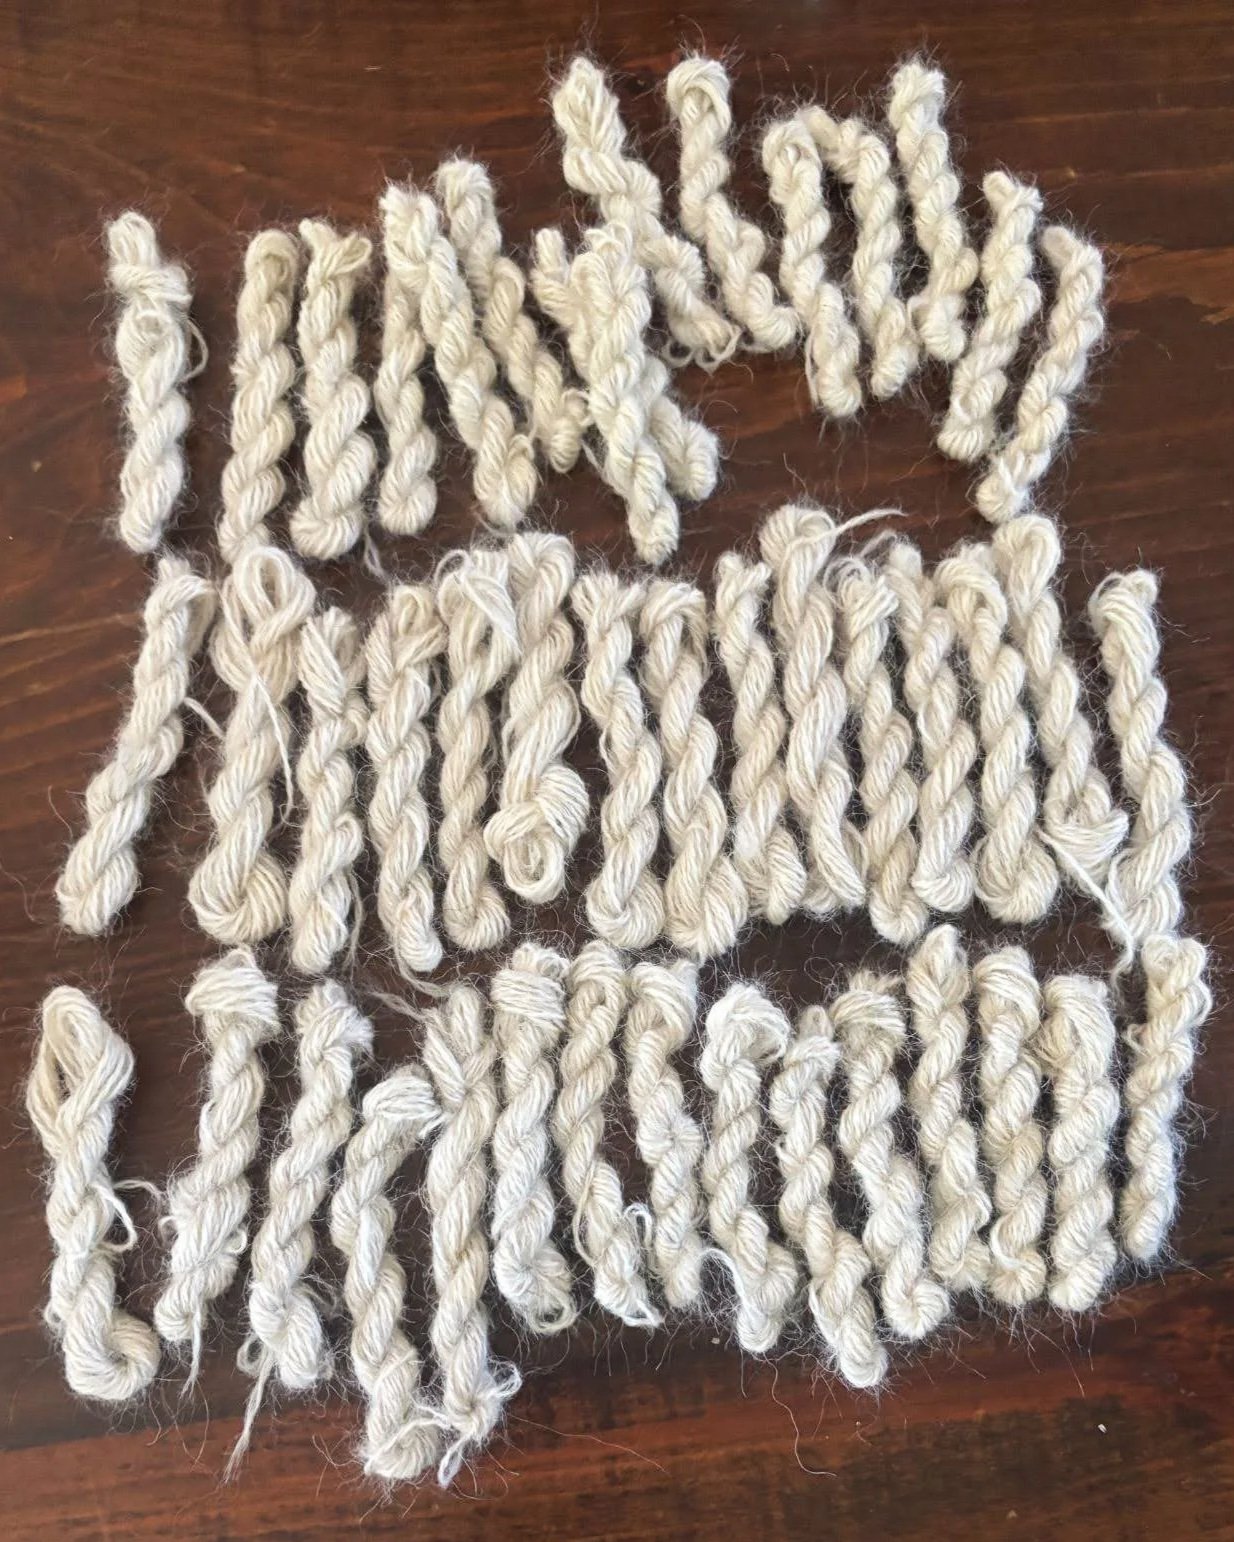
Gather the fibers you want to dye and untwist or fold them so that you will have the best results. We chose to dye these mini skeins, so we untwisted them and tied them together loosely enough so that they would not get tangled but also not too tight that it could create bare spots where mordant and dye can’t absorb.
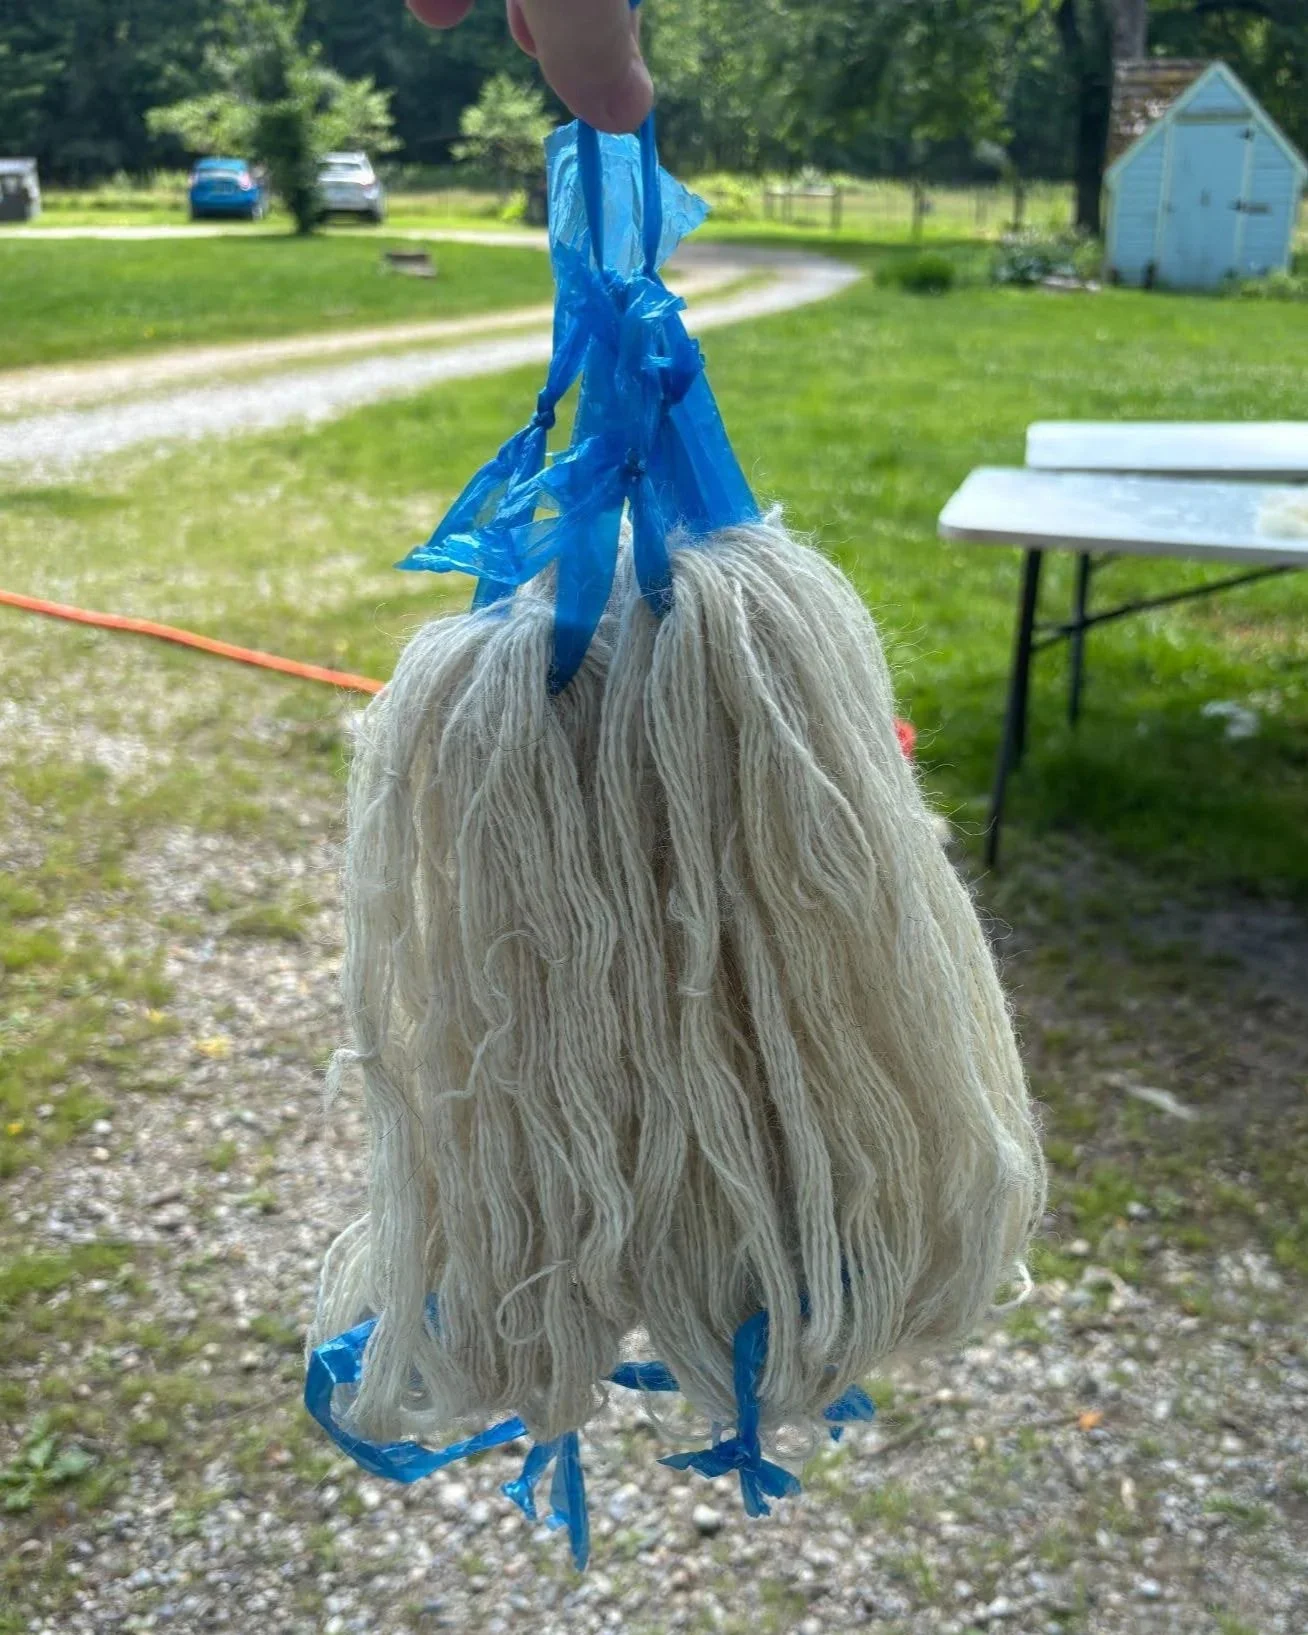
We were also dyeing wool roving and raw wool, which we placed in a mesh bag to keep the fibers from getting broken or lost.
Side note: The raw wool had to be scoured before we could dye it. Scouring raw wool takes time and patience because you have to soak the fibers in a hot soapy tub without agitating them, which would cause them to felt. Our raw wool took about 7 soaks before the water ran clear.
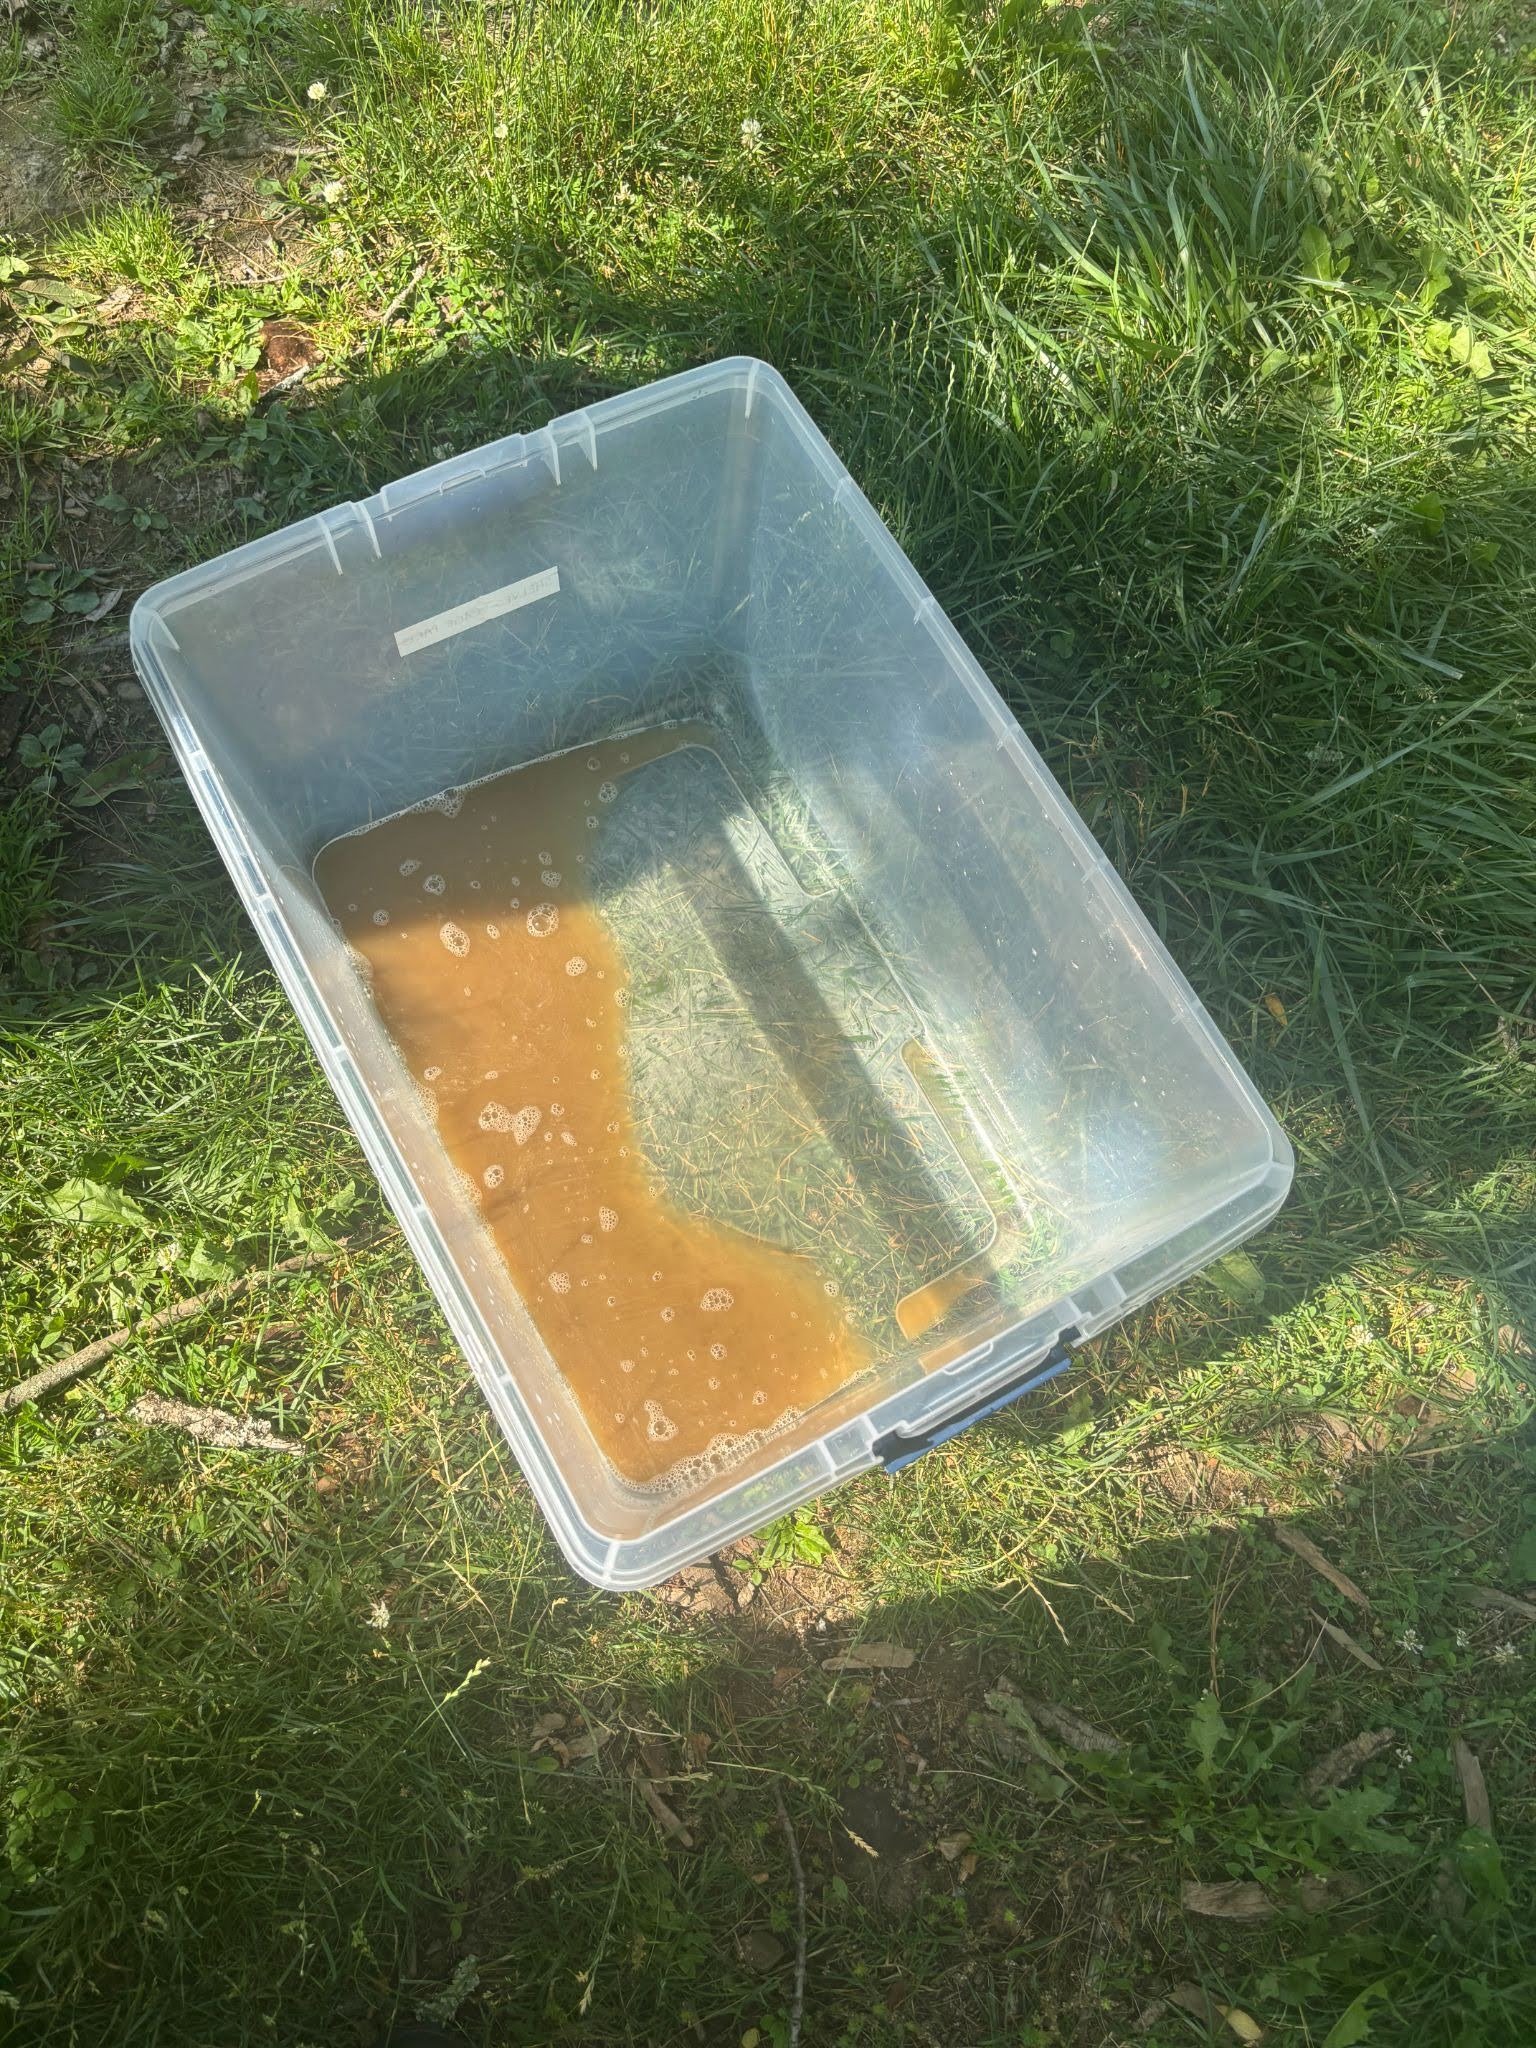
Photo credit: Lou Bilbe
This is the water from after the first soak:
And this is our wool after the last soak and the water from the last soak:
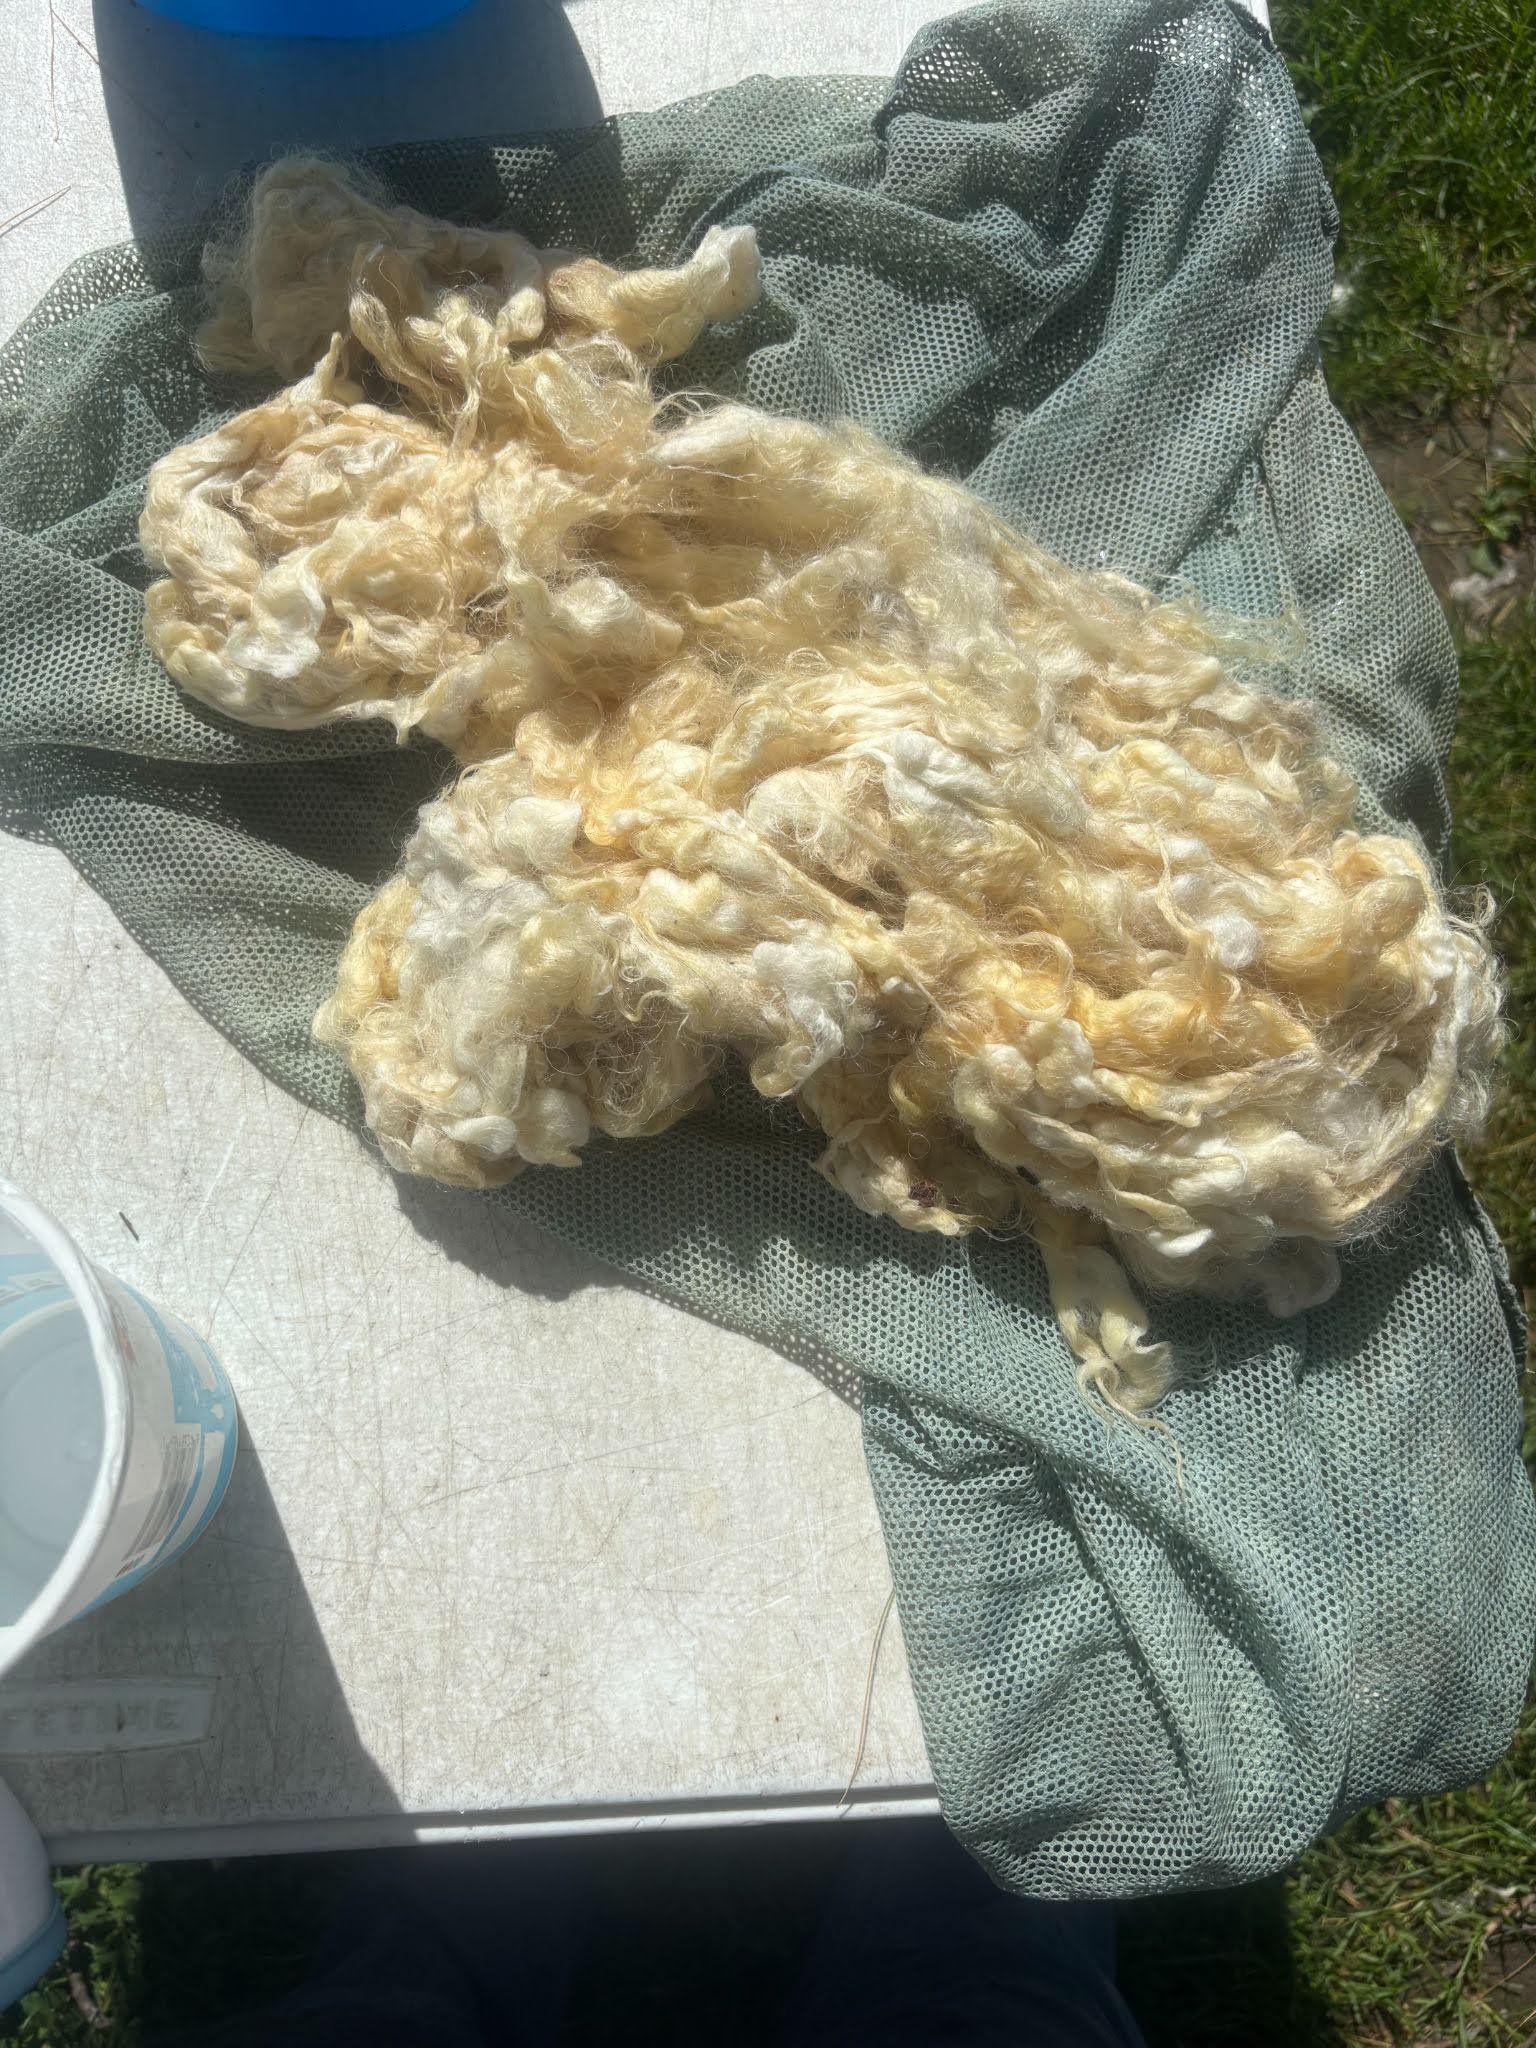
Photo credit: Lou Bilbe
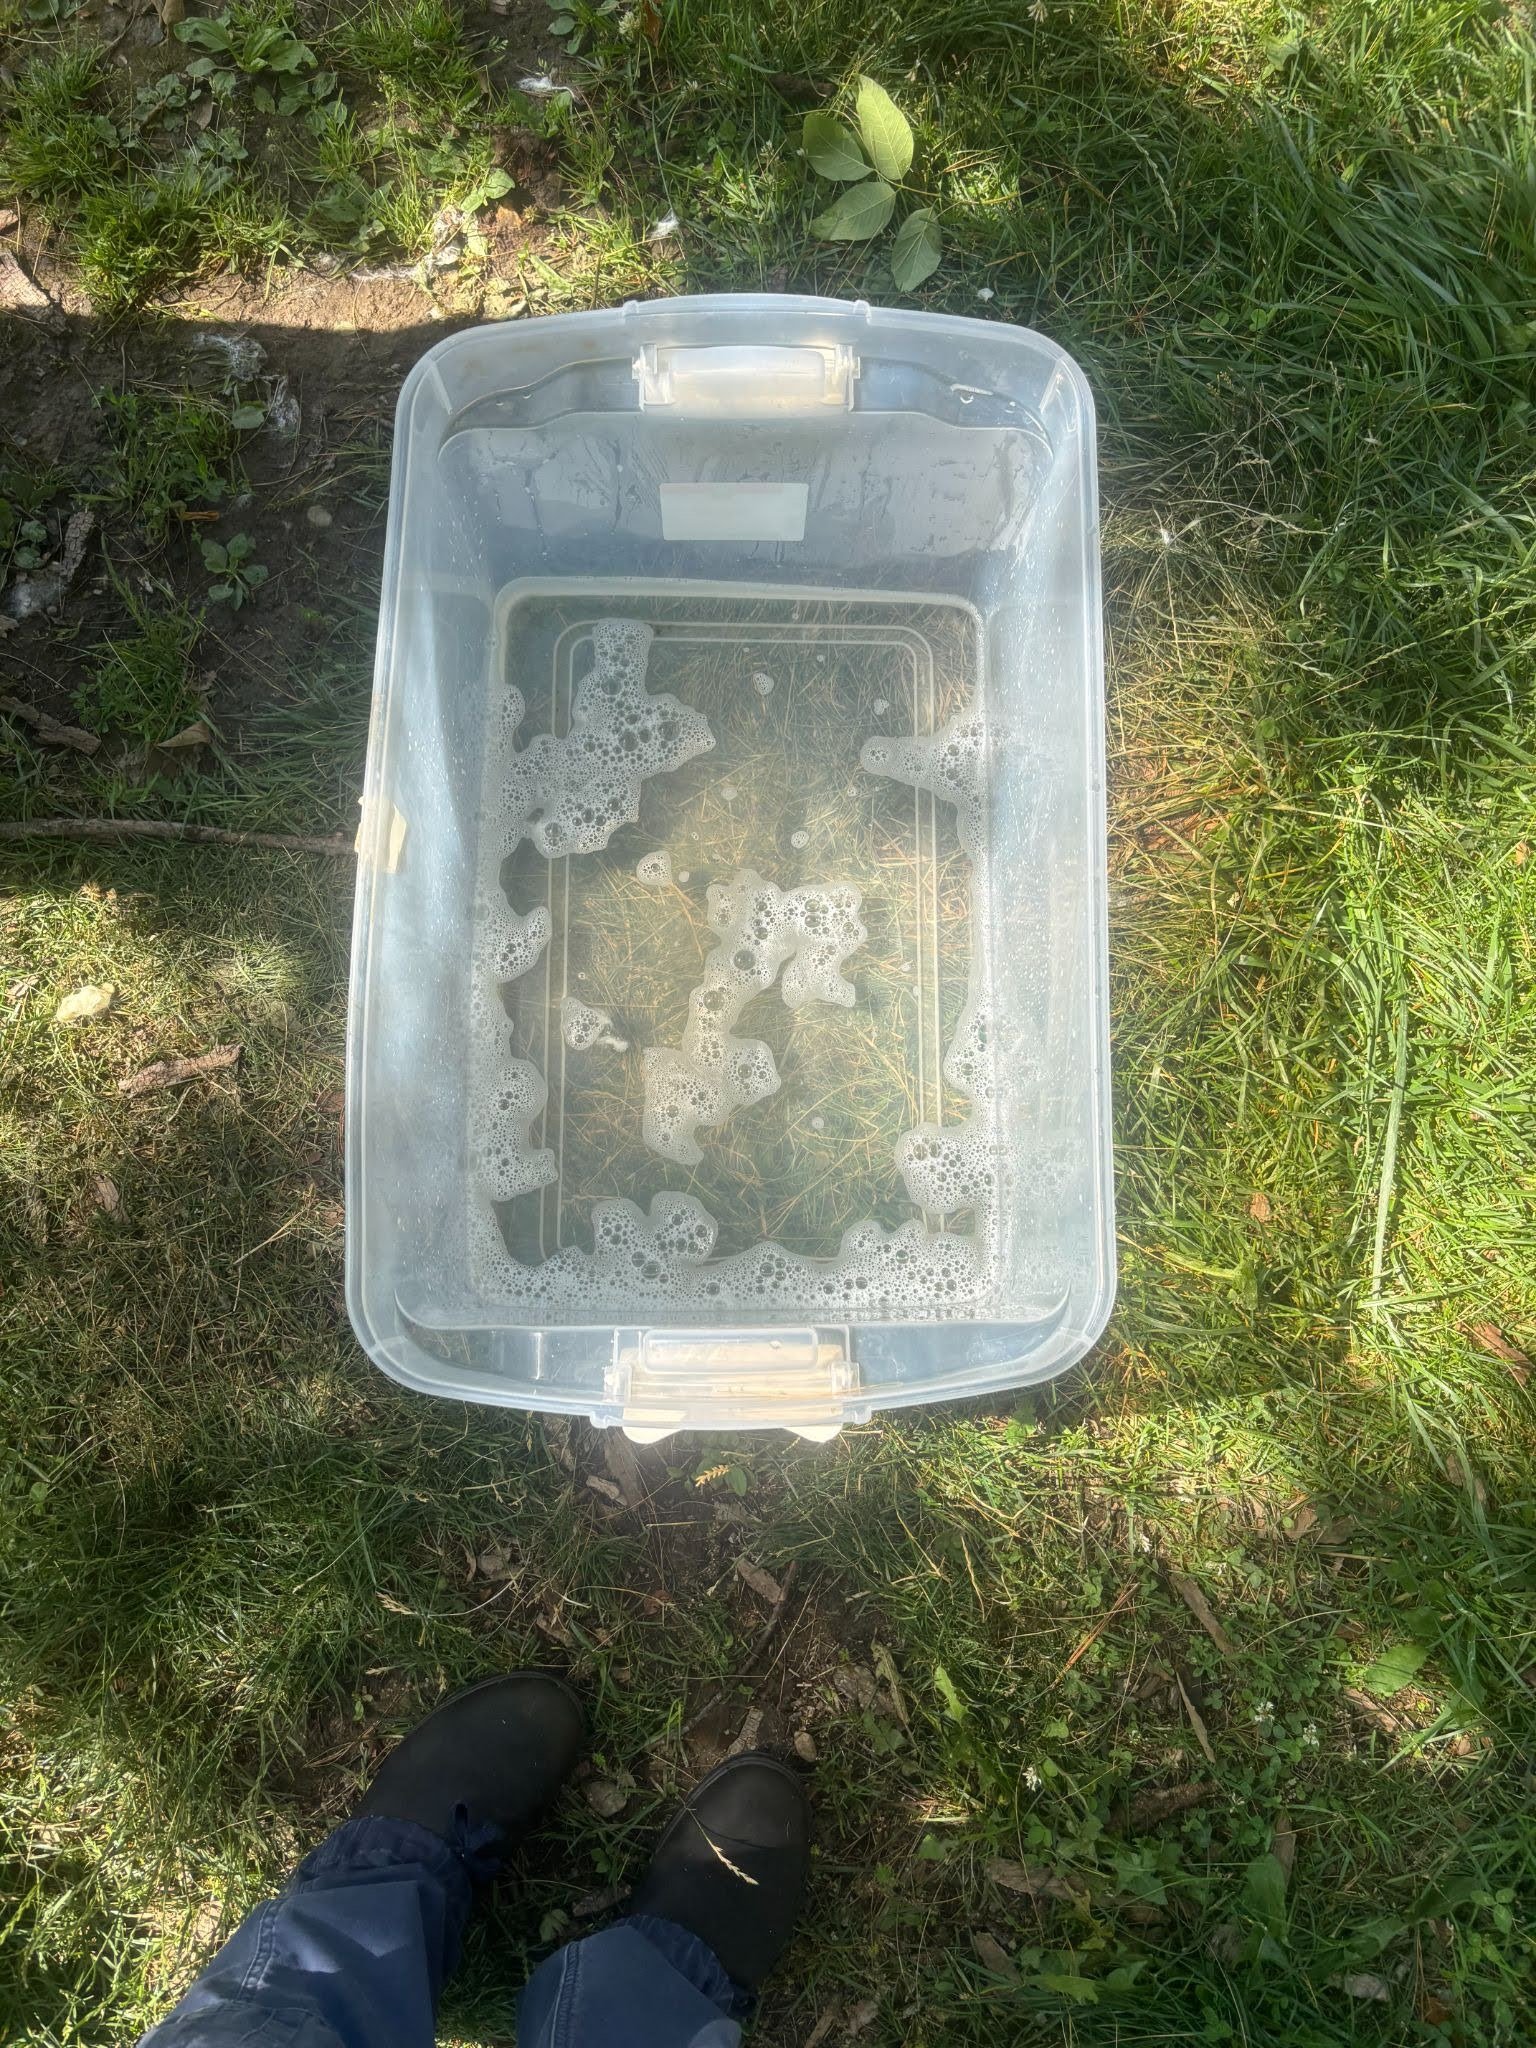
Photo credit: Lou Bilbe
For more information on scouring, see the resource links at the bottom of this page.
Step 2: Mordant
Before you dye any fiber, it is important to soak it in mordant to allow the dye to properly bind to it. This step is important to ensure light and wash fastness. Fastness measures how much a dyed fiber fades when exposed to light or bleeds when washed or sweated in.
Depending on what fiber you are dyeing, you will need to mordant accordingly. Cellulose (plant) fibers and Protein (animal) fibers often need different mordants. Since we dye wool at Wing and A Prayer Farm, we often choose to use an Aluminum Triformate mordant.
Before mordanting, it is best to soak your fiber in water so that the mordant will be absorbed evenly, preventing any patchy or uneven results. This part of the process is also known as “wetting out.”
The amount of Aluminum Triformate added to the water depends on the weight of your fiber while it is still dry, so it is important to weigh your fiber before you wet it out. Typically, you add 2-5% of the weight of your fiber in Aluminum Triformate.
For example, the fibers we dyed for these samples weighed 119 grams when dry, so we added 5.95 grams of Aluminum Triformate to the bucket of water. The amount of water in the bucket doesn’t matter much; if the fiber is able to be fully submerged in the mordant, then there is enough water.
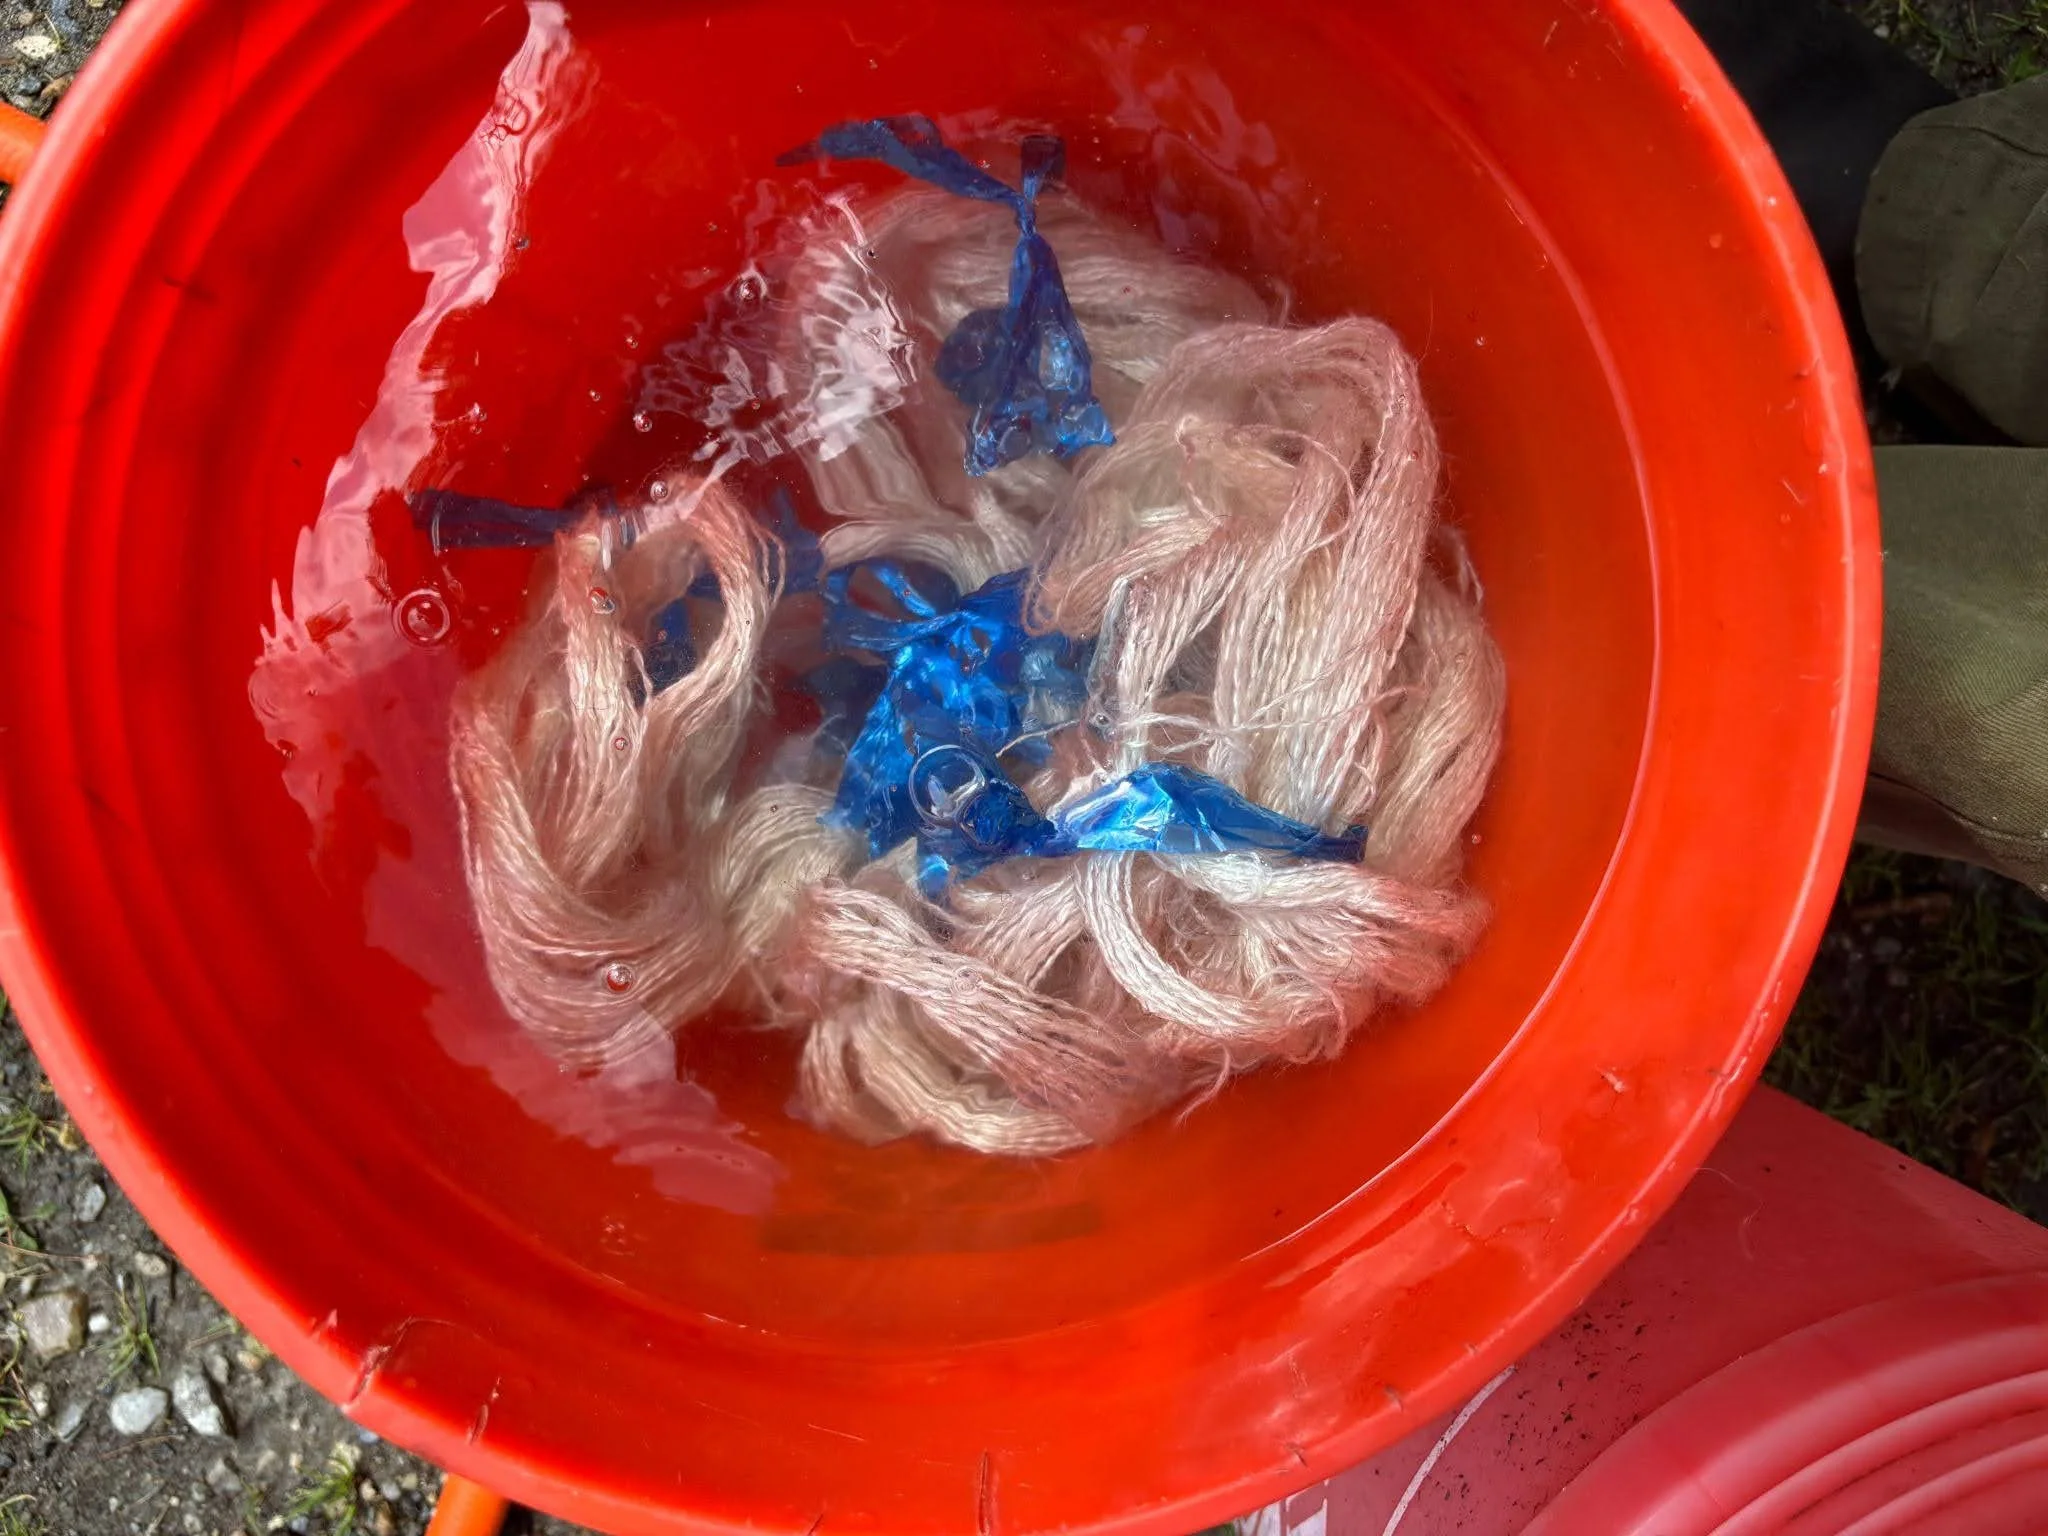
Photo credit: Lou Bilbe
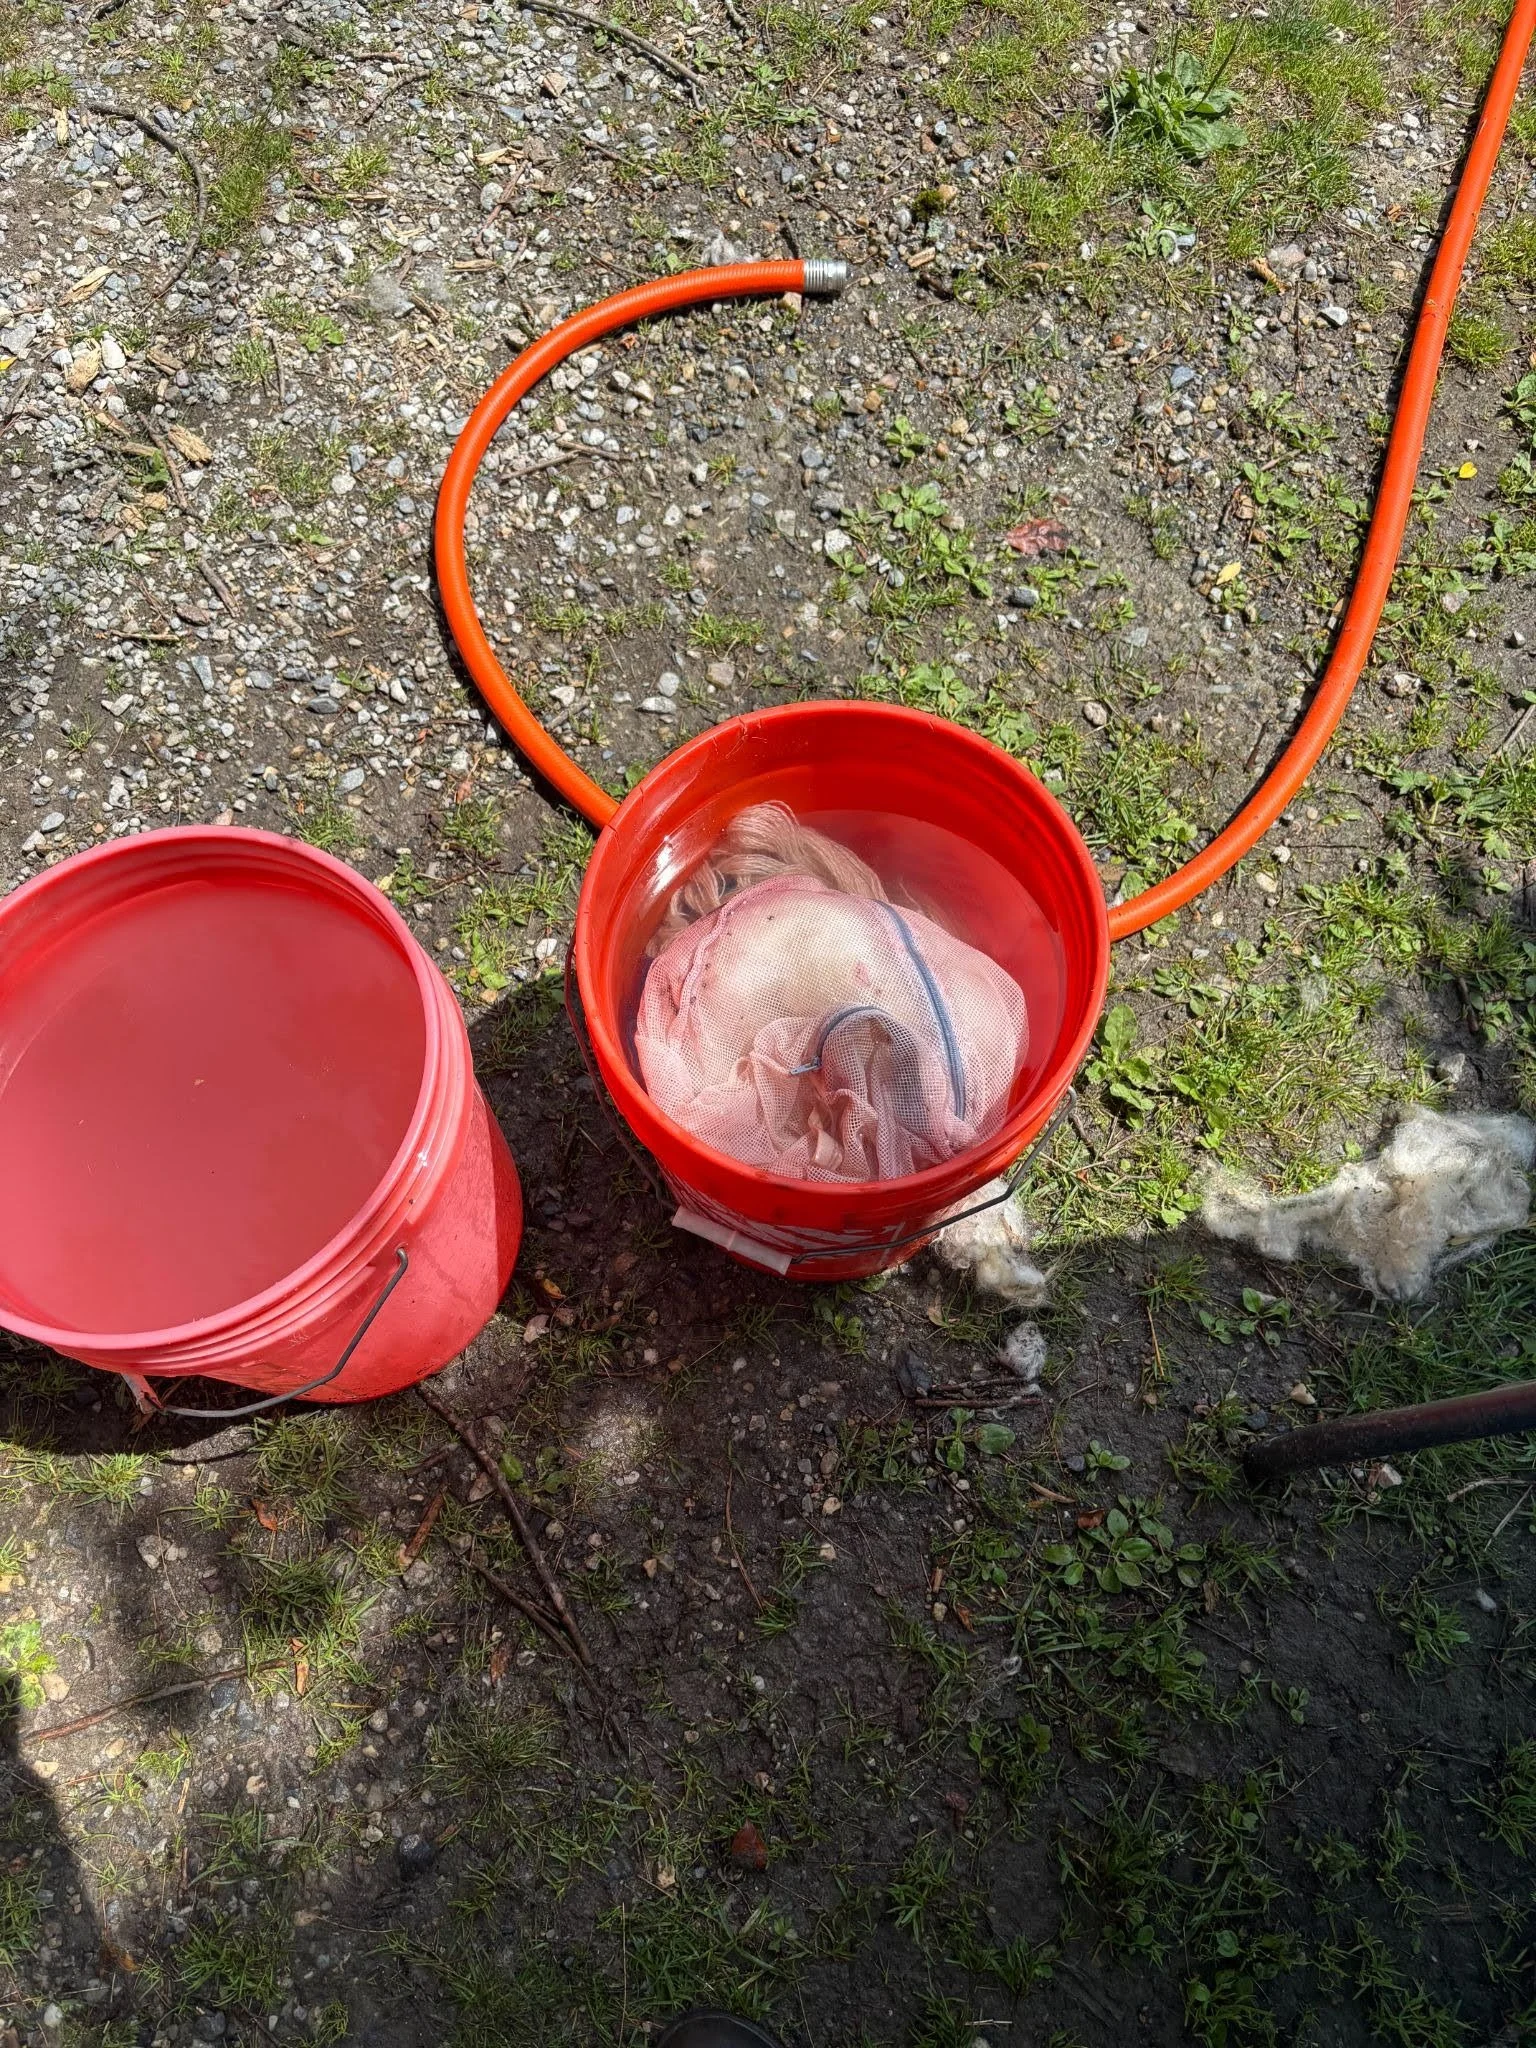
Photo credit: Lou Bilbe
Step 3: Harvesting Dye Stuff
For our samples, we used Buckthorn, Sumac, Weld, Amaranthus, Cosmos, Dyer's chamomile, Coreopsis, Marigold, Madder Root, Logwood bark, Murasaki root, and Indigo (Persicaria Tinctoria).
Buckthorn
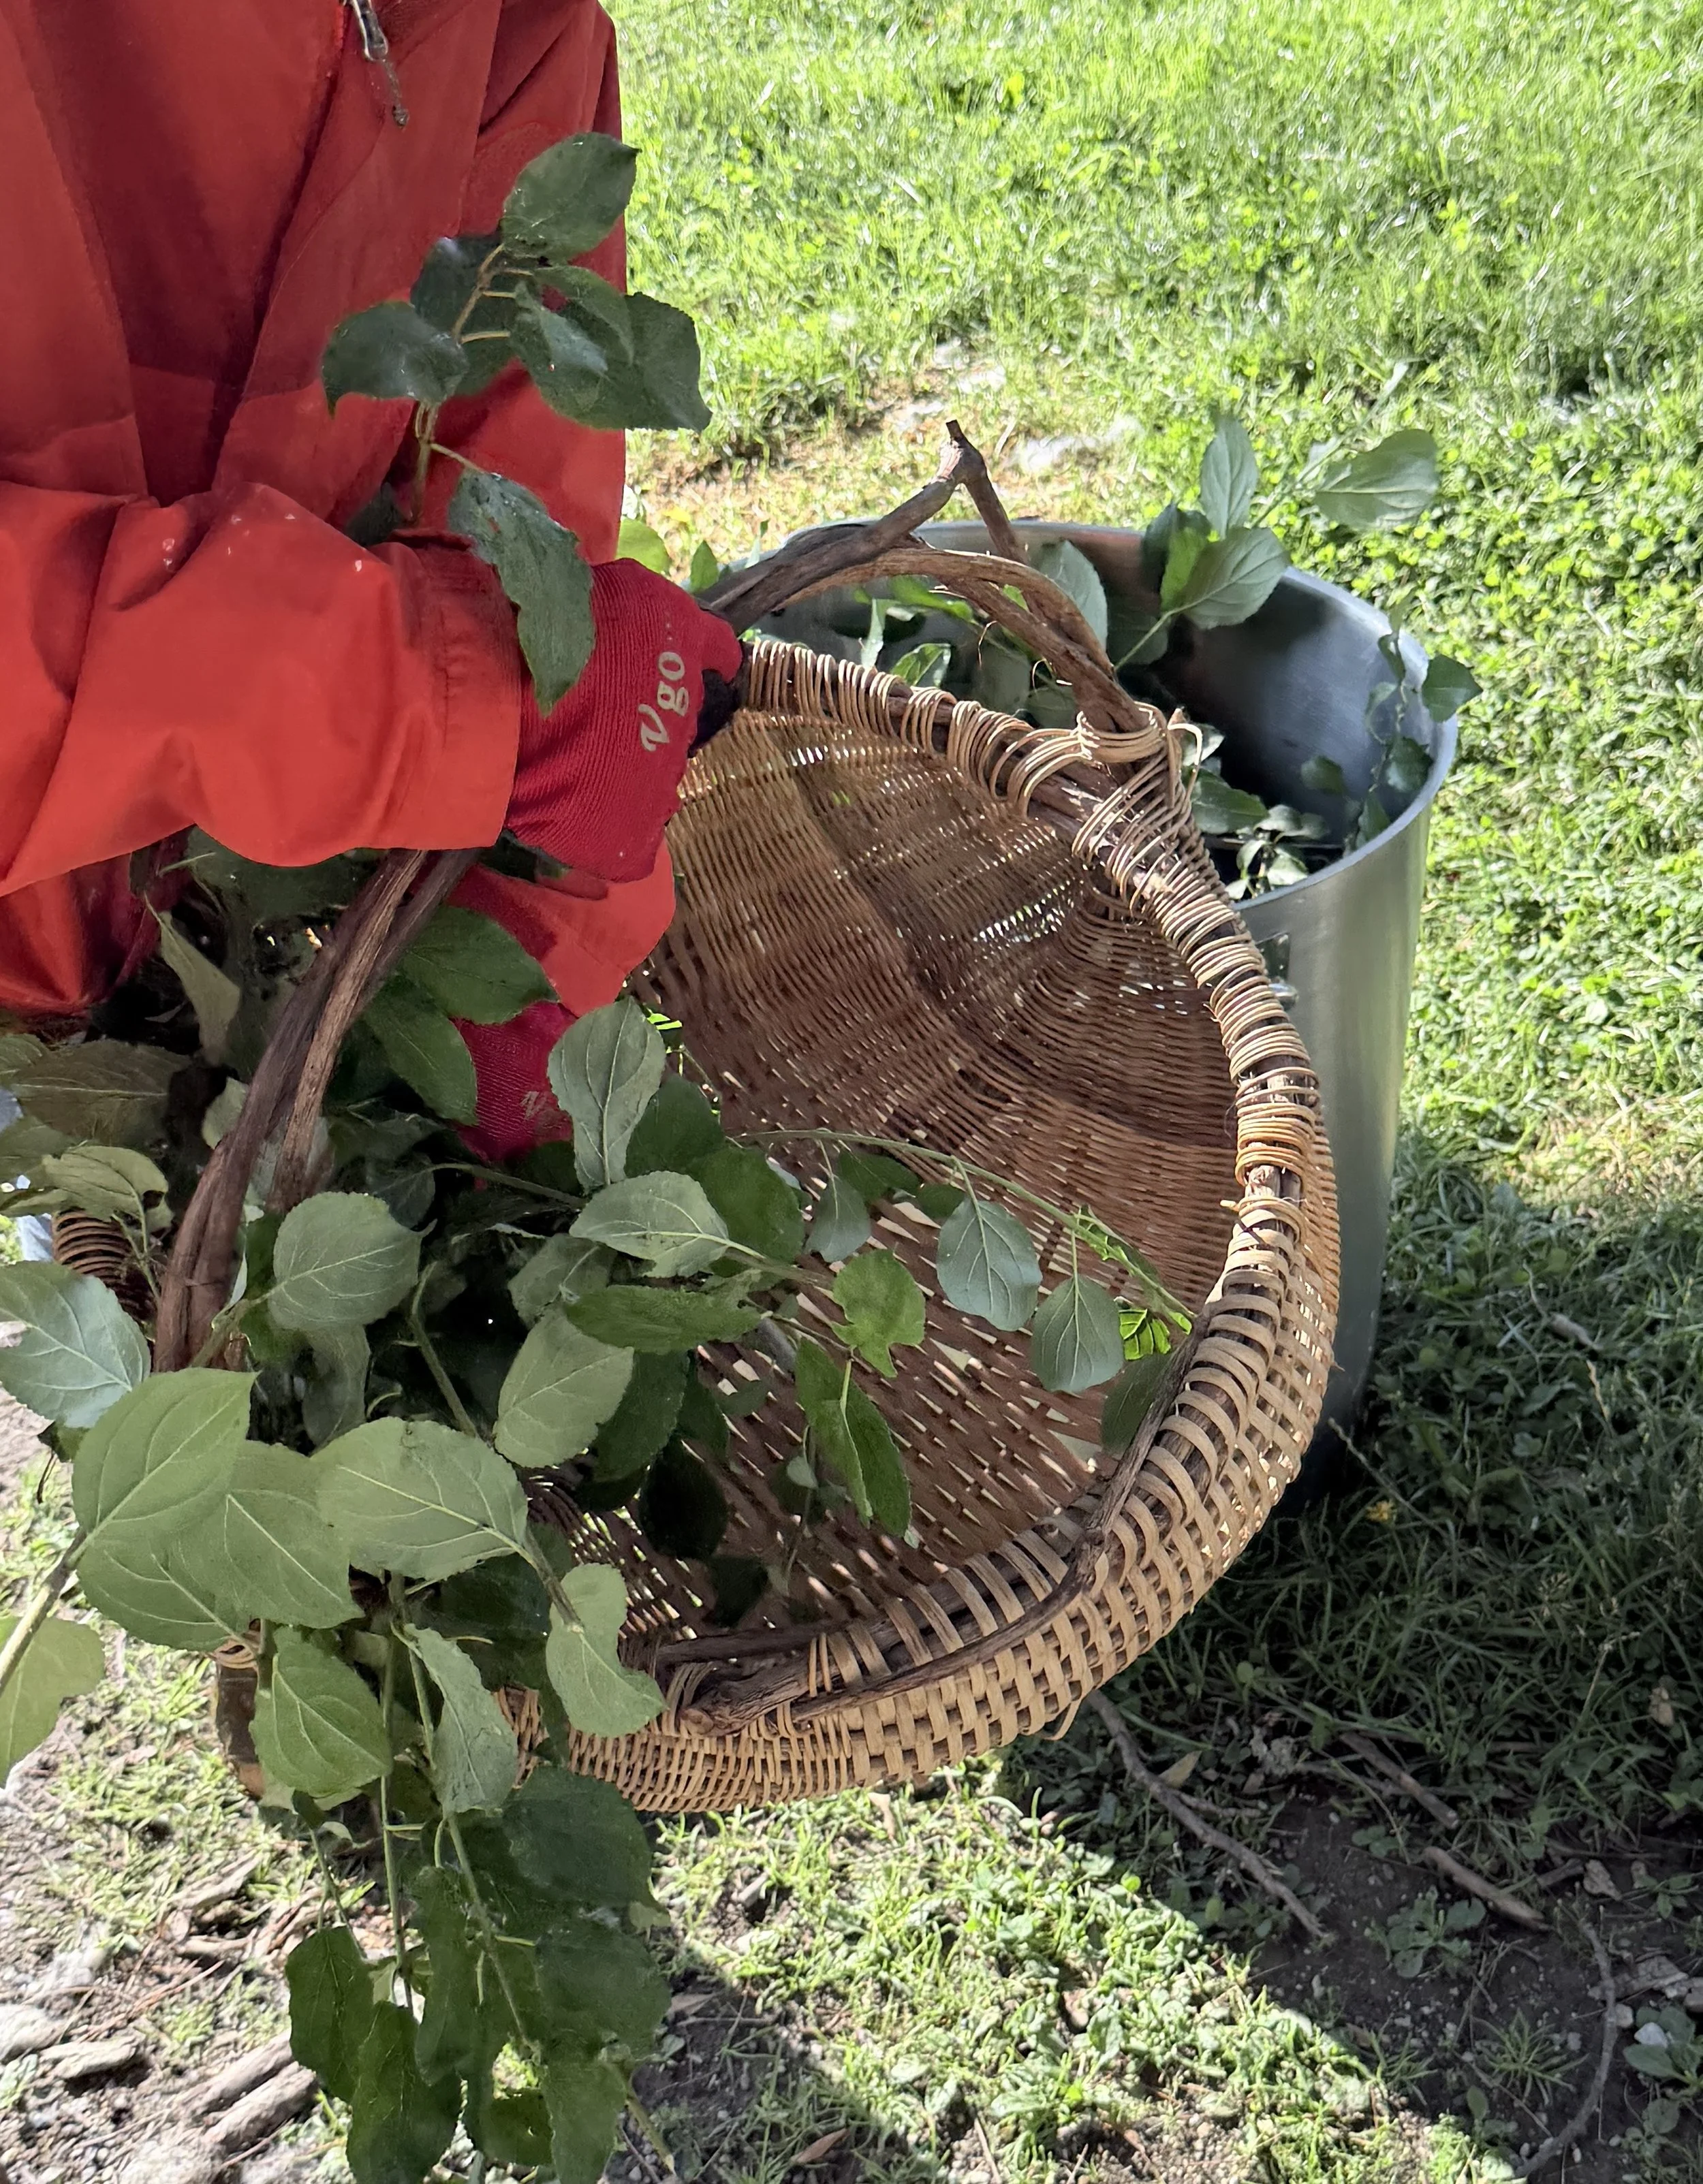
We cut off both branches and berries and collected a large basketful; you can collect smaller amounts if you are only making a small amount of dye. However, if you live in the northeastern and midwestern United States and southern Canada, we highly recommend you use Buckthorn as a dye and/or a mordant because it is a highly invasive plant species. And you can harvest and use as much of it as you like because there is no shortage of Buckthorn!
Sumac
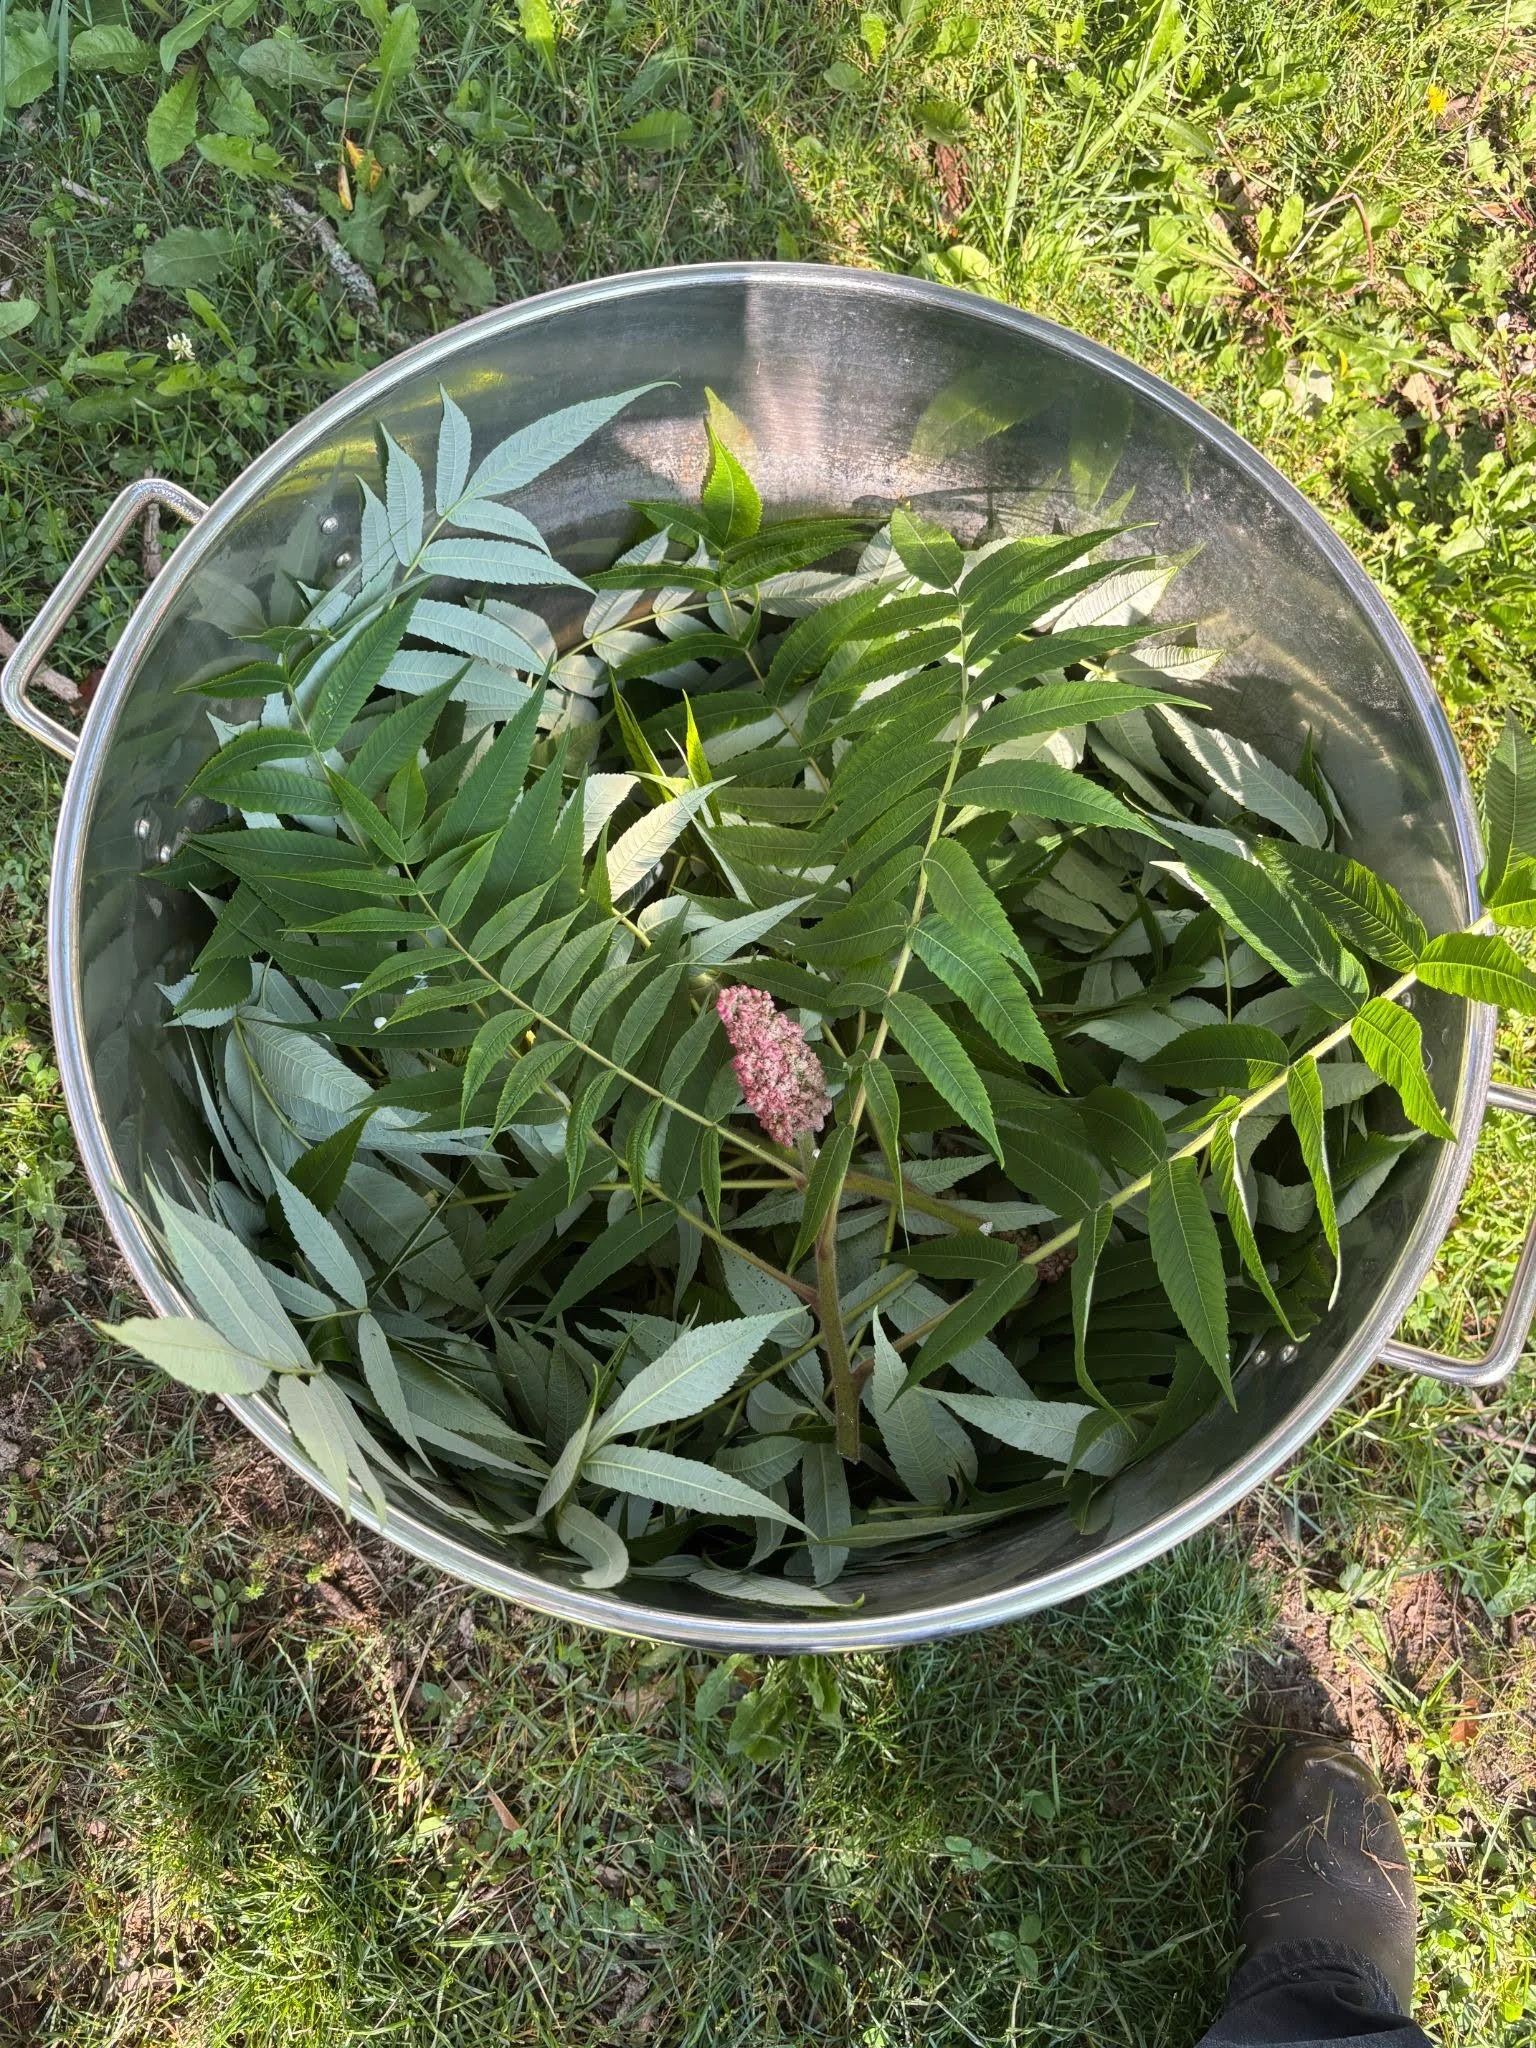
We cut near the tops of the branches to include both the panicle (the cone-shaped cluster of berries) and several leaves. We also harvested a large basketful.
Buckthorn
Sumac
Weld
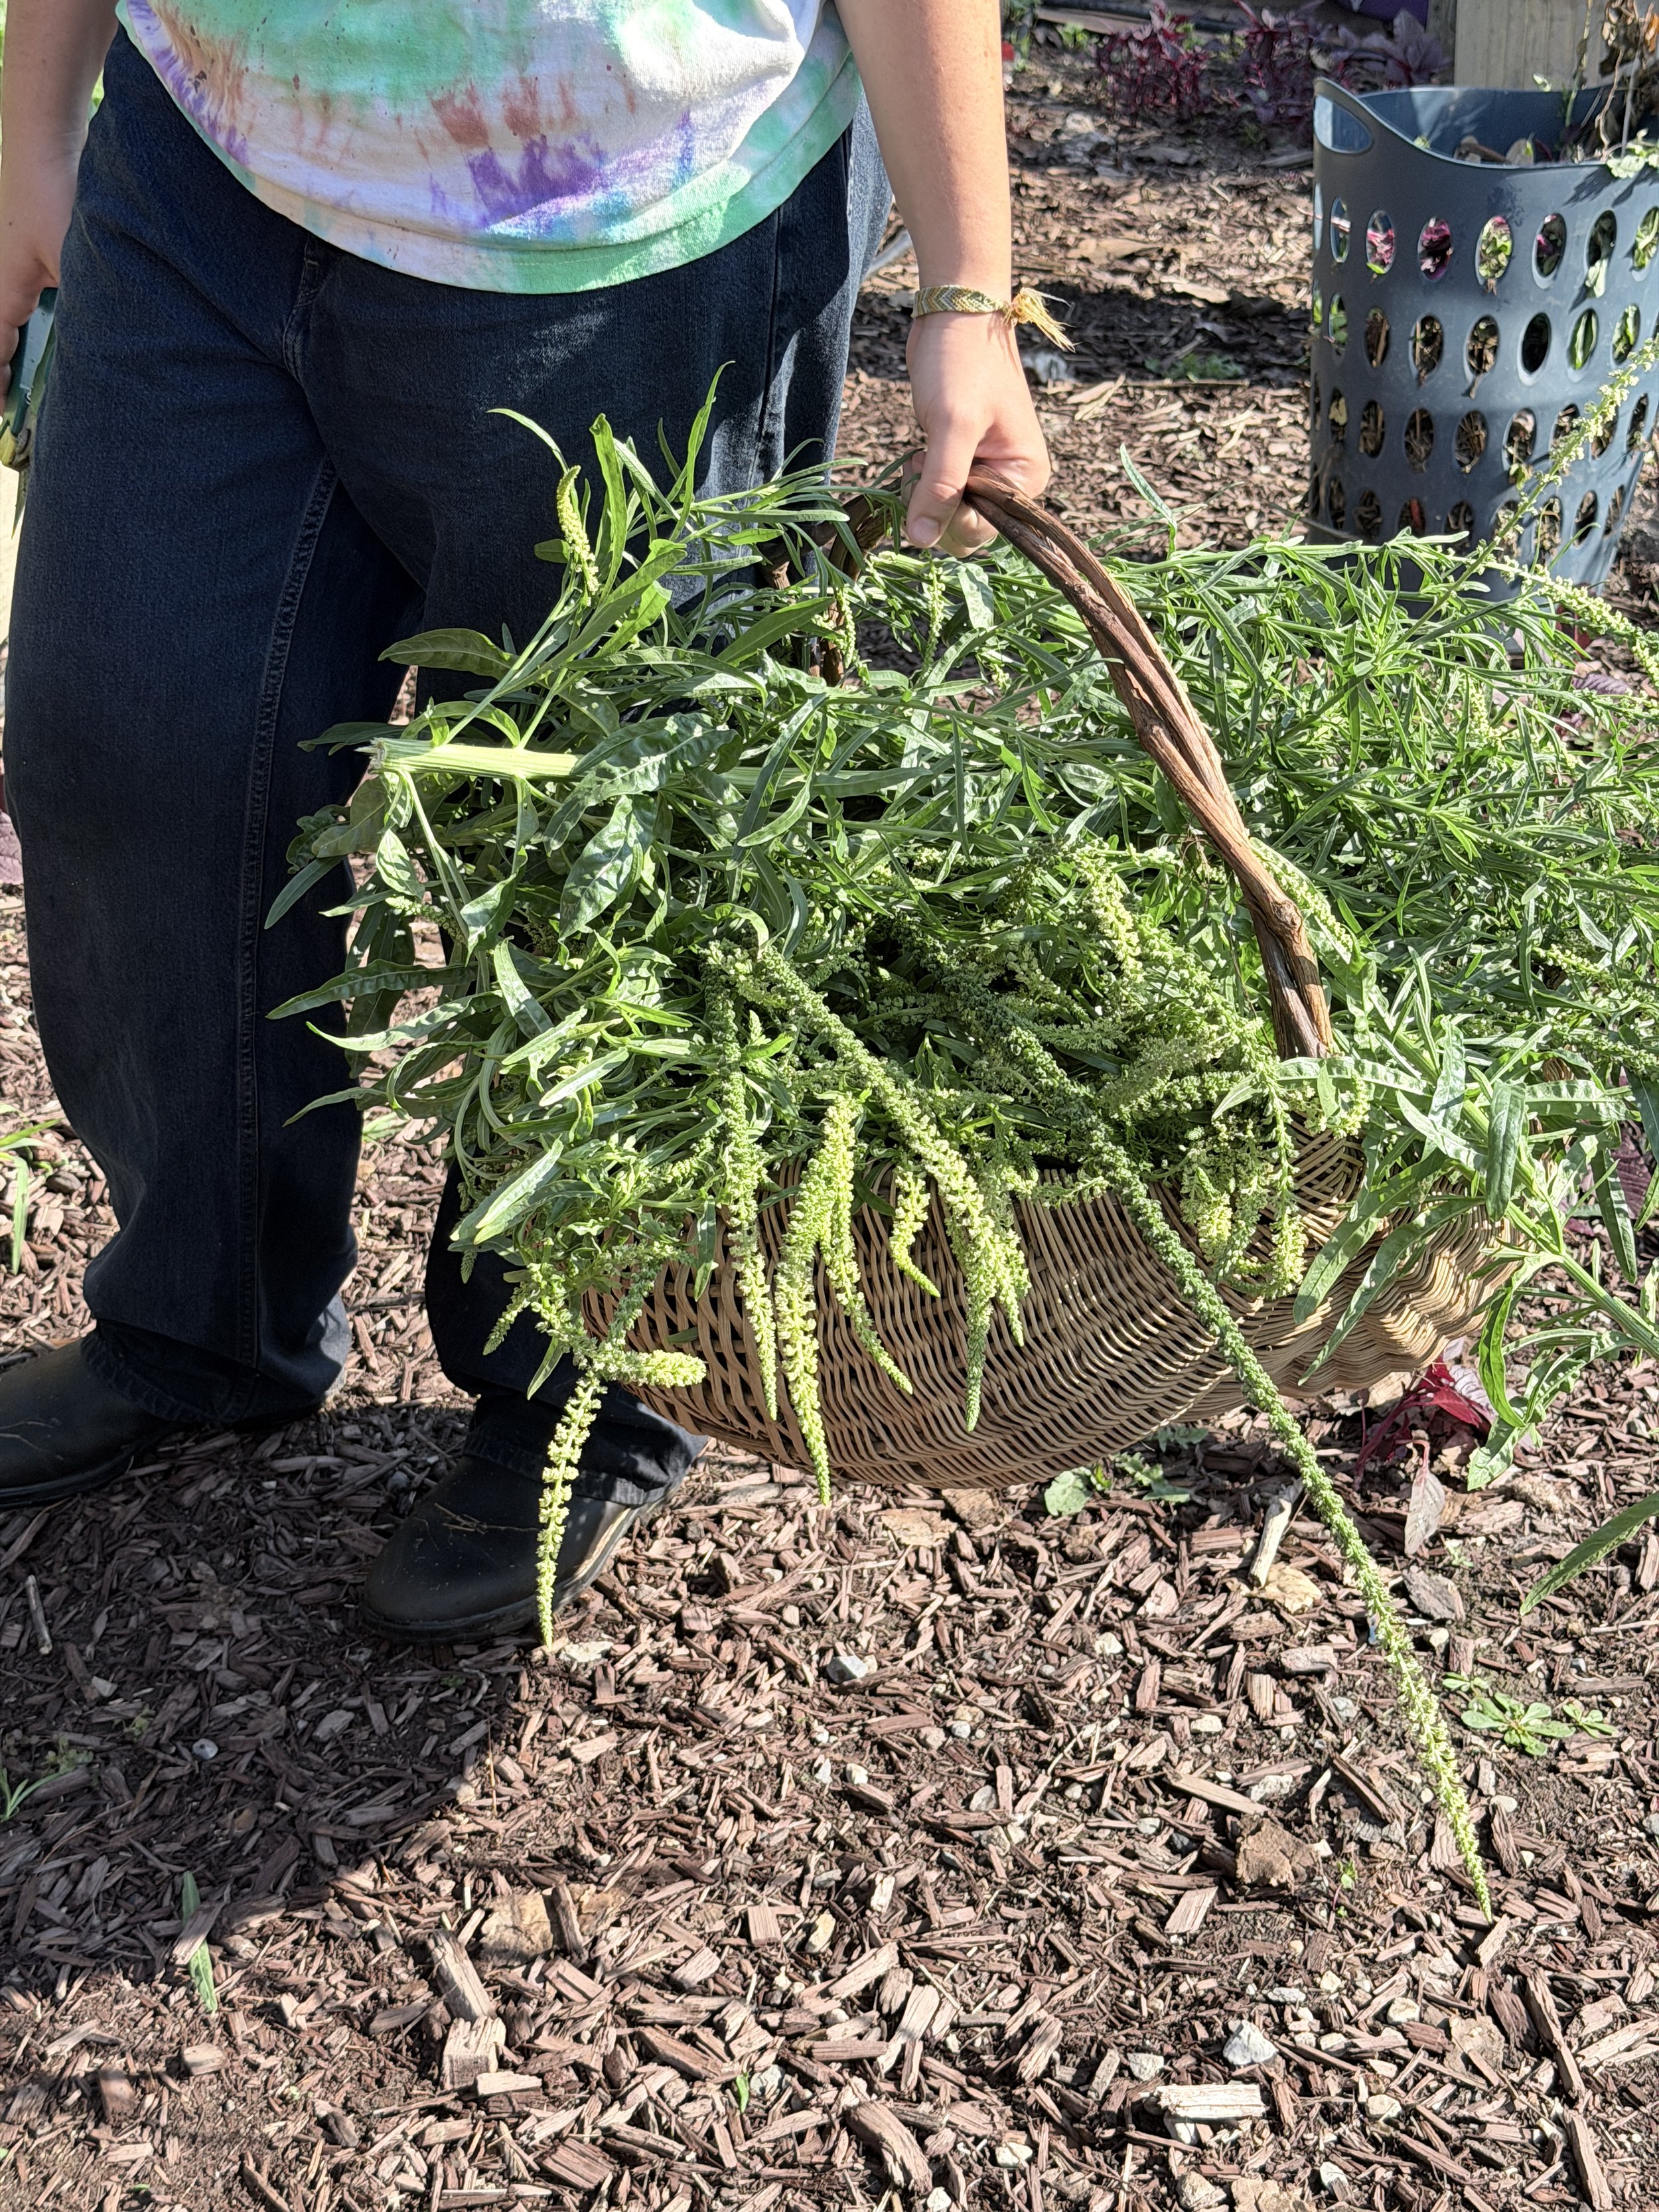
We have so much Weld growing in our gardens, so we harvested generously, cutting near the base of each stem. Another big basketful.
Amaranthus
We harvested Amaranthus from our gardens as well, picking leaves and stems.
Weld
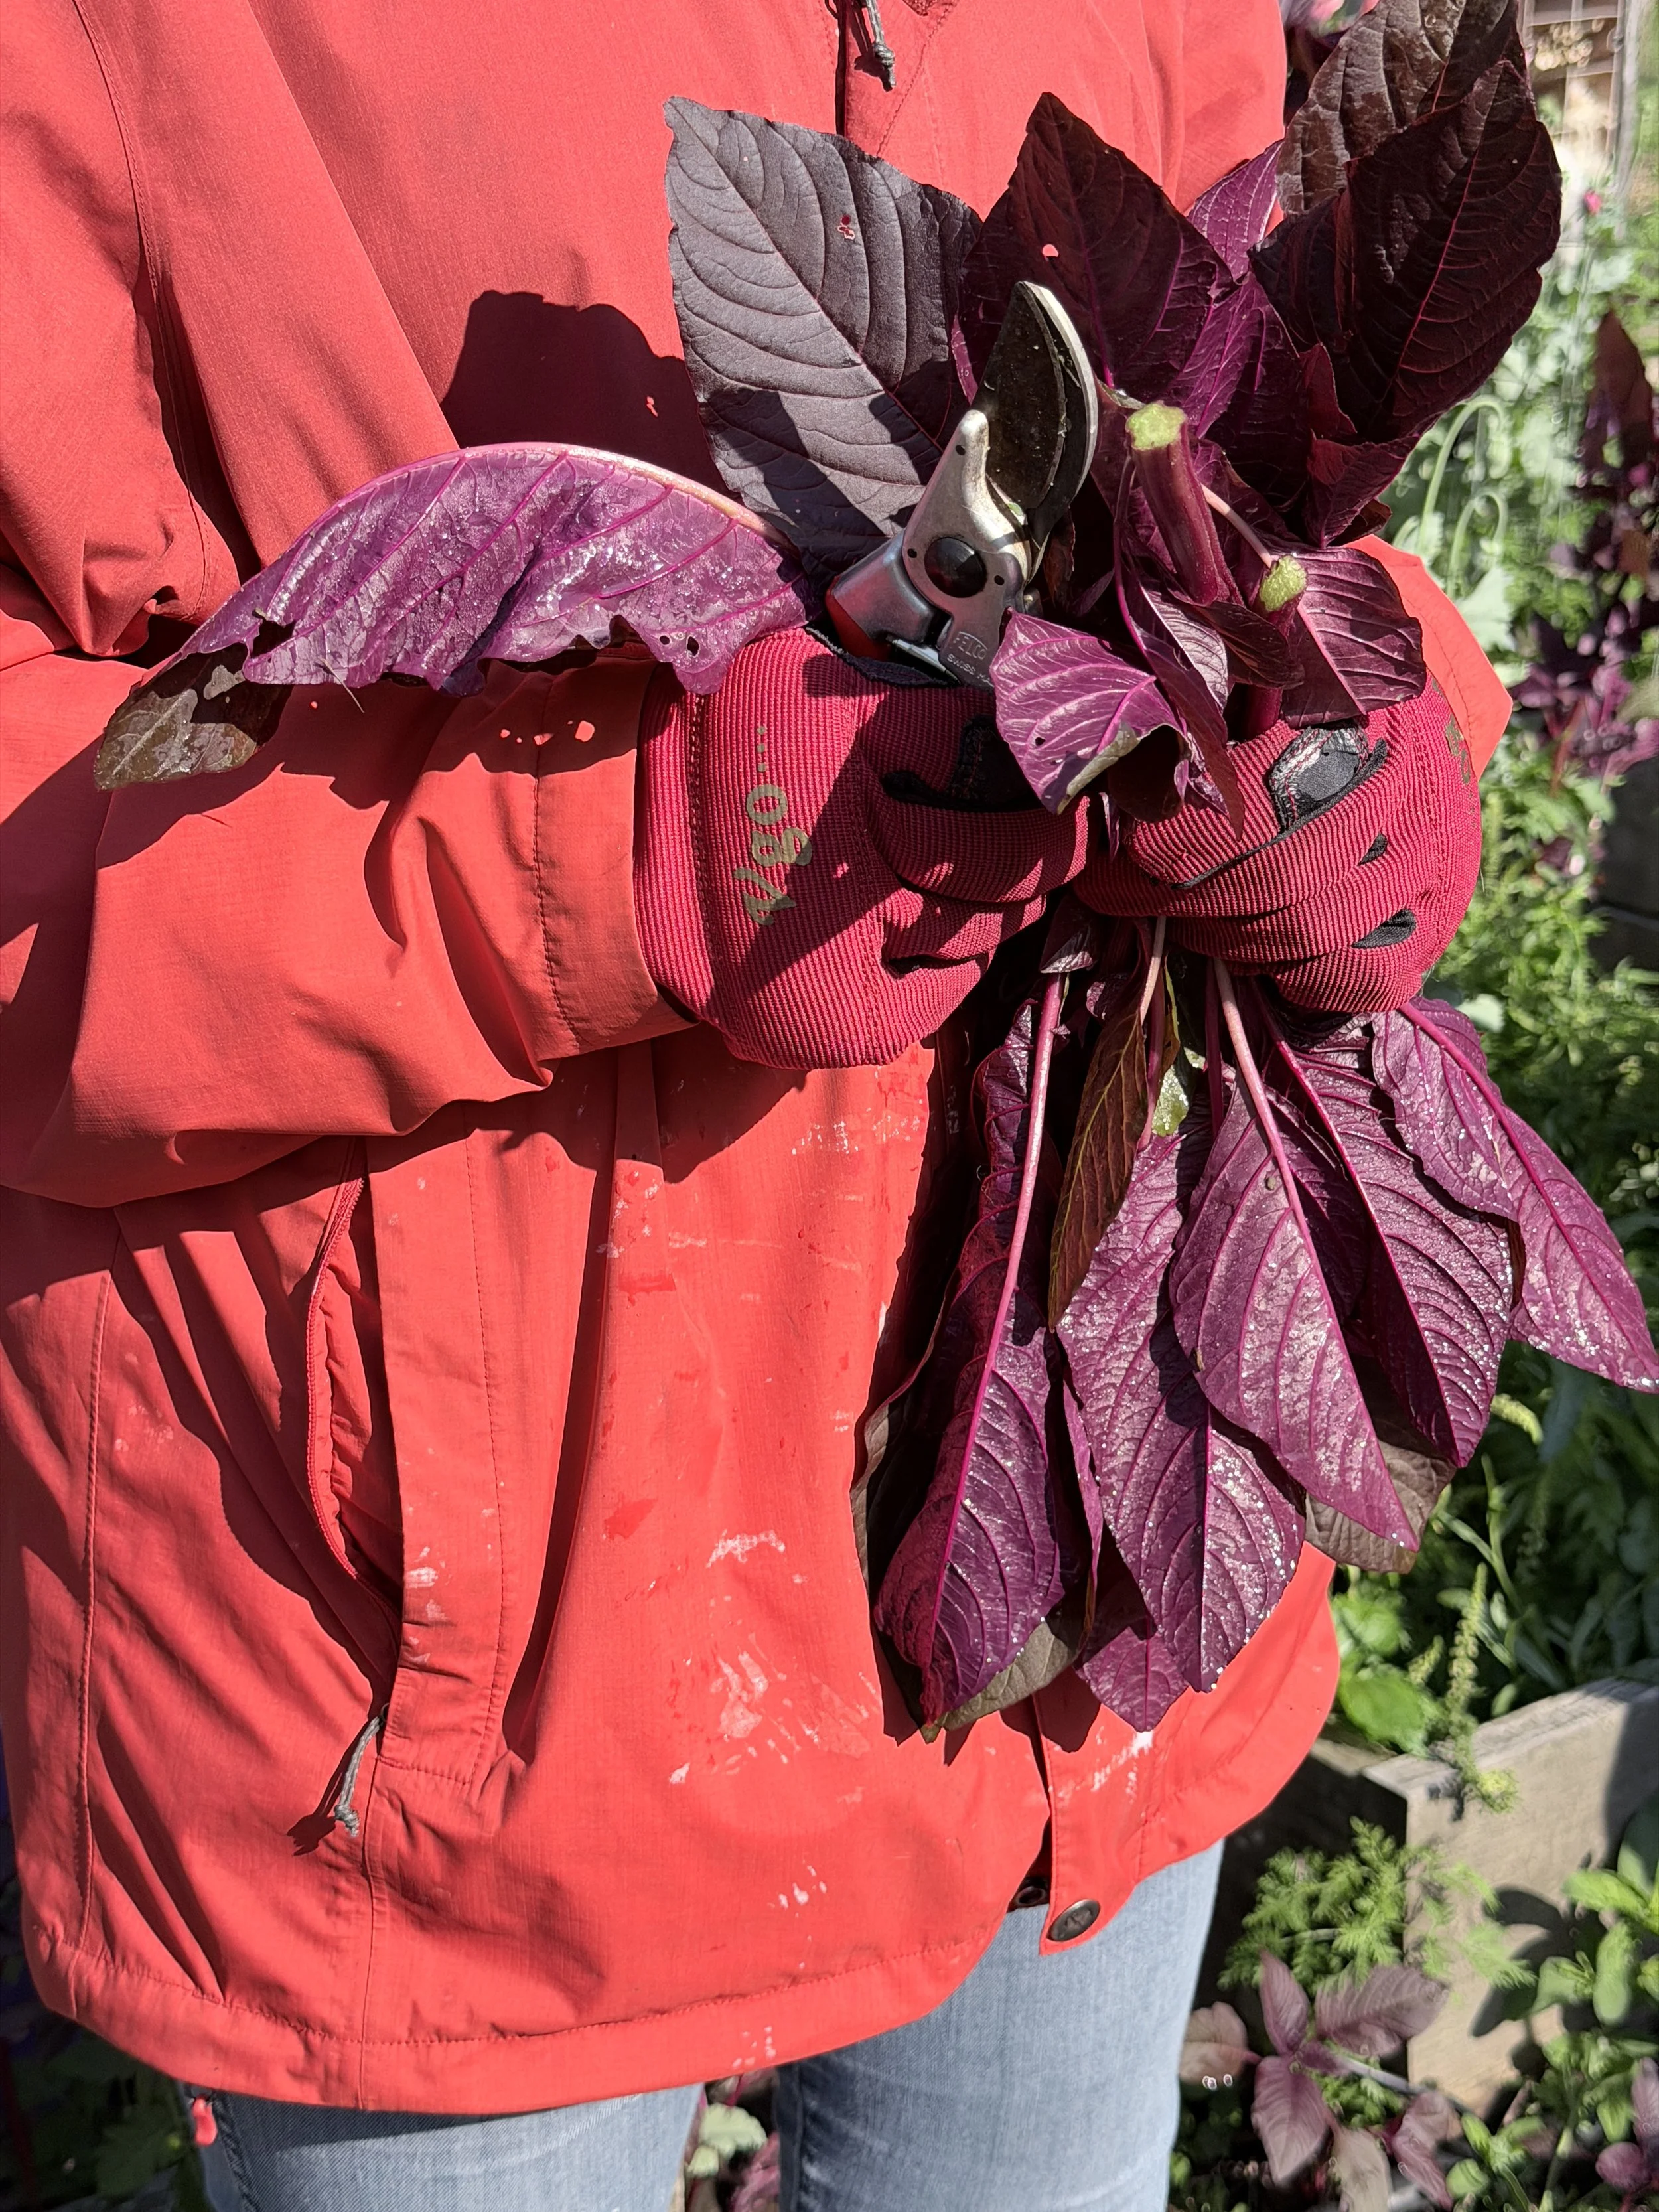
Amaranthus
Cosmos, Dyer’s Chamomile, Coreopsis, and Marigold
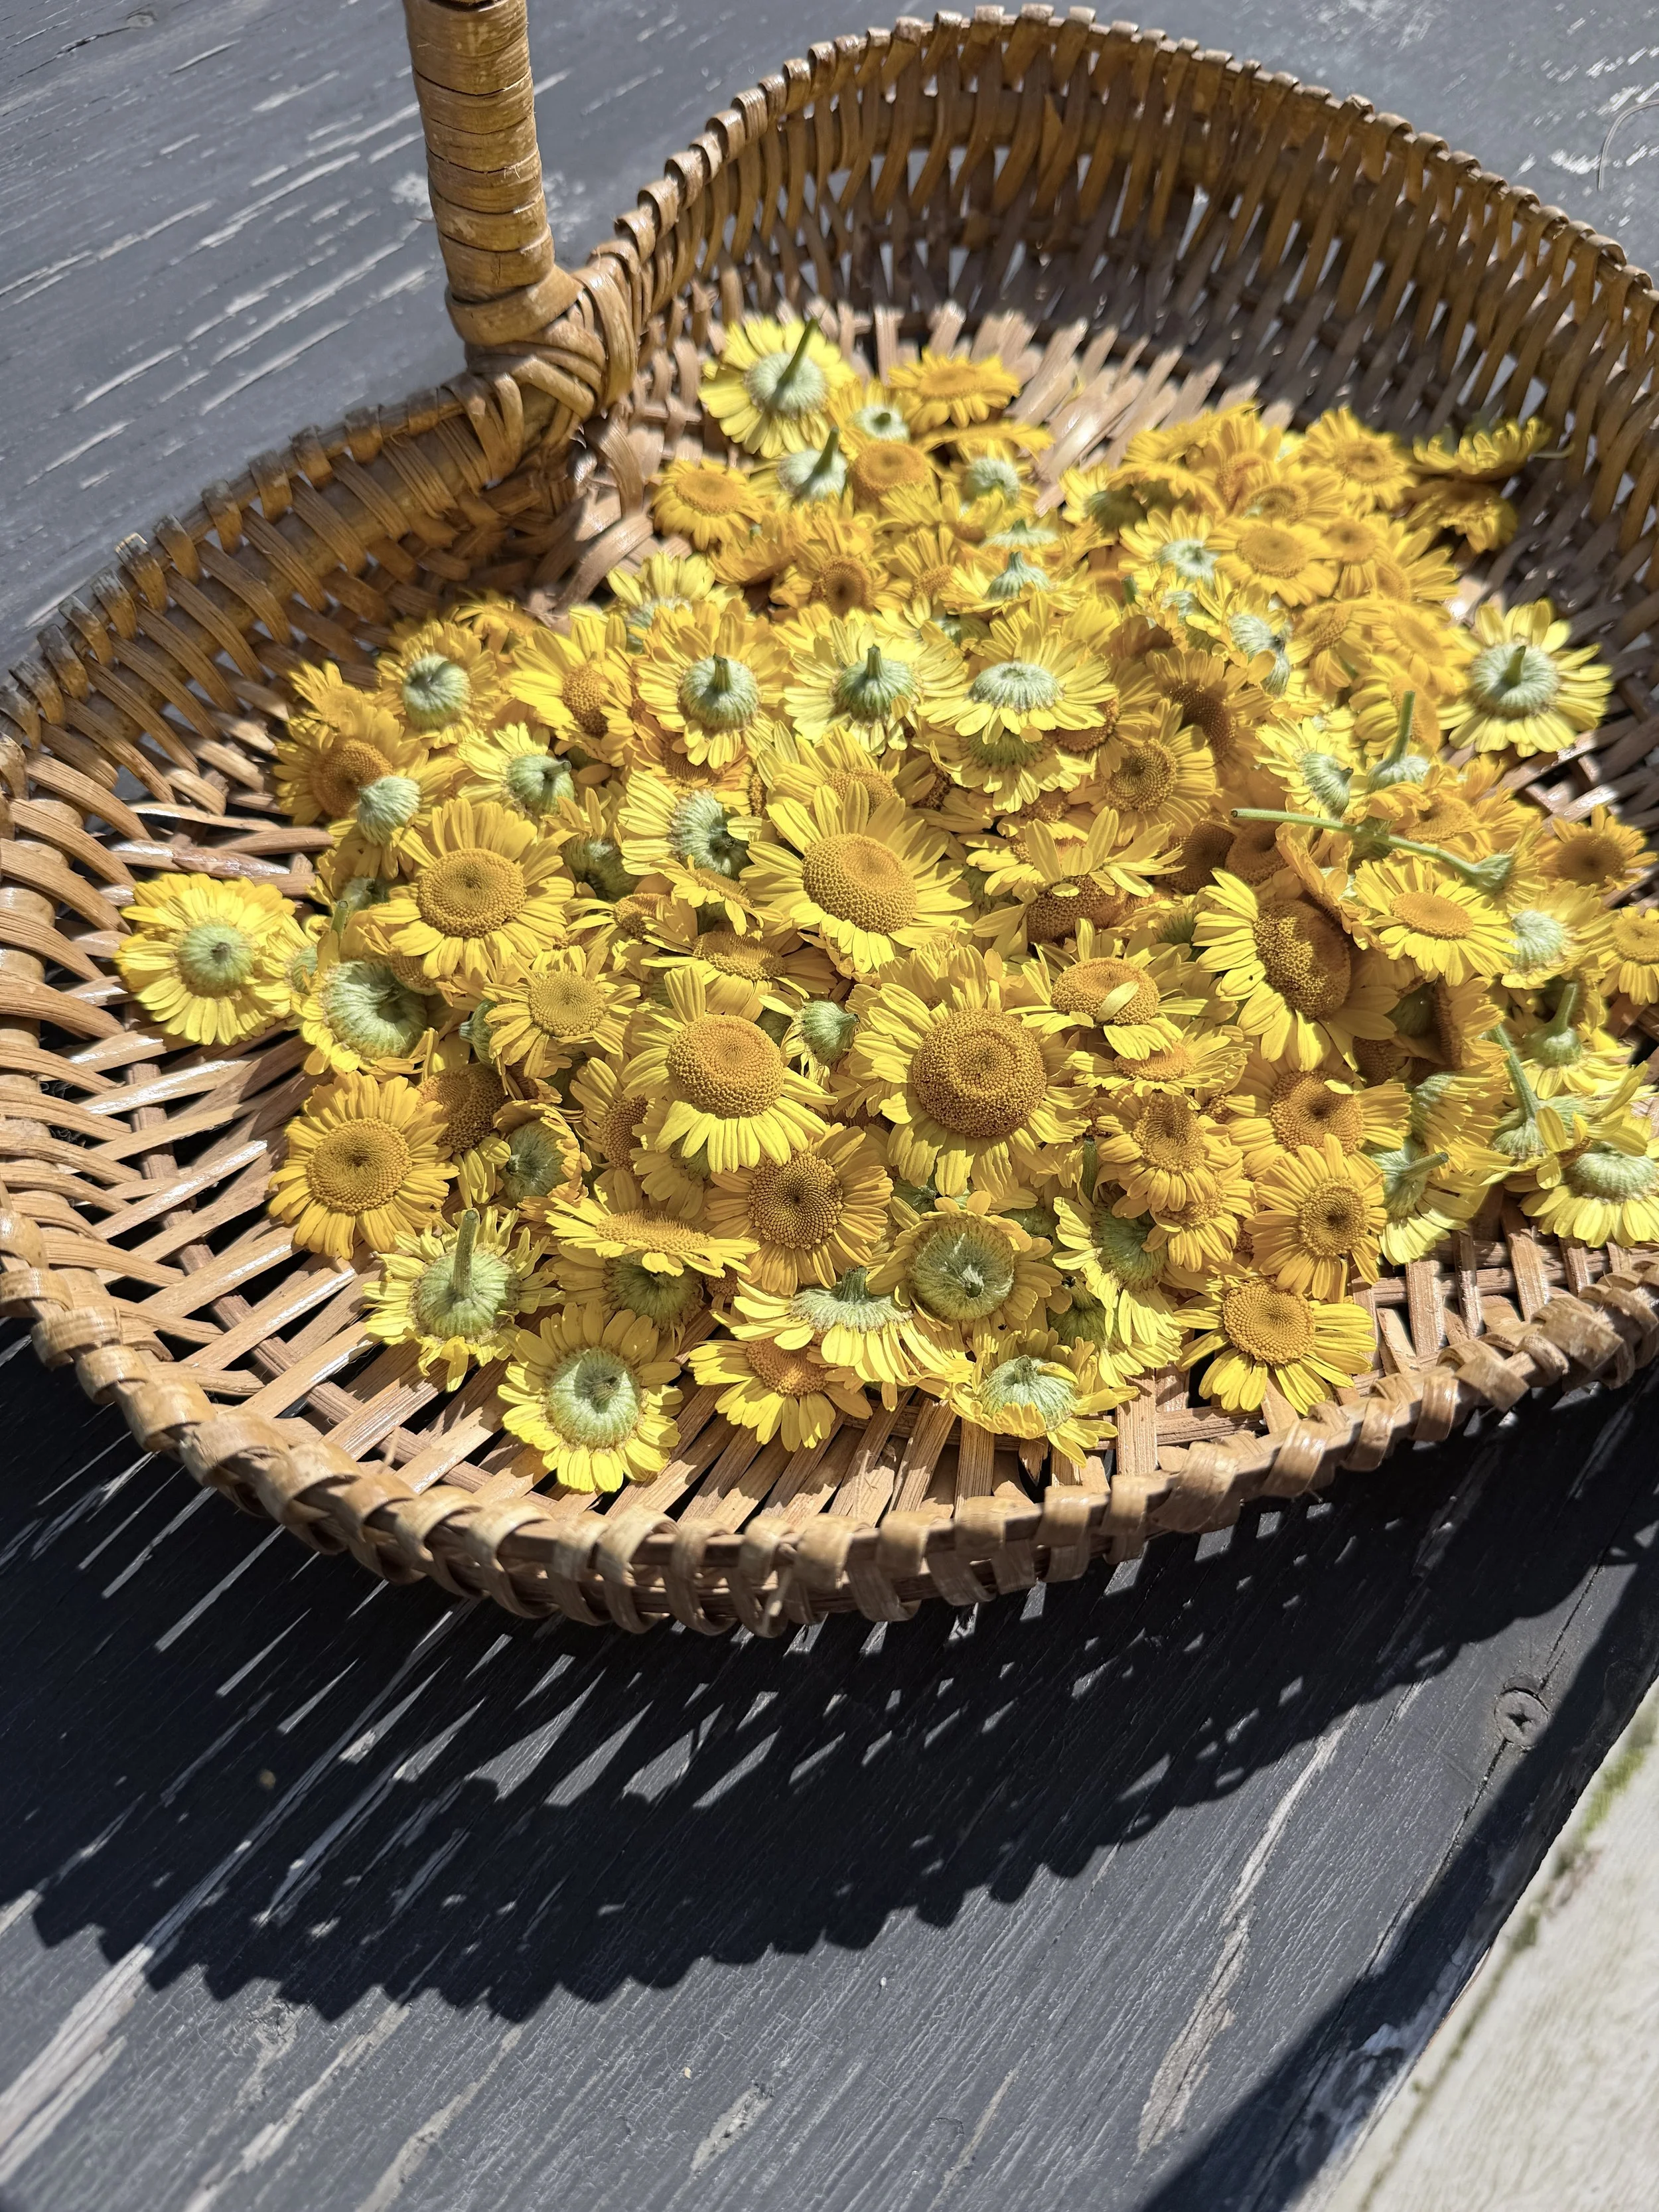
We picked each of these by pinching off the head of the flowers. Some we had harvested prior to our dye day and had laid them out to dry on an old window screen, and others we harvested fresh that day. You can do either or both!
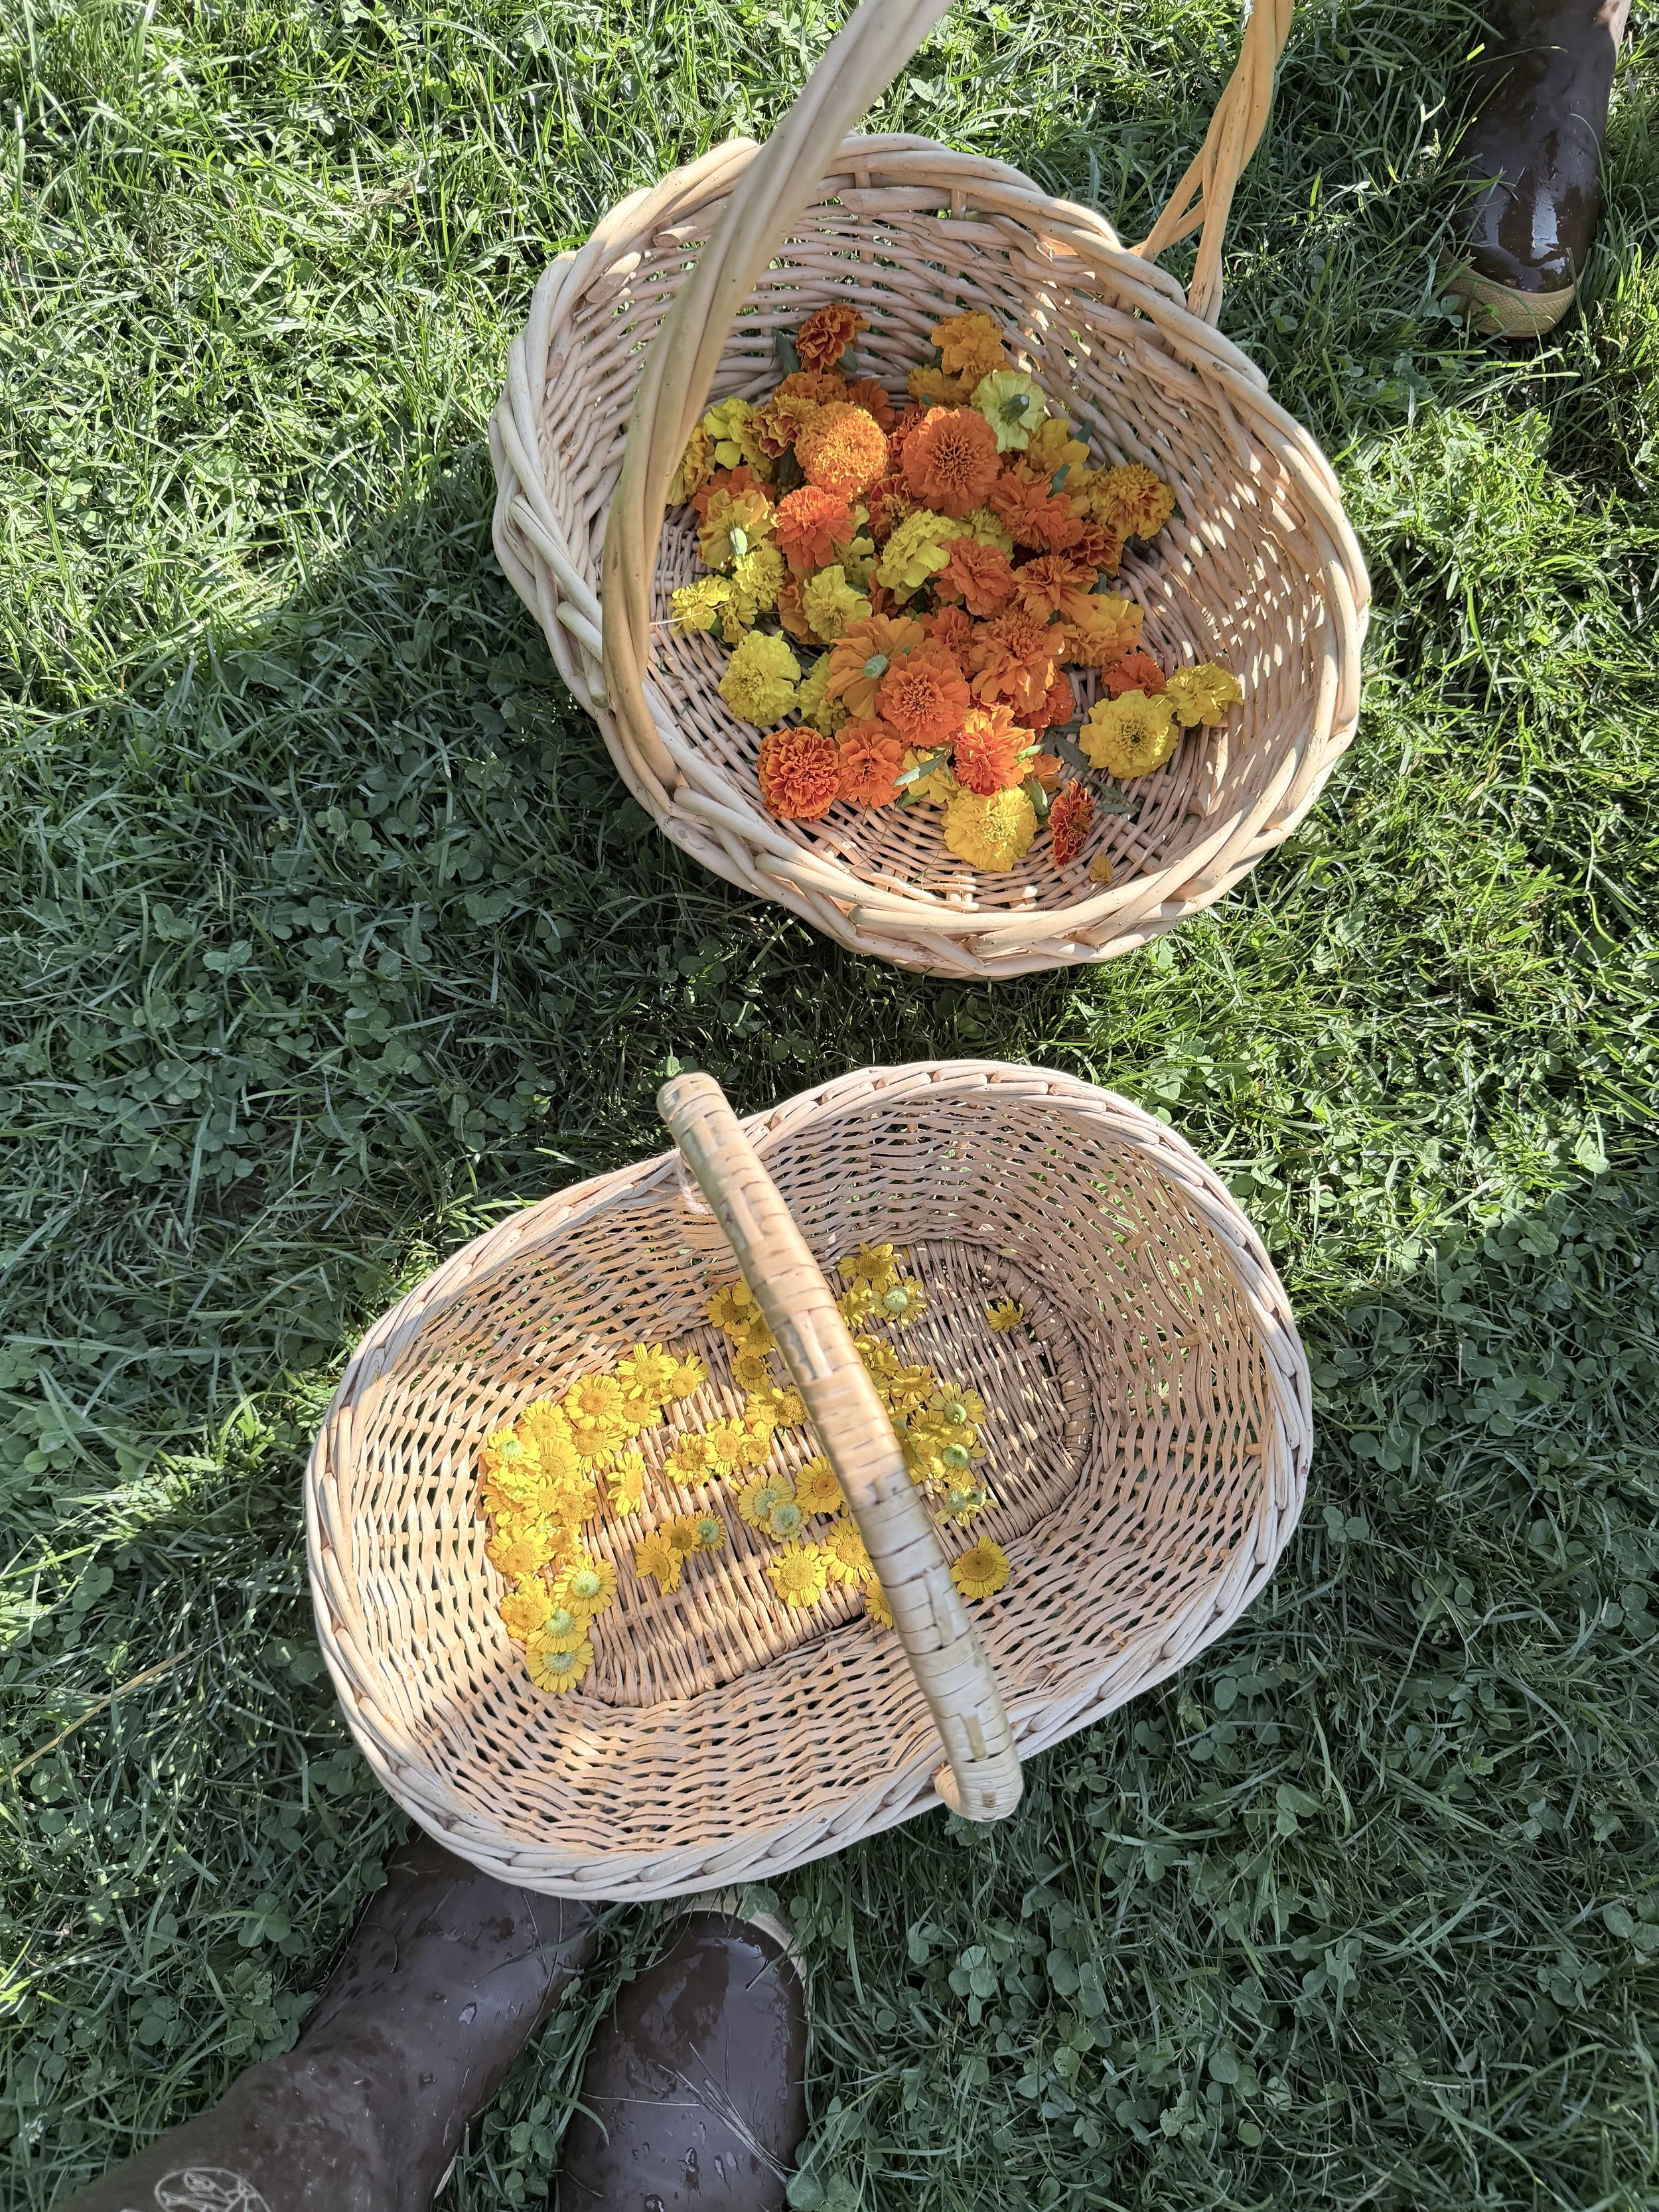
Dyer’s Chamomile & Marigolds
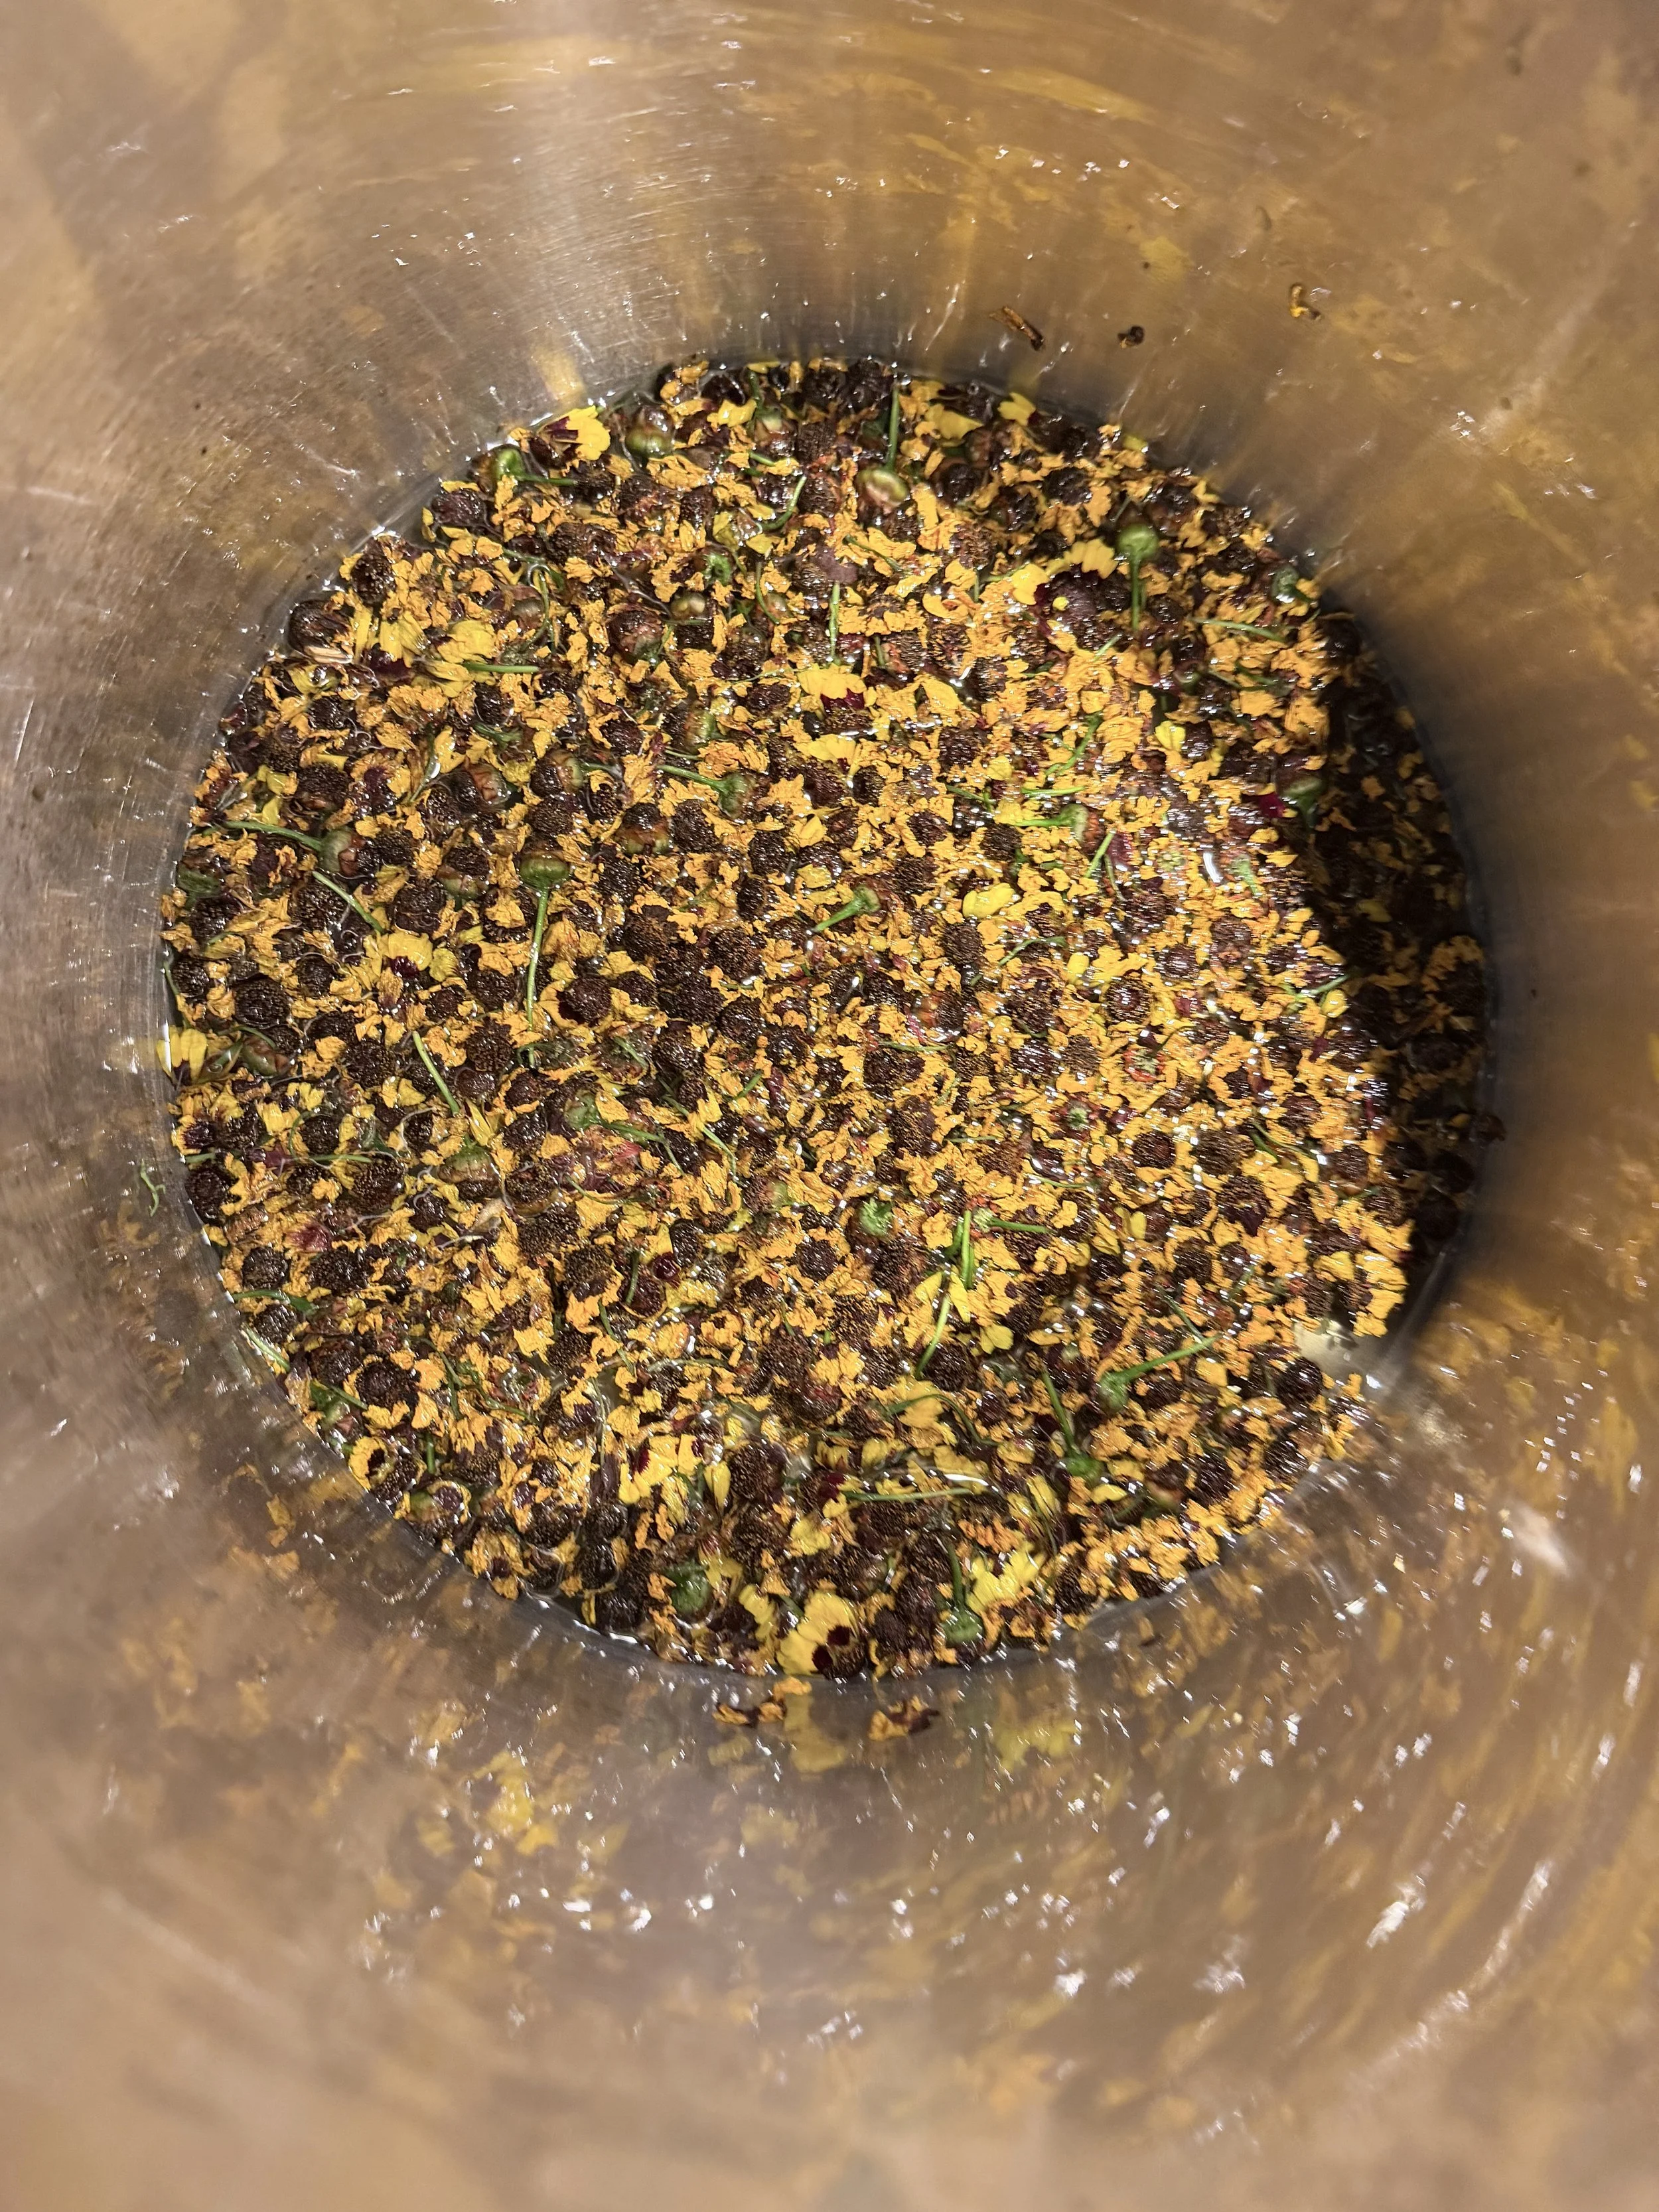
Coreopsis
Madder Root
Madder roots are harvested from 3-year-old plants. The roots are dug up in the fall and then cleaned before storing. Roots can be dried on a rack and then chopped for storage.
Logwood Bark
We use logwood extract that is derived from the bark of Logwood trees. Our source is sustainably harvested in the West Indies, Jamaica, Central and South America, and also Asia.
Murasaki Root
We grow murasaki plants in our garden. The plants are raised for 3 years before being harvested. The roots are dug up and kept in a dark storage place if not being used immediately.
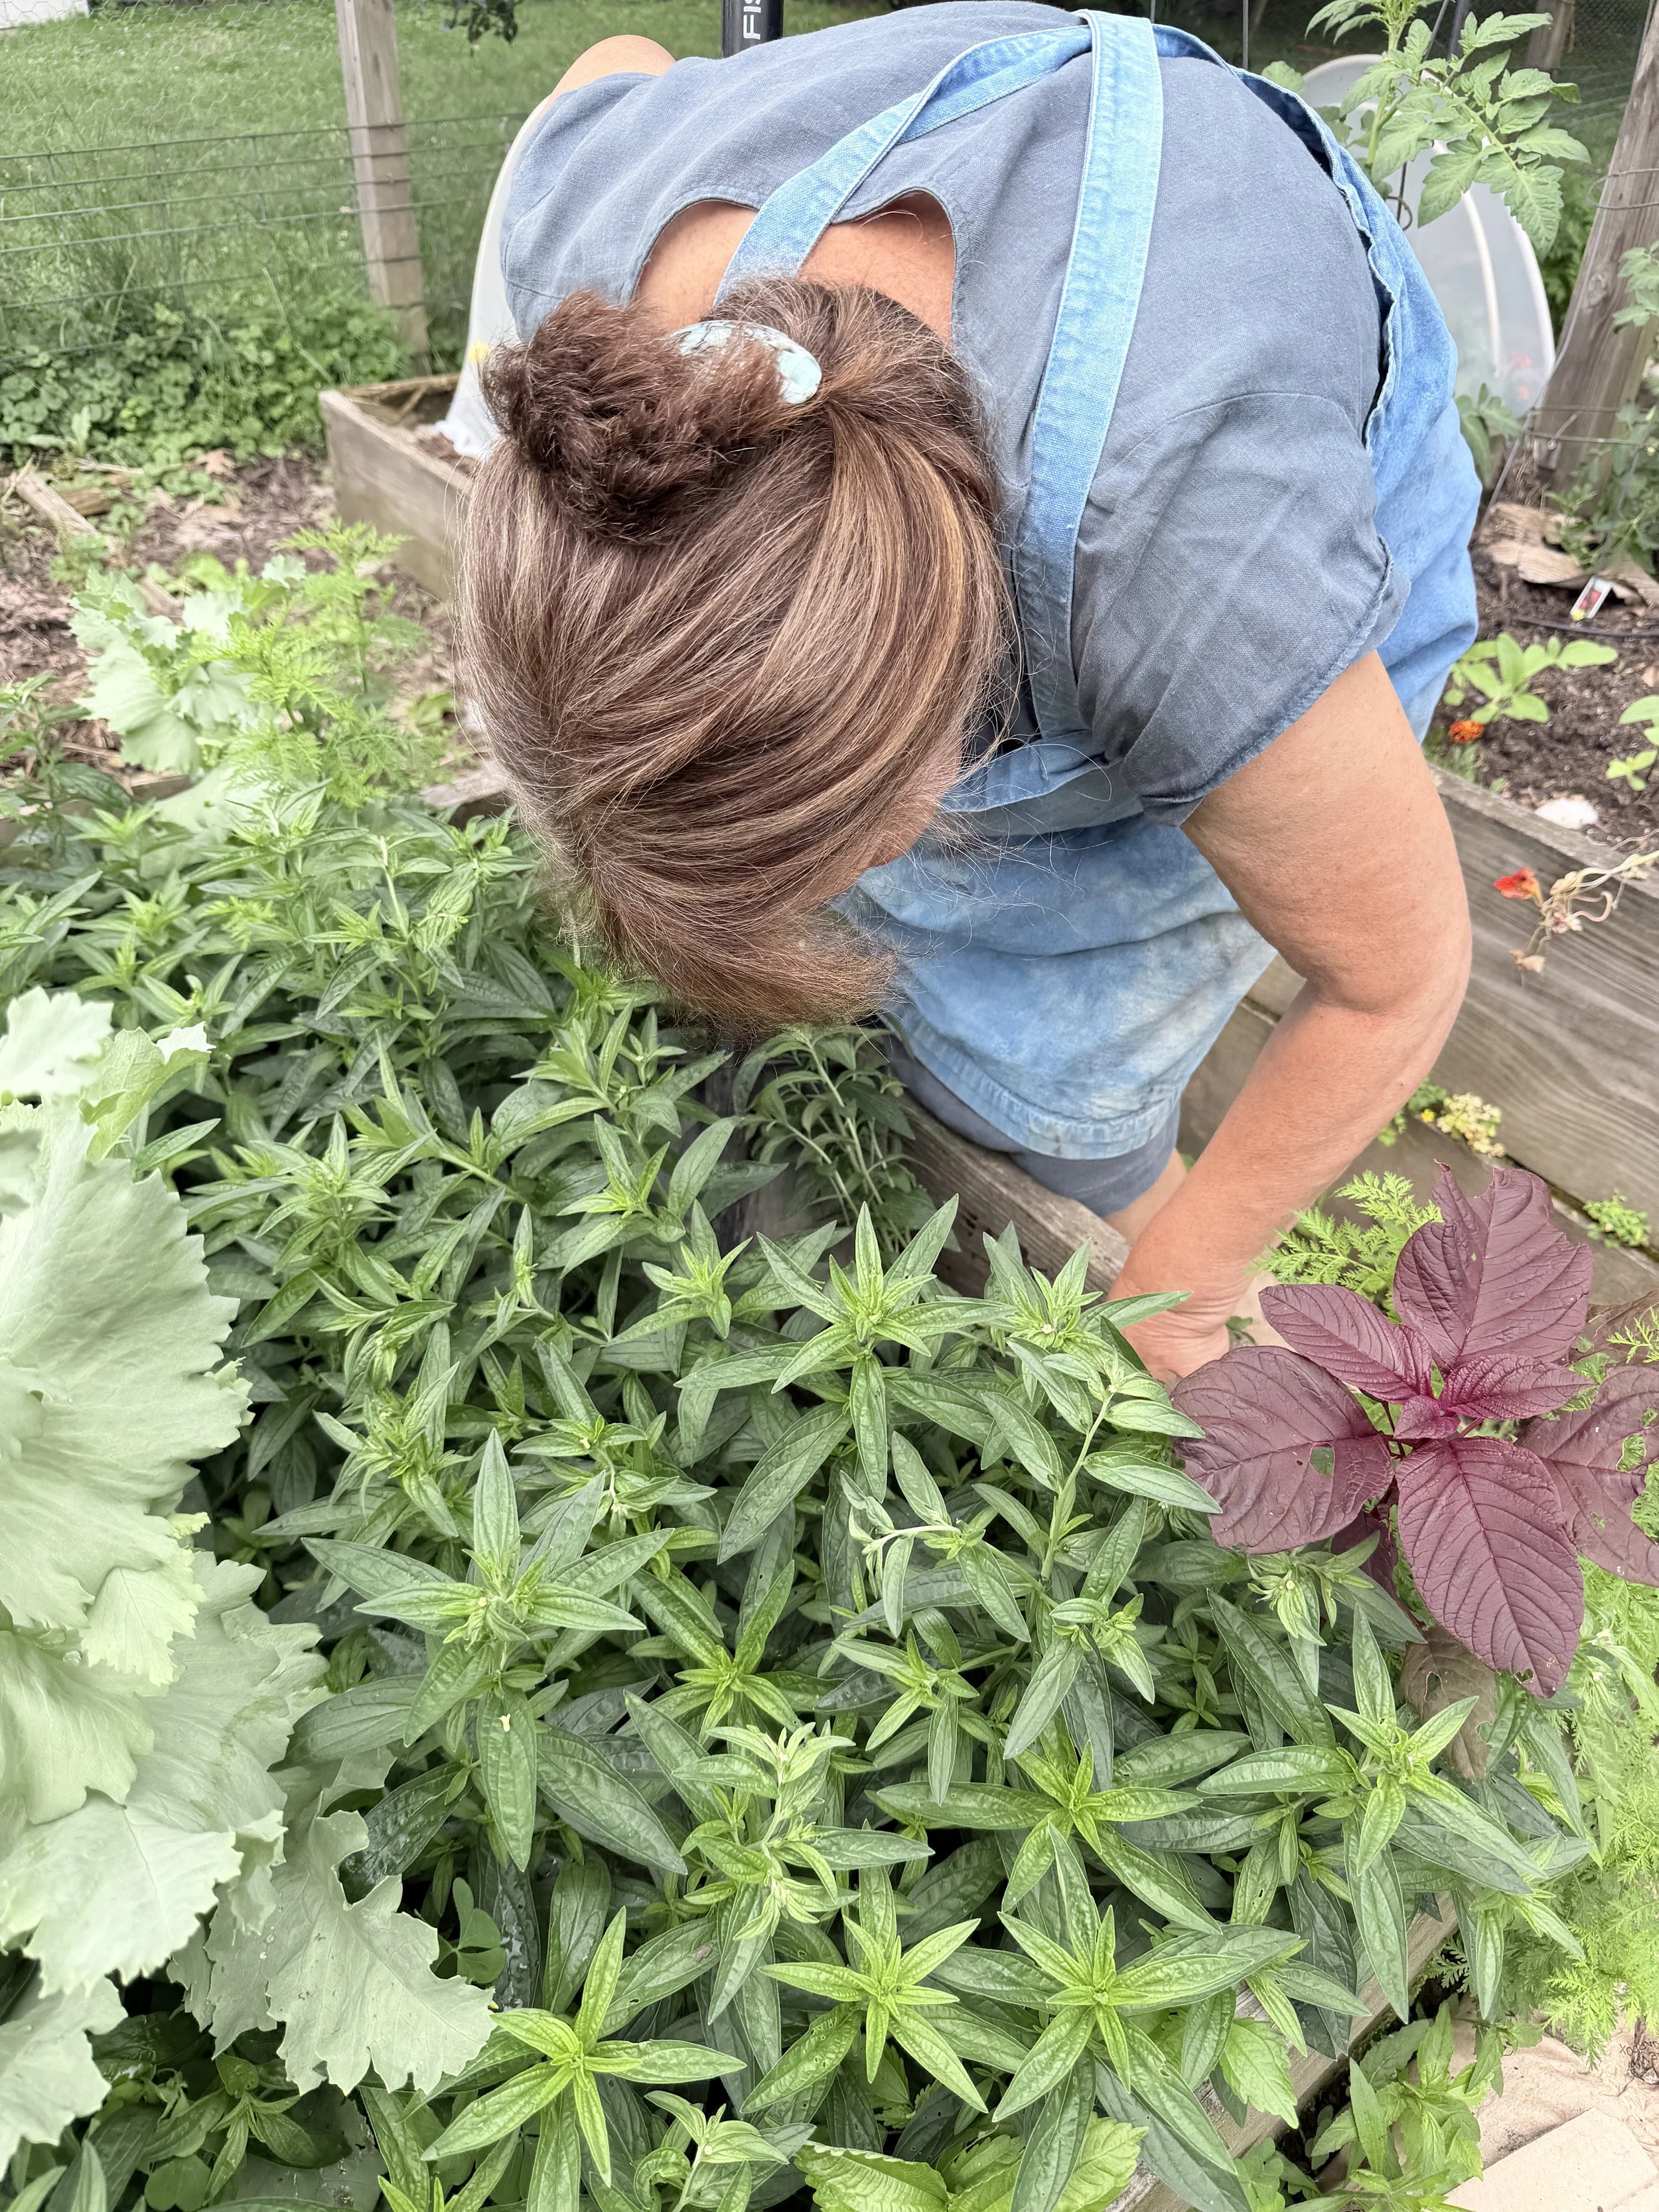
Murasaki plants
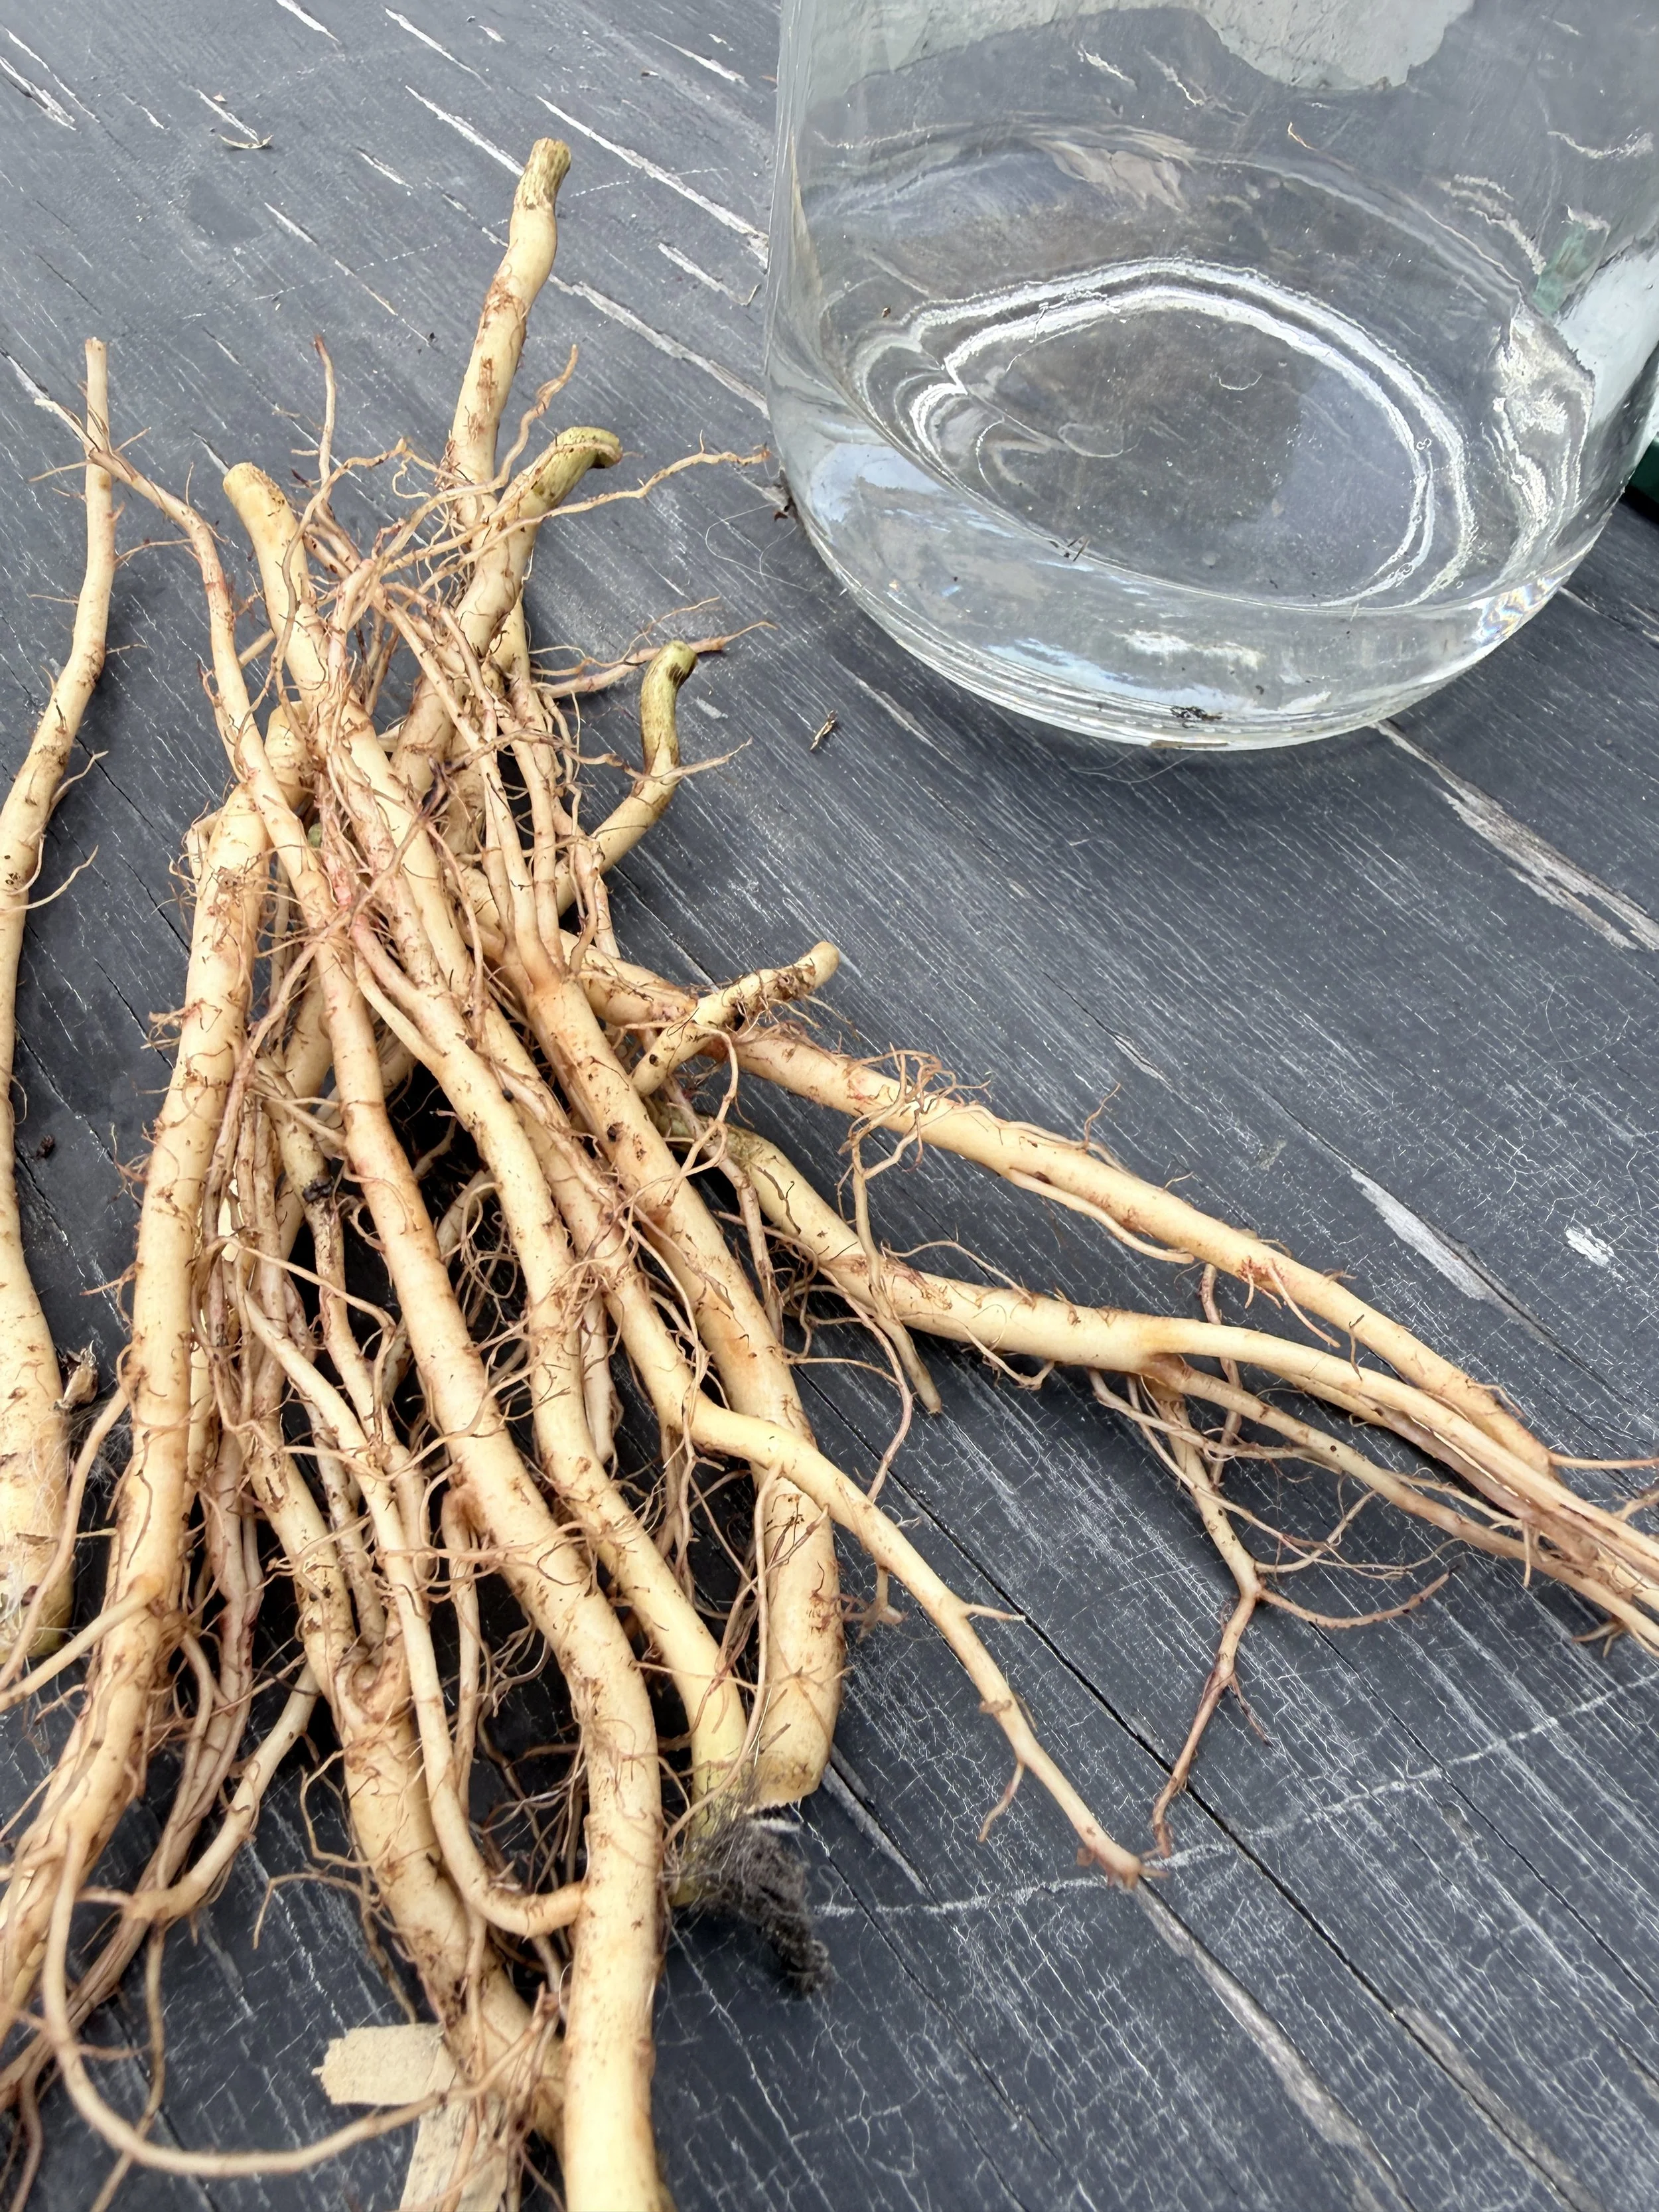
Murasaki roots
Indigo
We grow Persicaria tinctoria in our garden here in Vermont, then harvest the plants in July, August, and September when they're mature.
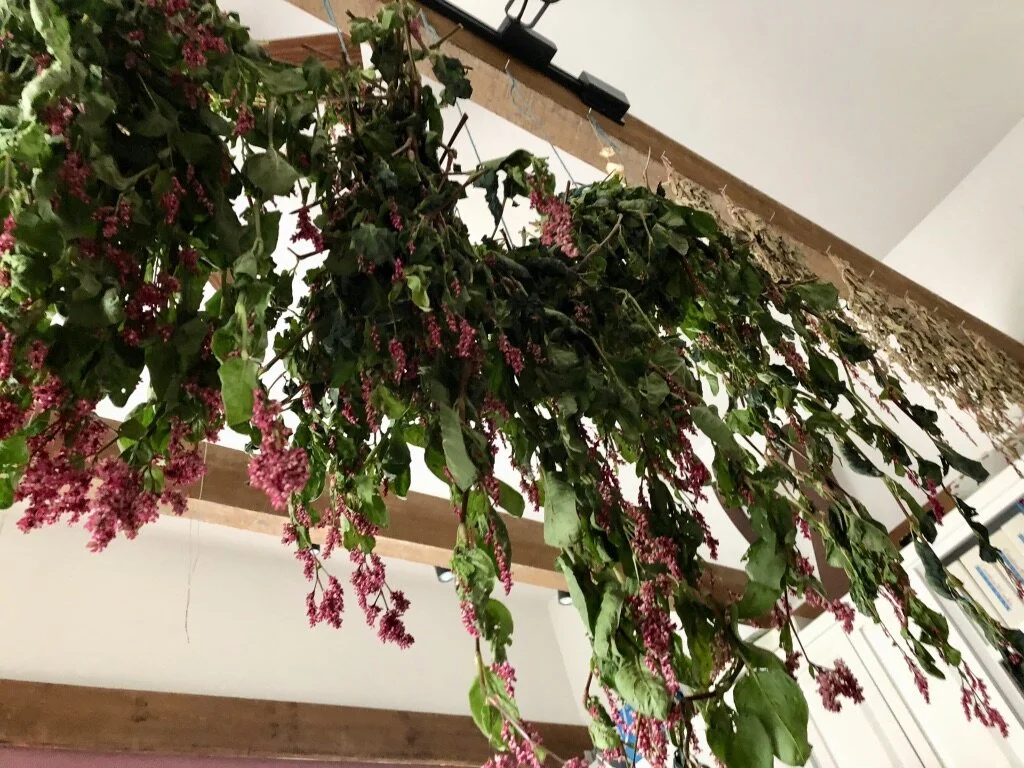
Indigo drying
Step 4: Making the Dyes
Buckthorn, Sumac, and Weld
We put each plant in a large kettle and added enough water to cover the plants. (The less water you add, the stronger your dye will be.) We left the plants to simmer for about an hour before we turned off the heat, but left the lids on and let the dyes cool overnight.
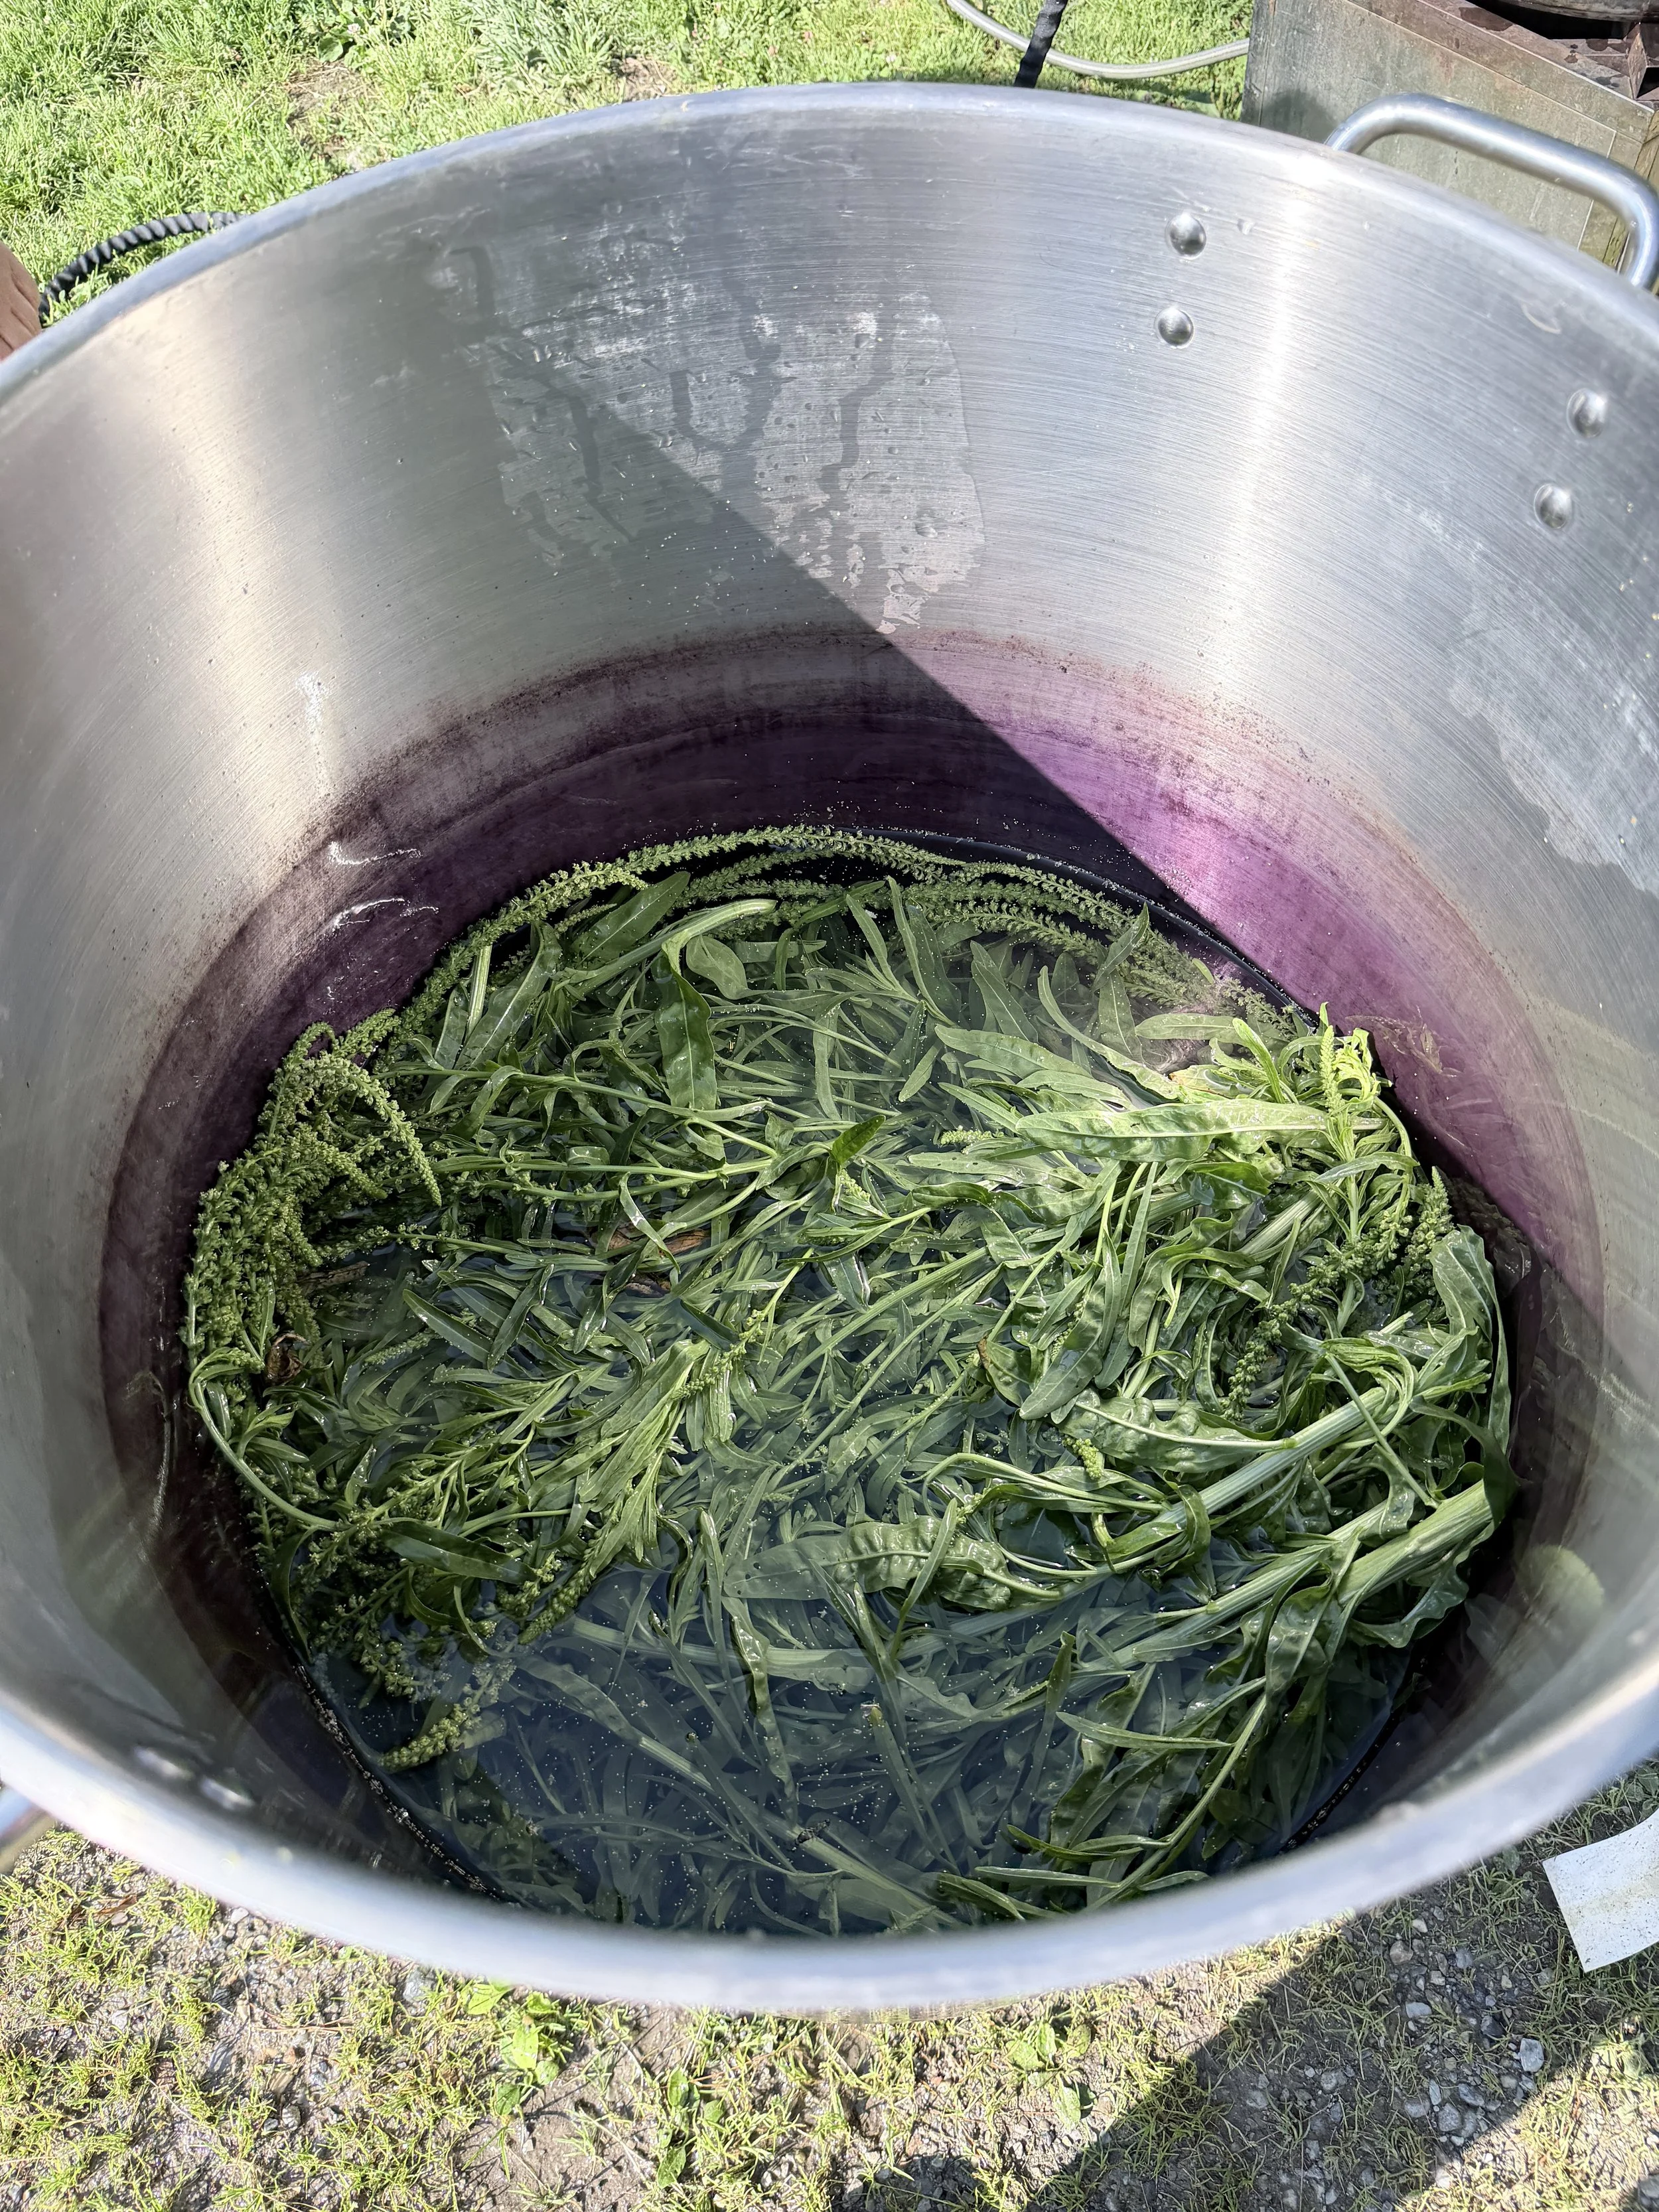
Weld
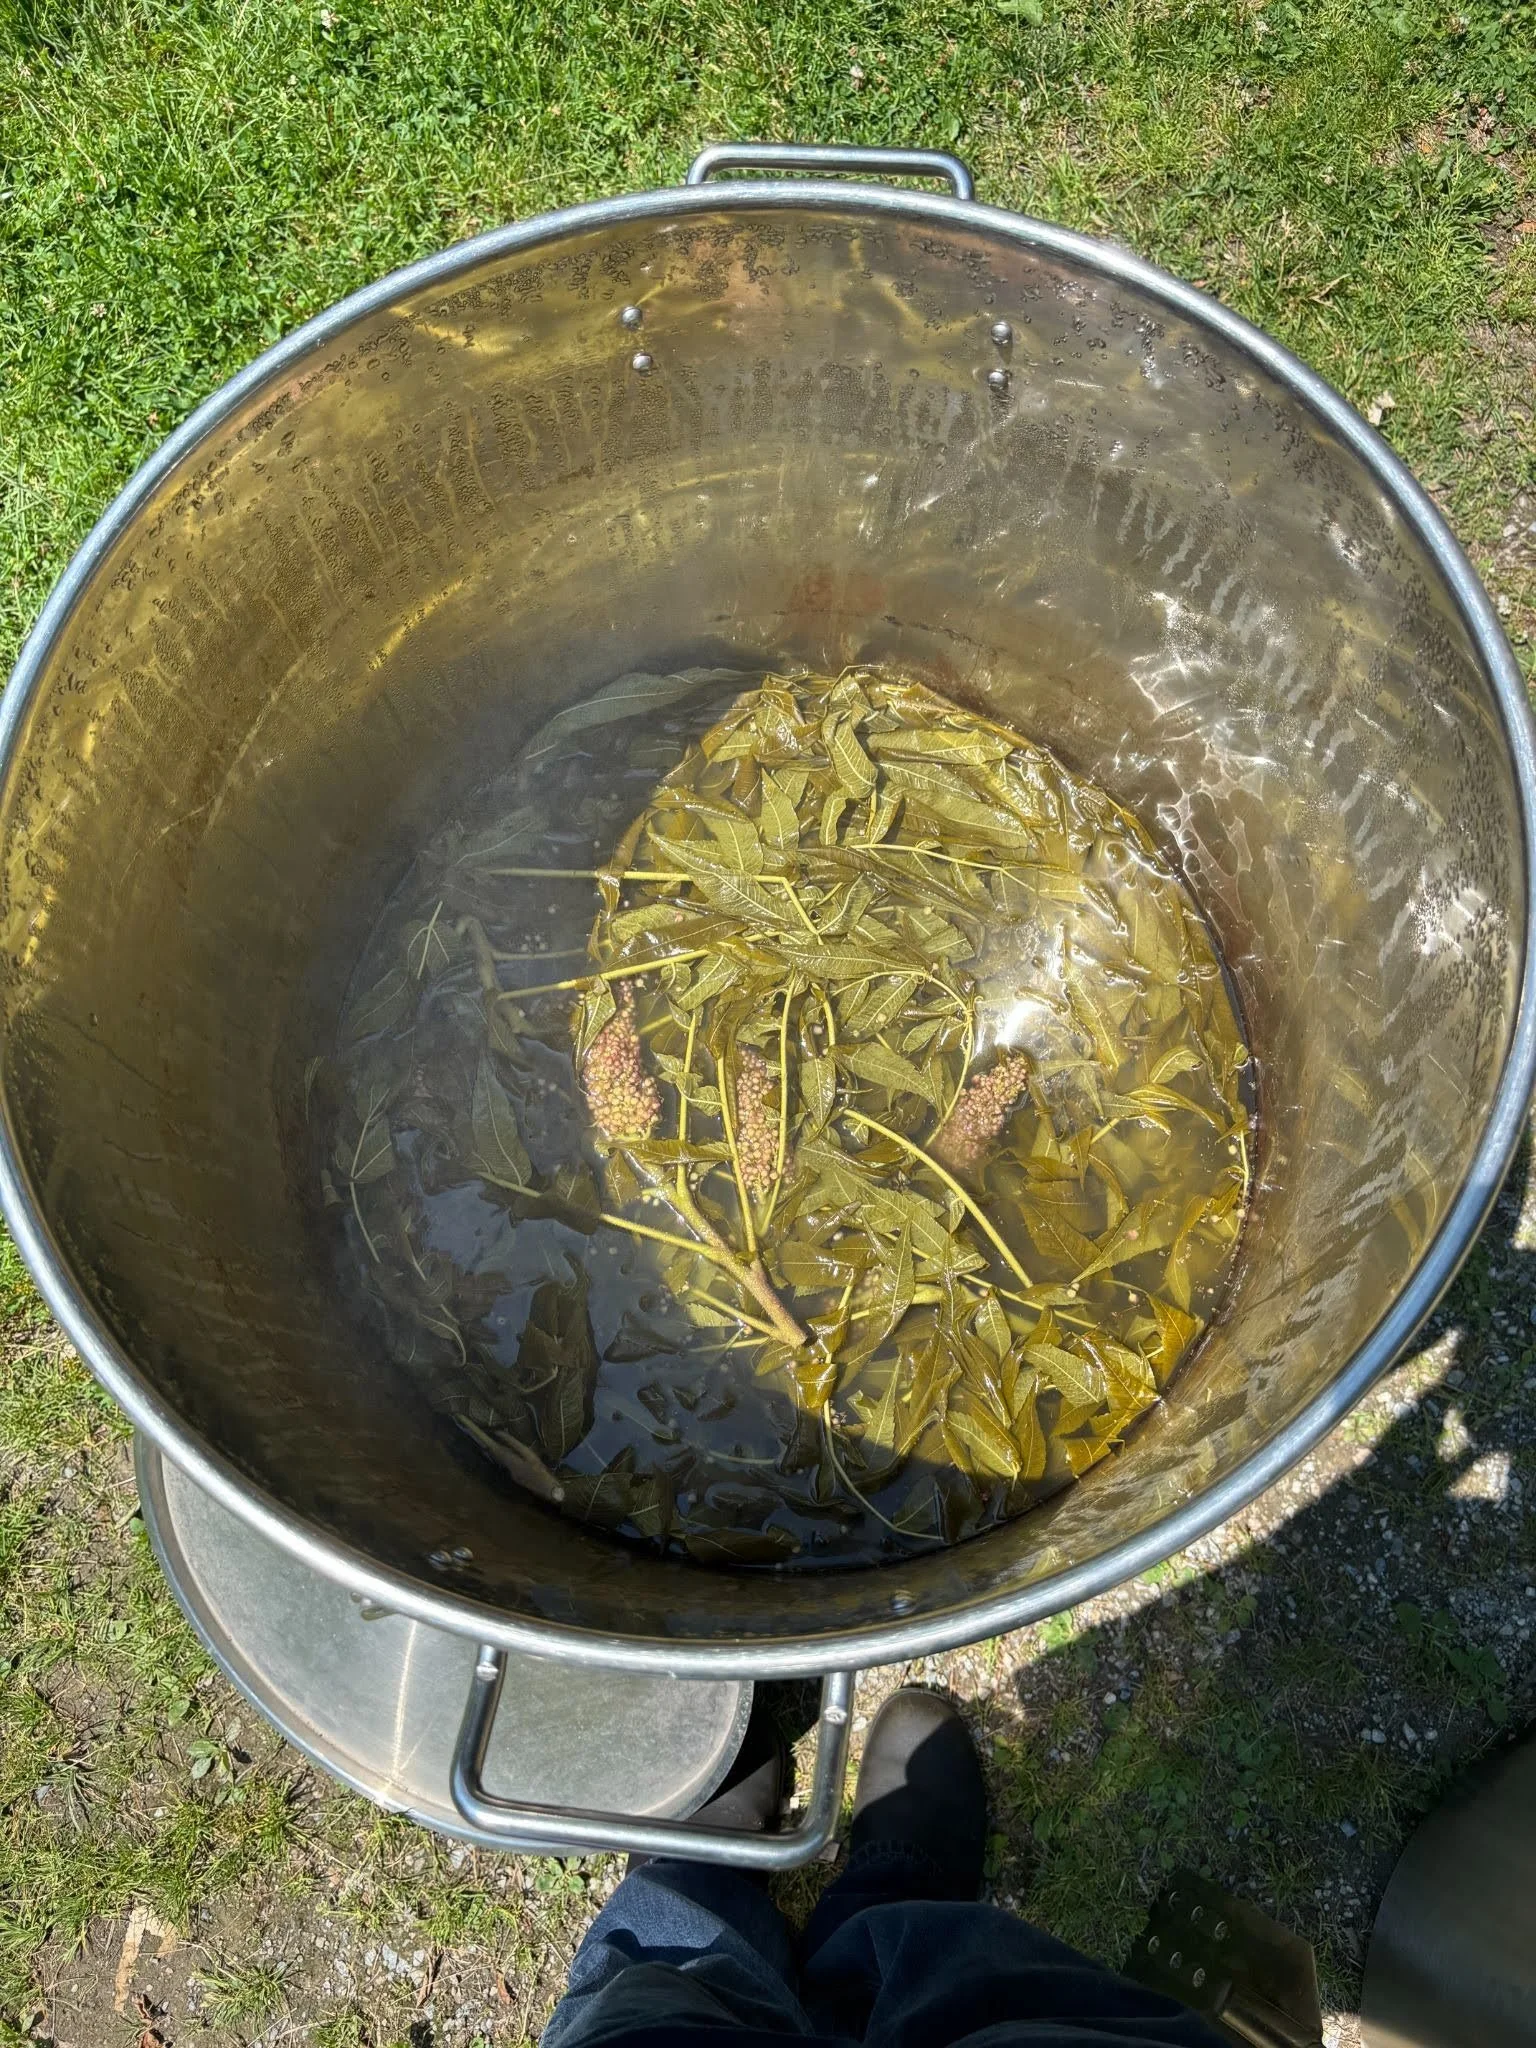
Sumac (Photo credit: Lou Bilbe)
Amaranthus
Amaranthus' pigment is heat and light-sensitive, so we cold-processed the leaves, stems, and flowers by submerging them in water in a large sealed container in the refrigerator. We added our mordanted fibers directly and let the combination 'marinate' for several days before taking them out to dry. Amaranthus creates beautiful fugitive color, as do many other natural materials.
Cosmos, Dyer’s Chamomile, Coreopsis, and Marigold
For the flowers, we brought them inside and put each in a pot on the stove with enough water to cover the flowers. Since these amounts of dye were significantly smaller than the large kettles outside, we brought the water to a simmer only for 20 minutes before leaving the flowers to sit and cool overnight.
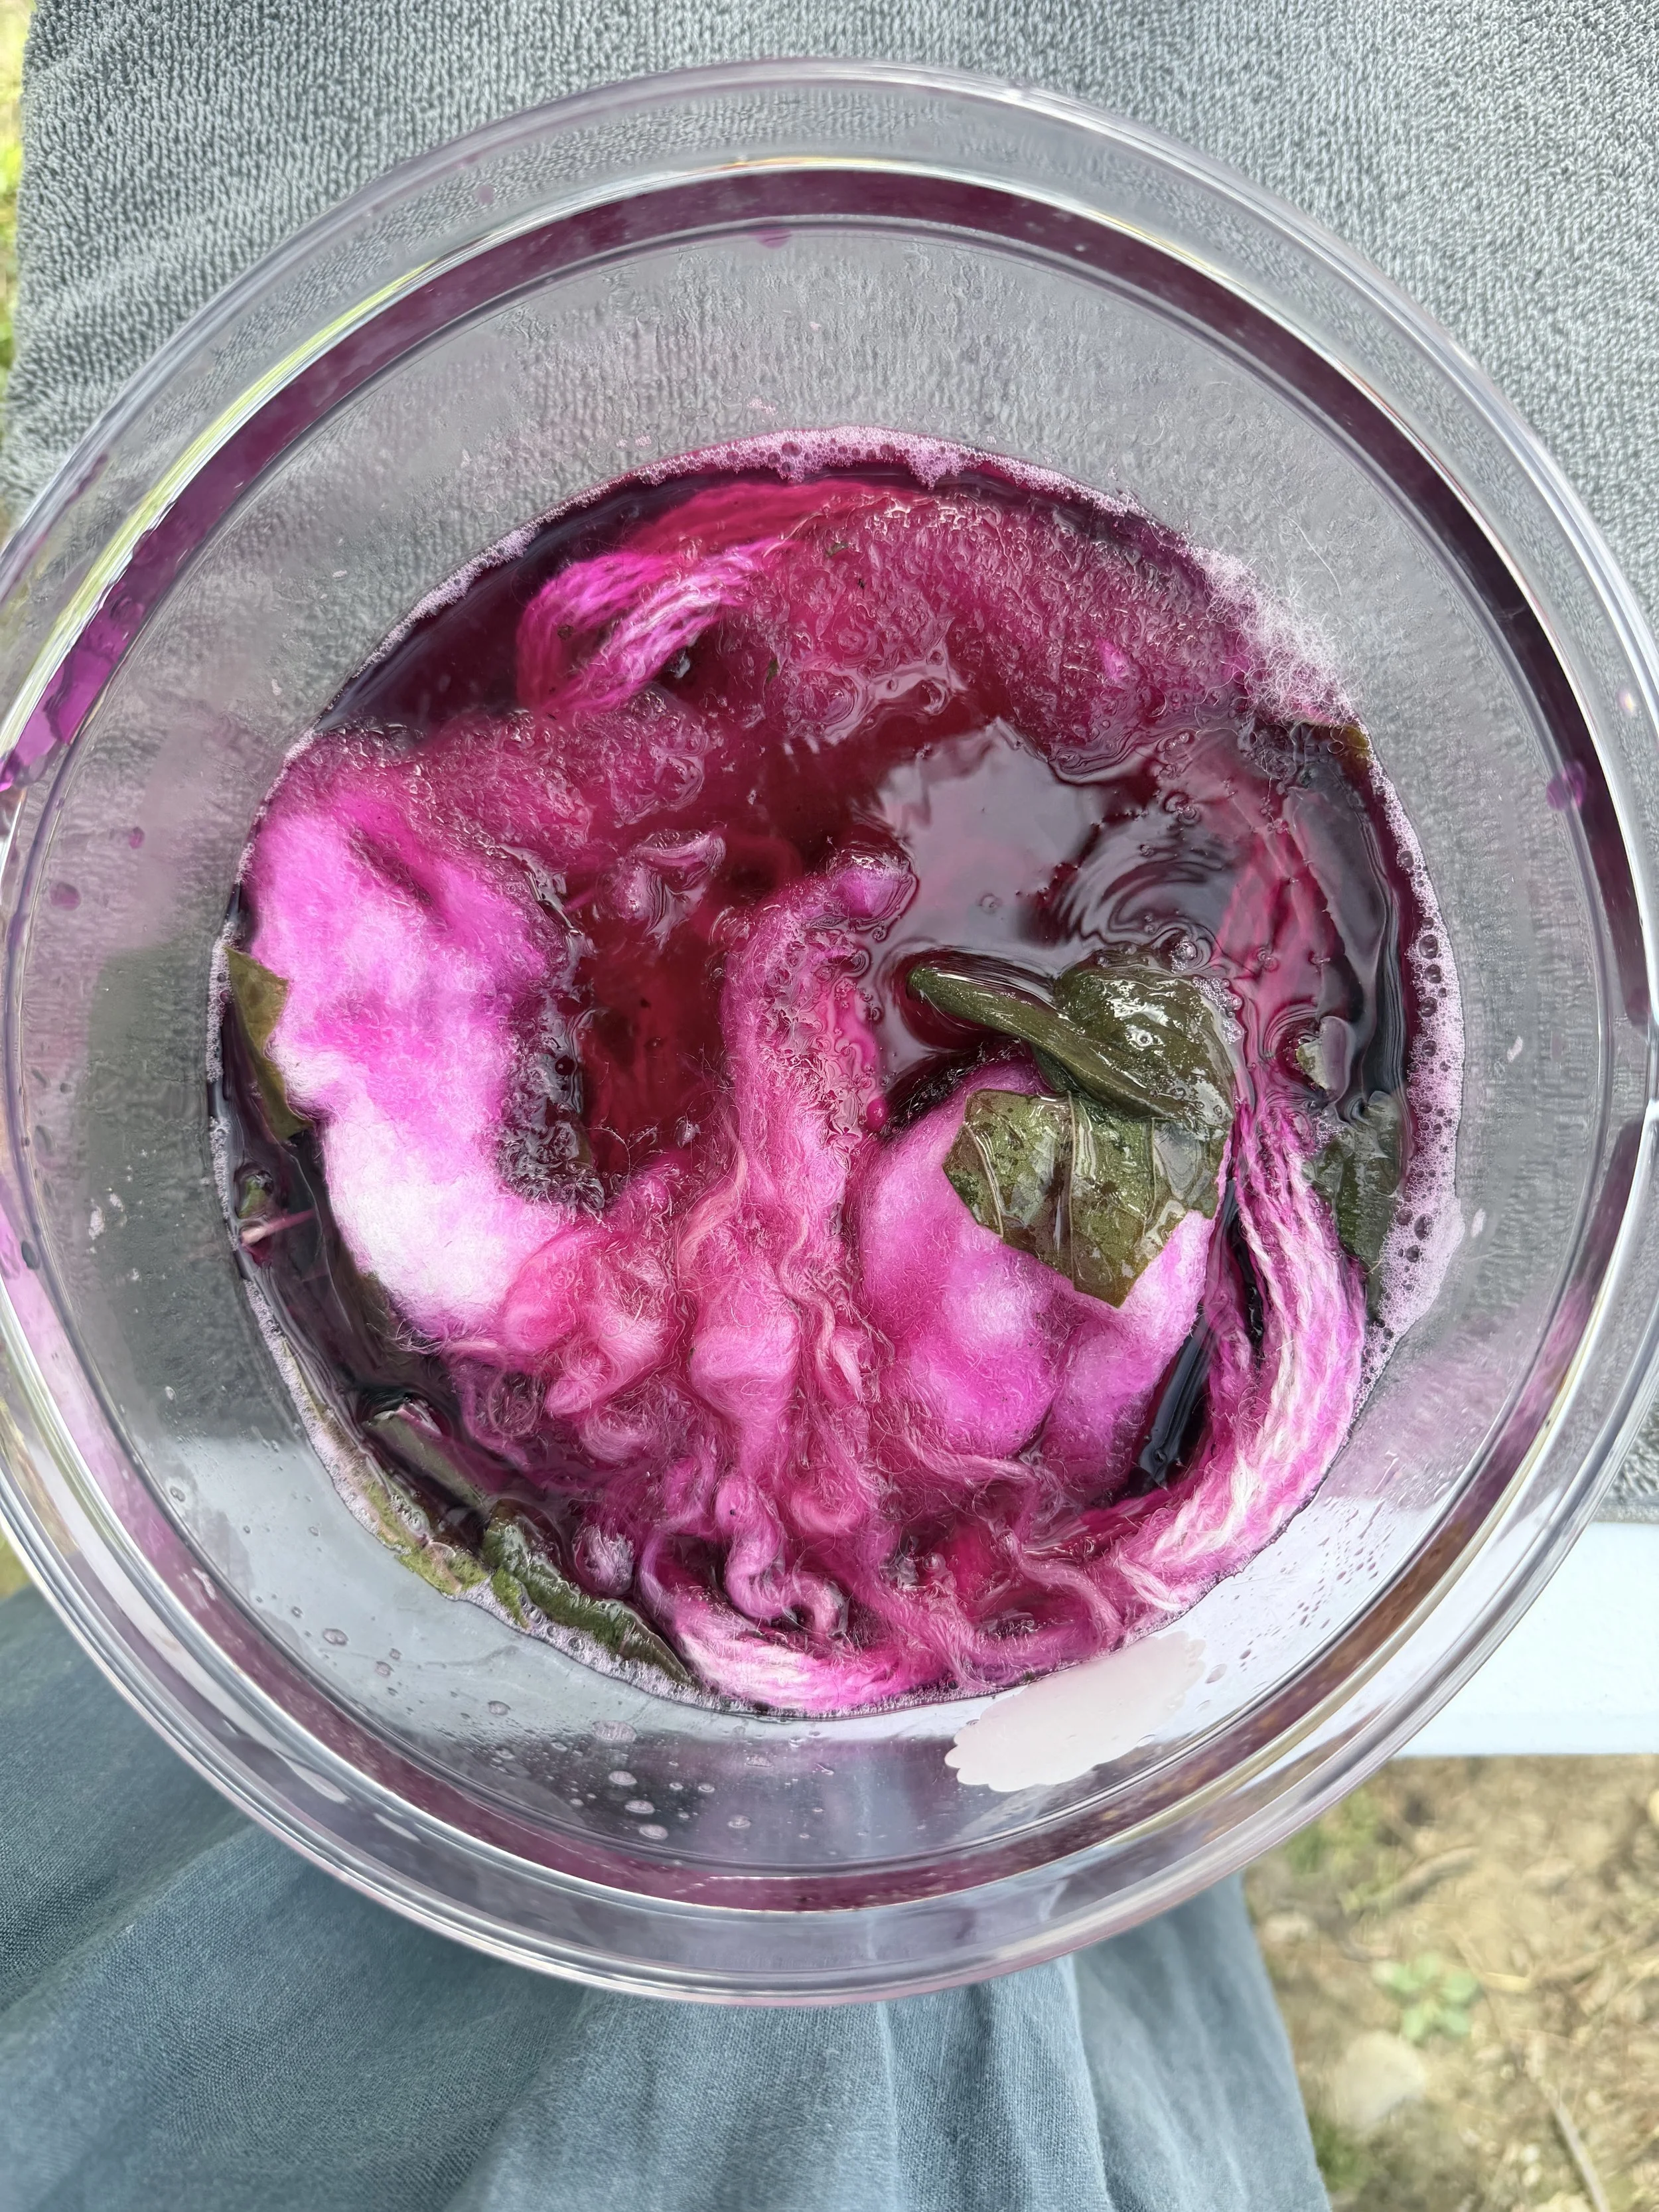
Amaranthus
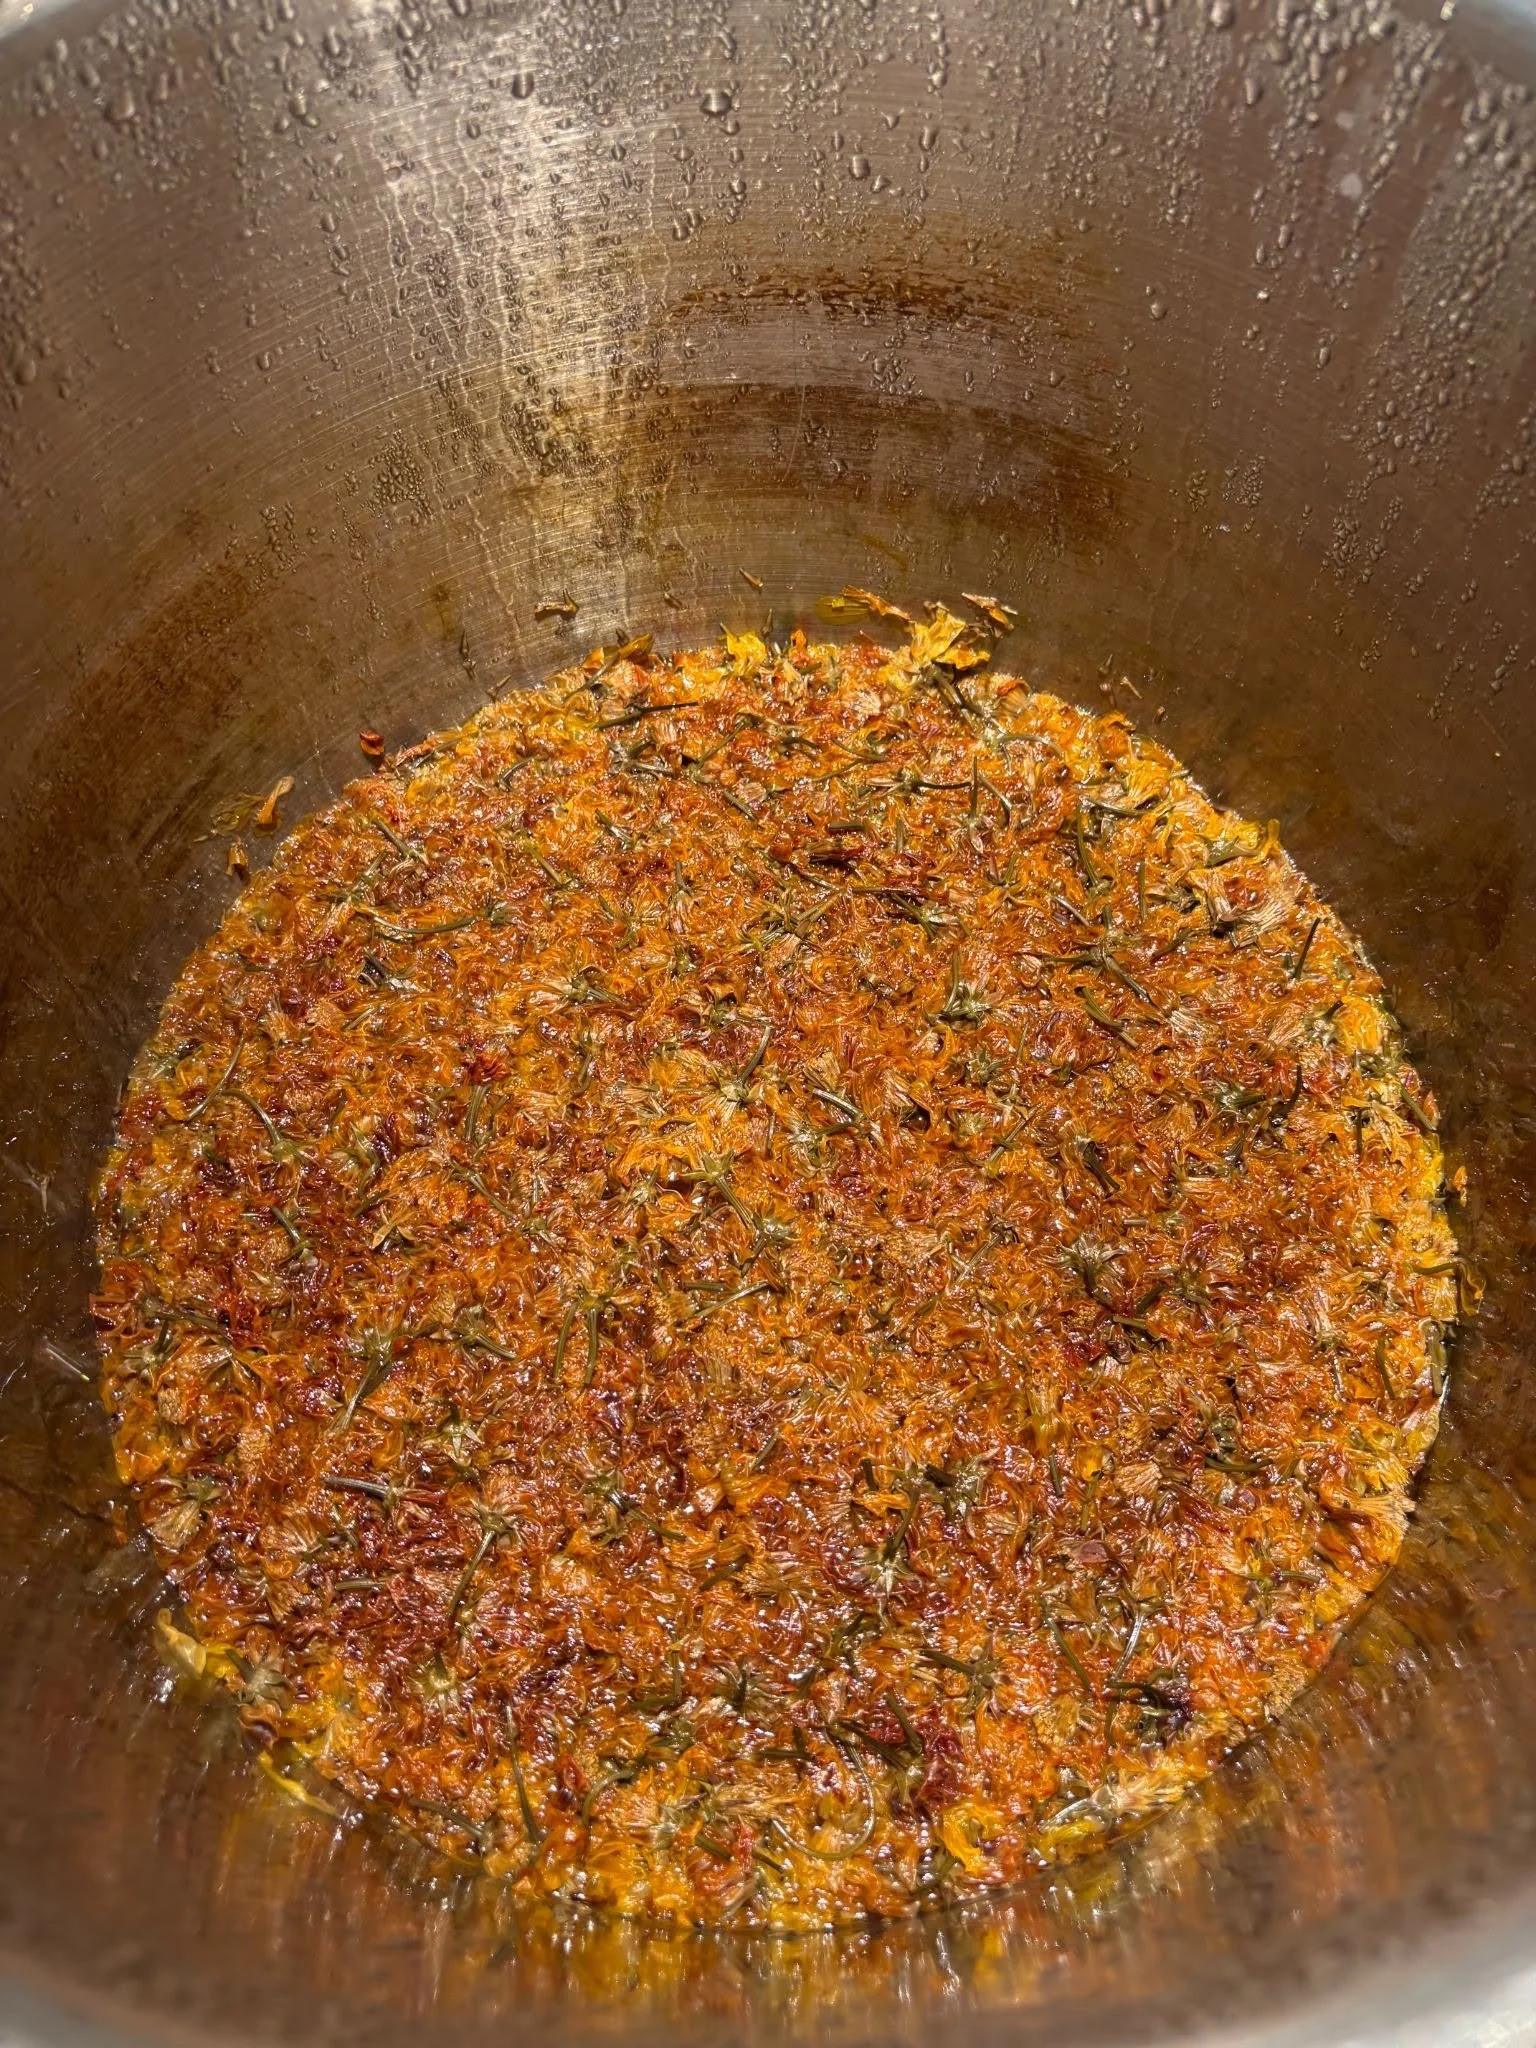
Coreopsis (Photo credit: Lou Bilbe)
Madder Root
We soak the roots before adding heat to help soften them. When it is time to dye, we covered the roots with water and added heat to 180 degrees (a simmer). After simmering for 30-40 minutes, we leave it to cool. This dye liquor can be used as is or diluted. The roots can be simmered again and again until 'exhausted.' It’s important not to use higher temperatures(such as boiling water) as the colors will be less vibrant. We keep a large kettle of this dye on hand to use whenever we need it!
Logwood
Logwood, similar to Madder root, is sensitive to too high of heat. We grind the bark and then soak it in water; heat is added for approximately 40 minutes, and the pigment-dyed water is used as a dye. Then we strain the bark out so that the particles do not infiltrate the dyestuffs. We also keep a kettle of this on hand.
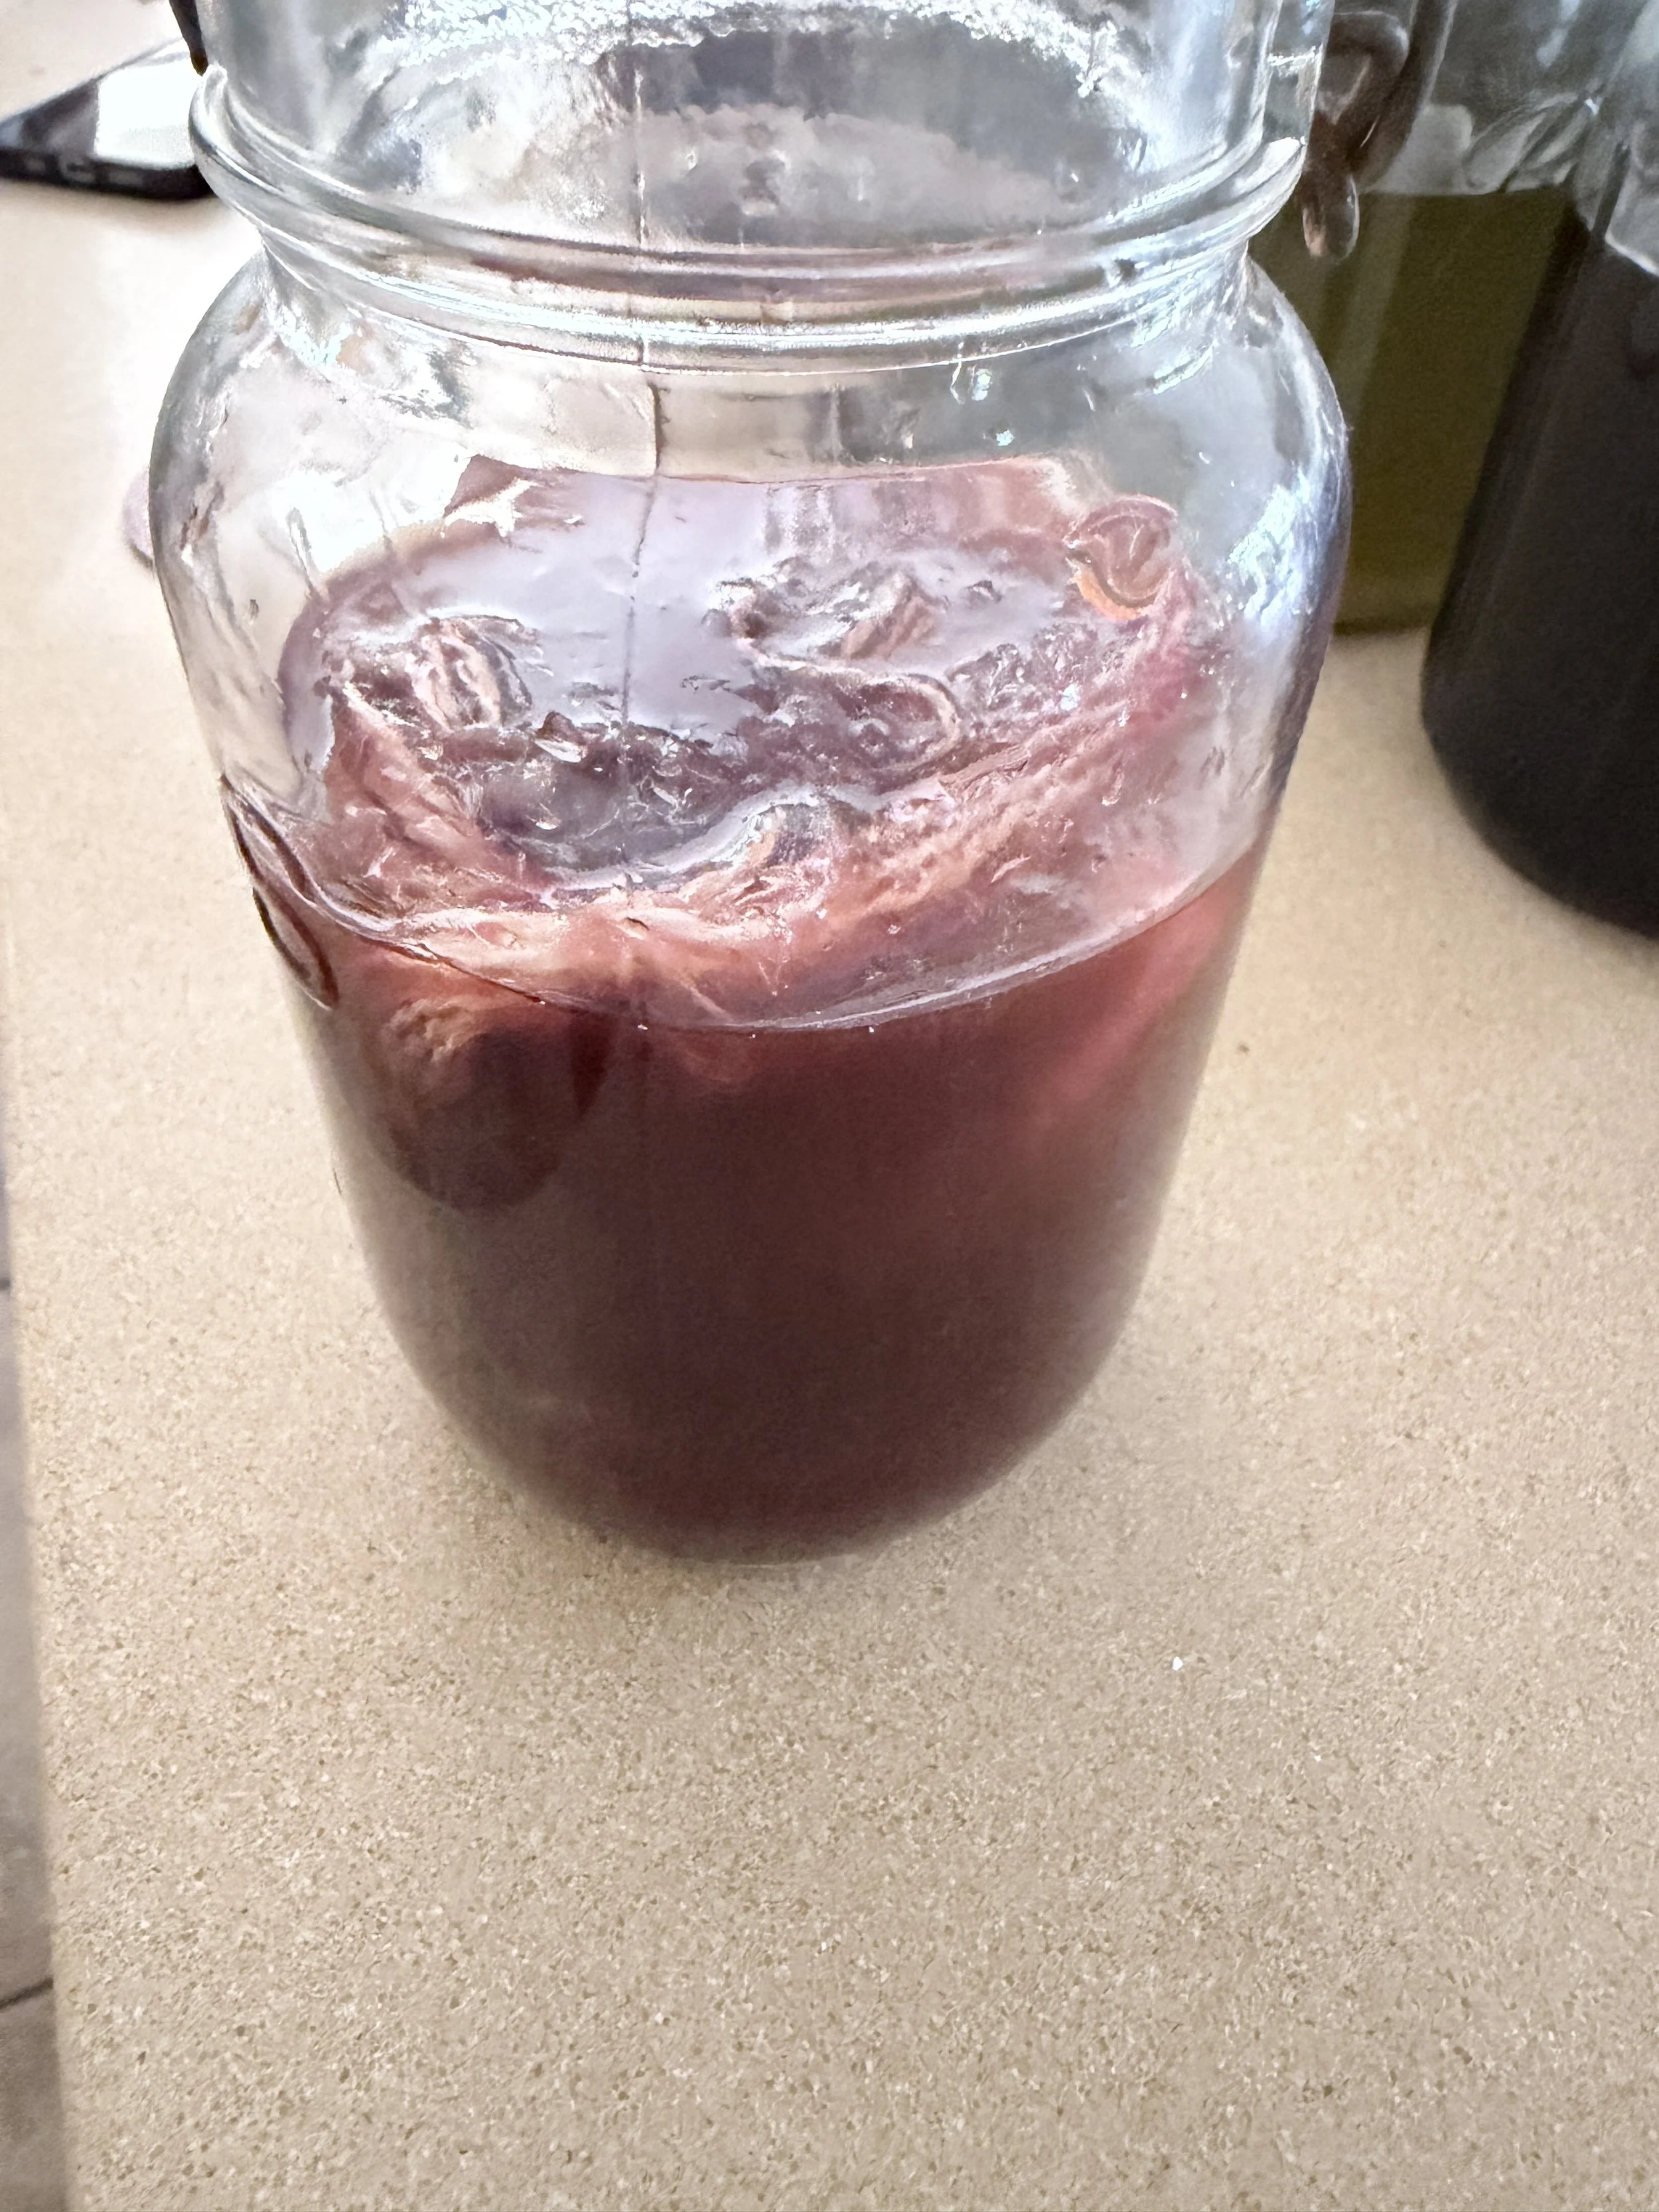
Madder root
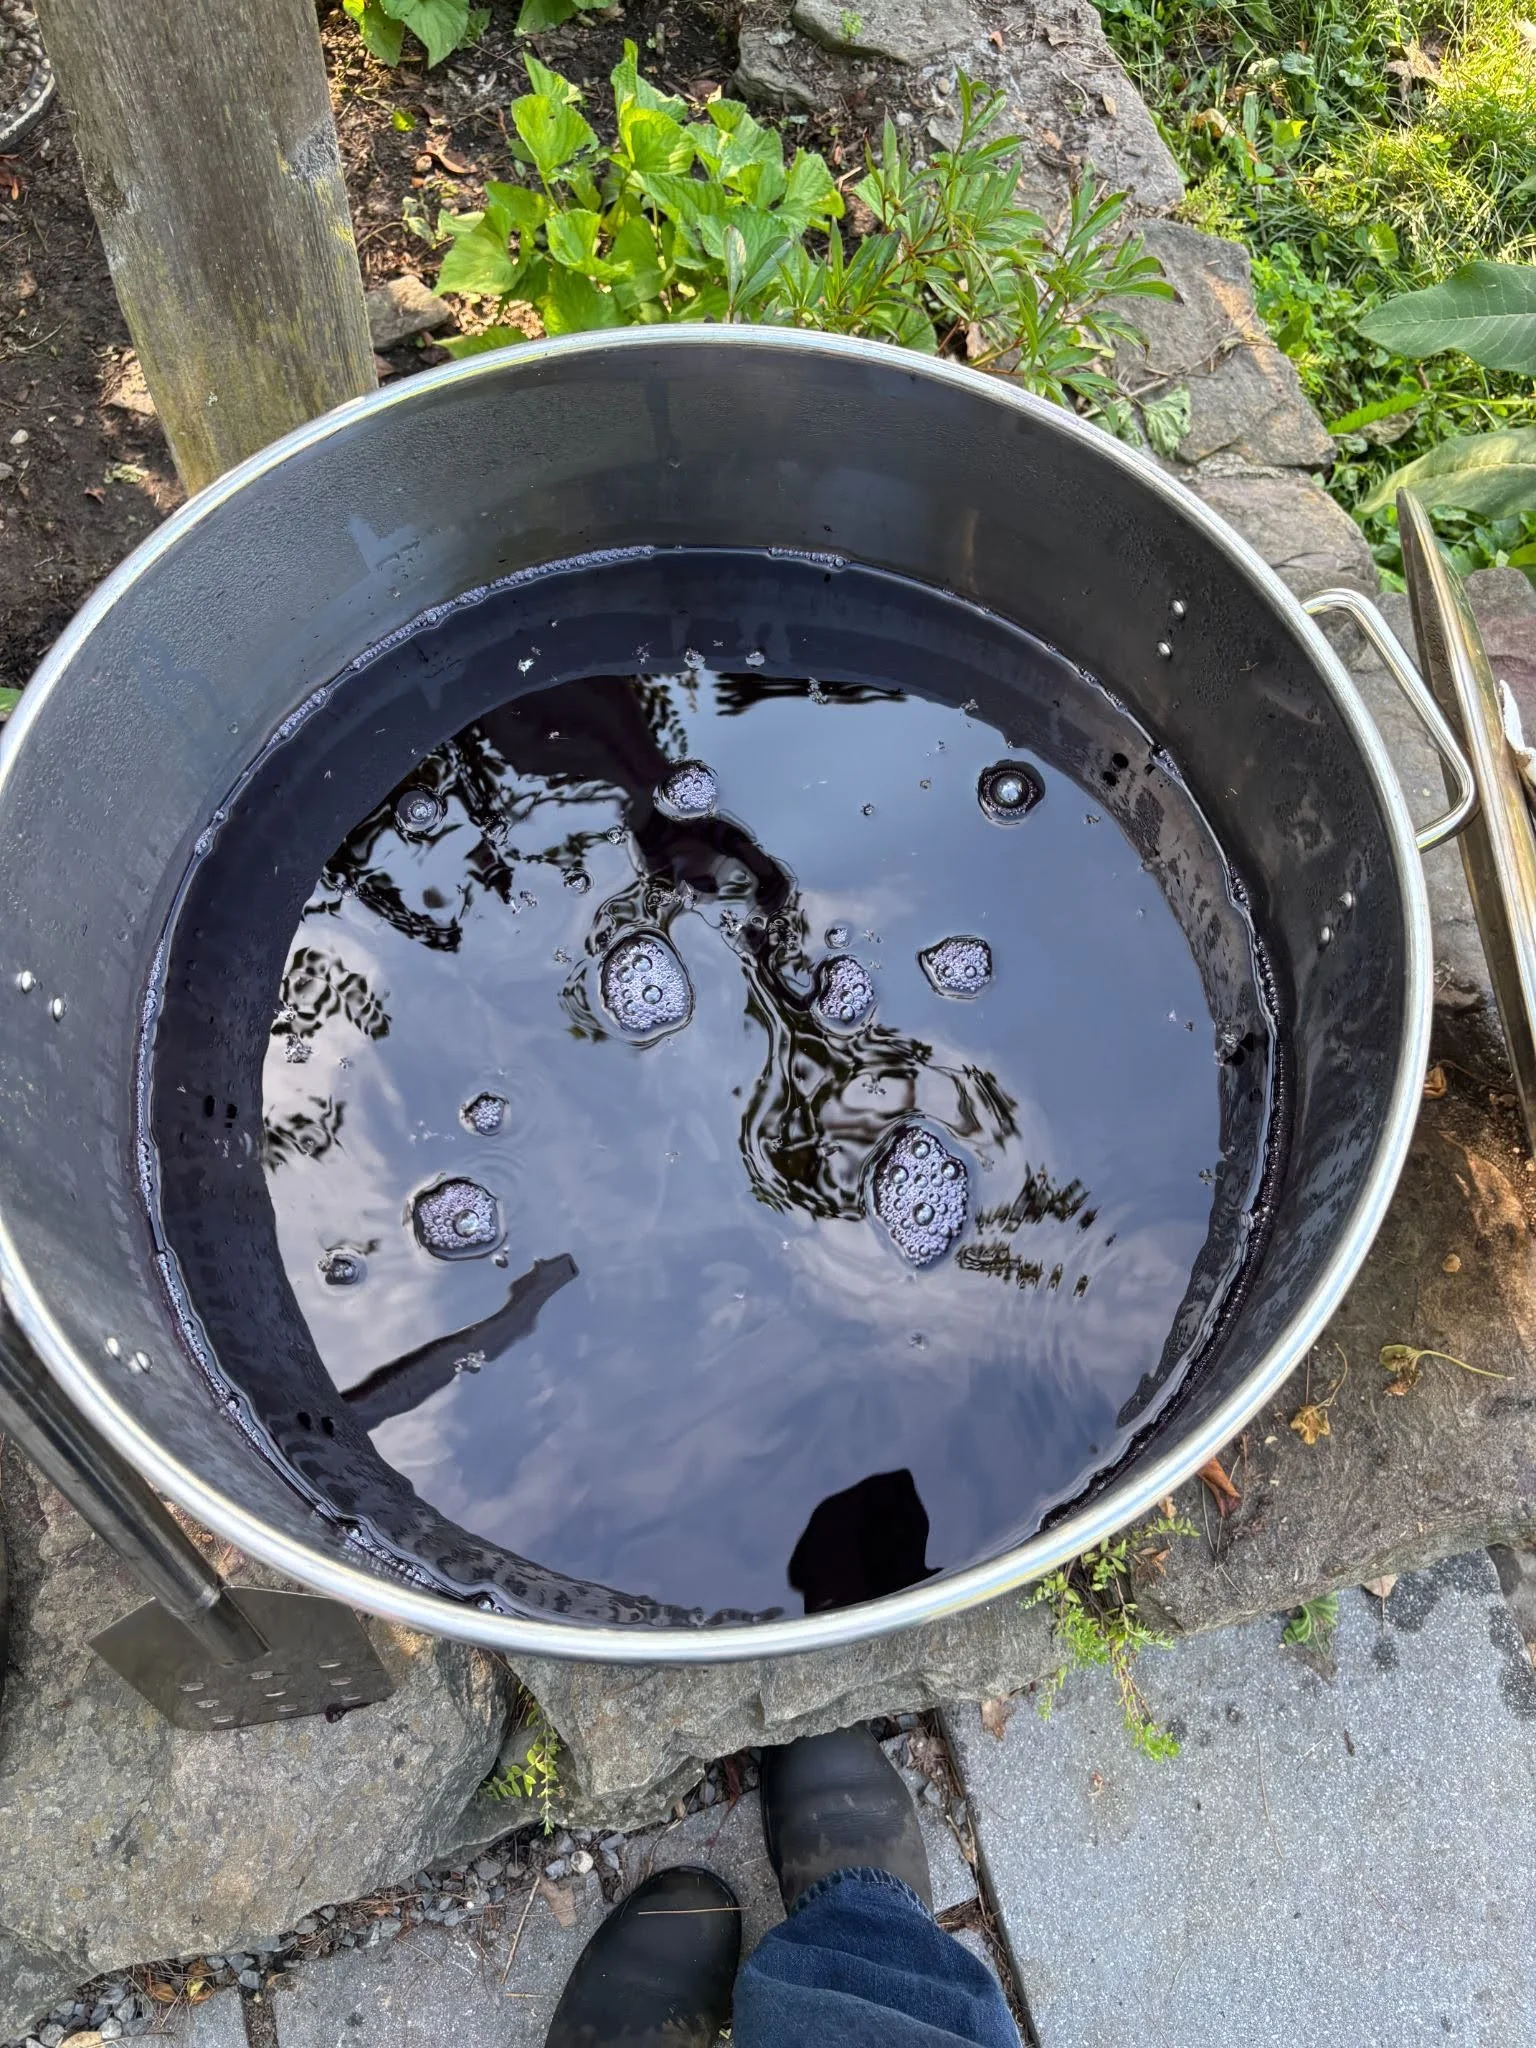
Logwood (Photo credit: Lou Bilbe
Murasaki
We extracted the color from our roots by soaking in a jar of rubbing alcohol for 72 hours before straining off the very dark purple color. Roots can also be dried and then pulverized before extracting. The roots need to be soaked to soften with water for approximately an hour - use cold water, not warm or hot. Then pour the rubbing alcohol over the roots and keep submerged and dark for as long as you are storing it. It is useful after 36-72 hours.
Indigo
The plants undergo a process of brief fermentation, and then, through an aqueous extraction process, the pigment can be stored indefinitely. We use the indigo that is stored and hydrate/reactivate it for all of our indigo dyeing.
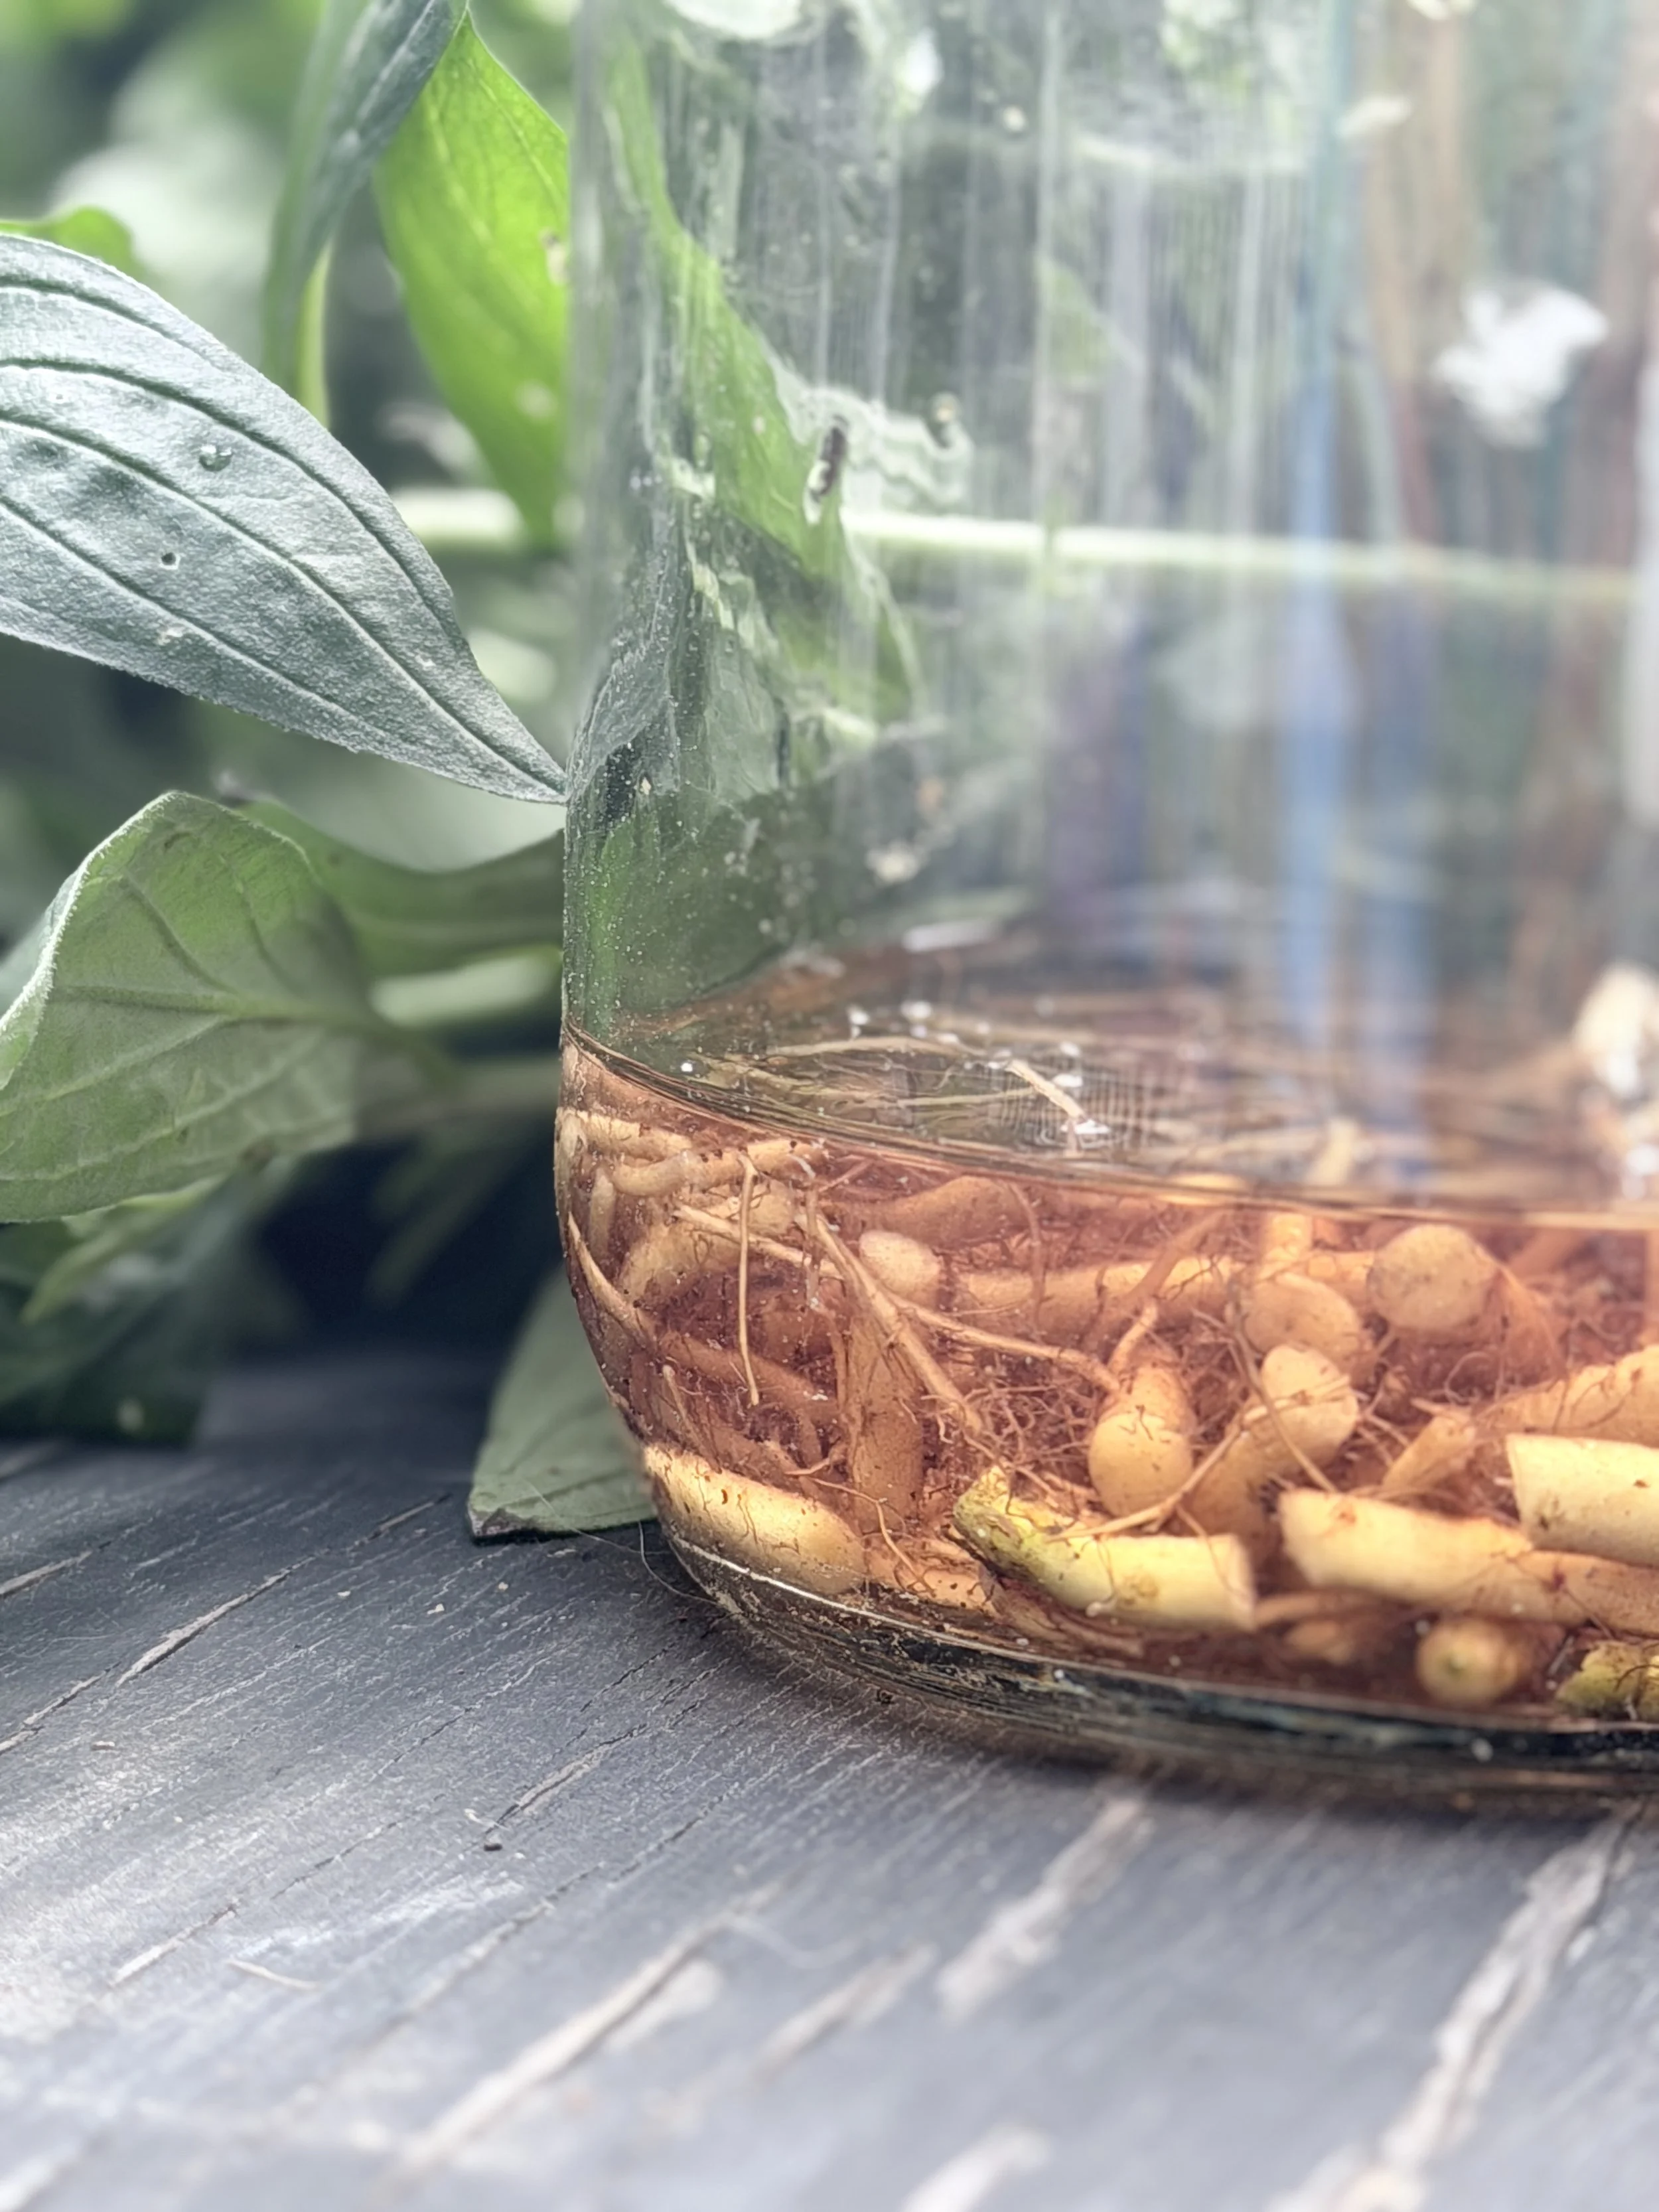
Murasaki

Indigo dye vat
Step 5: Modifying the Dyes
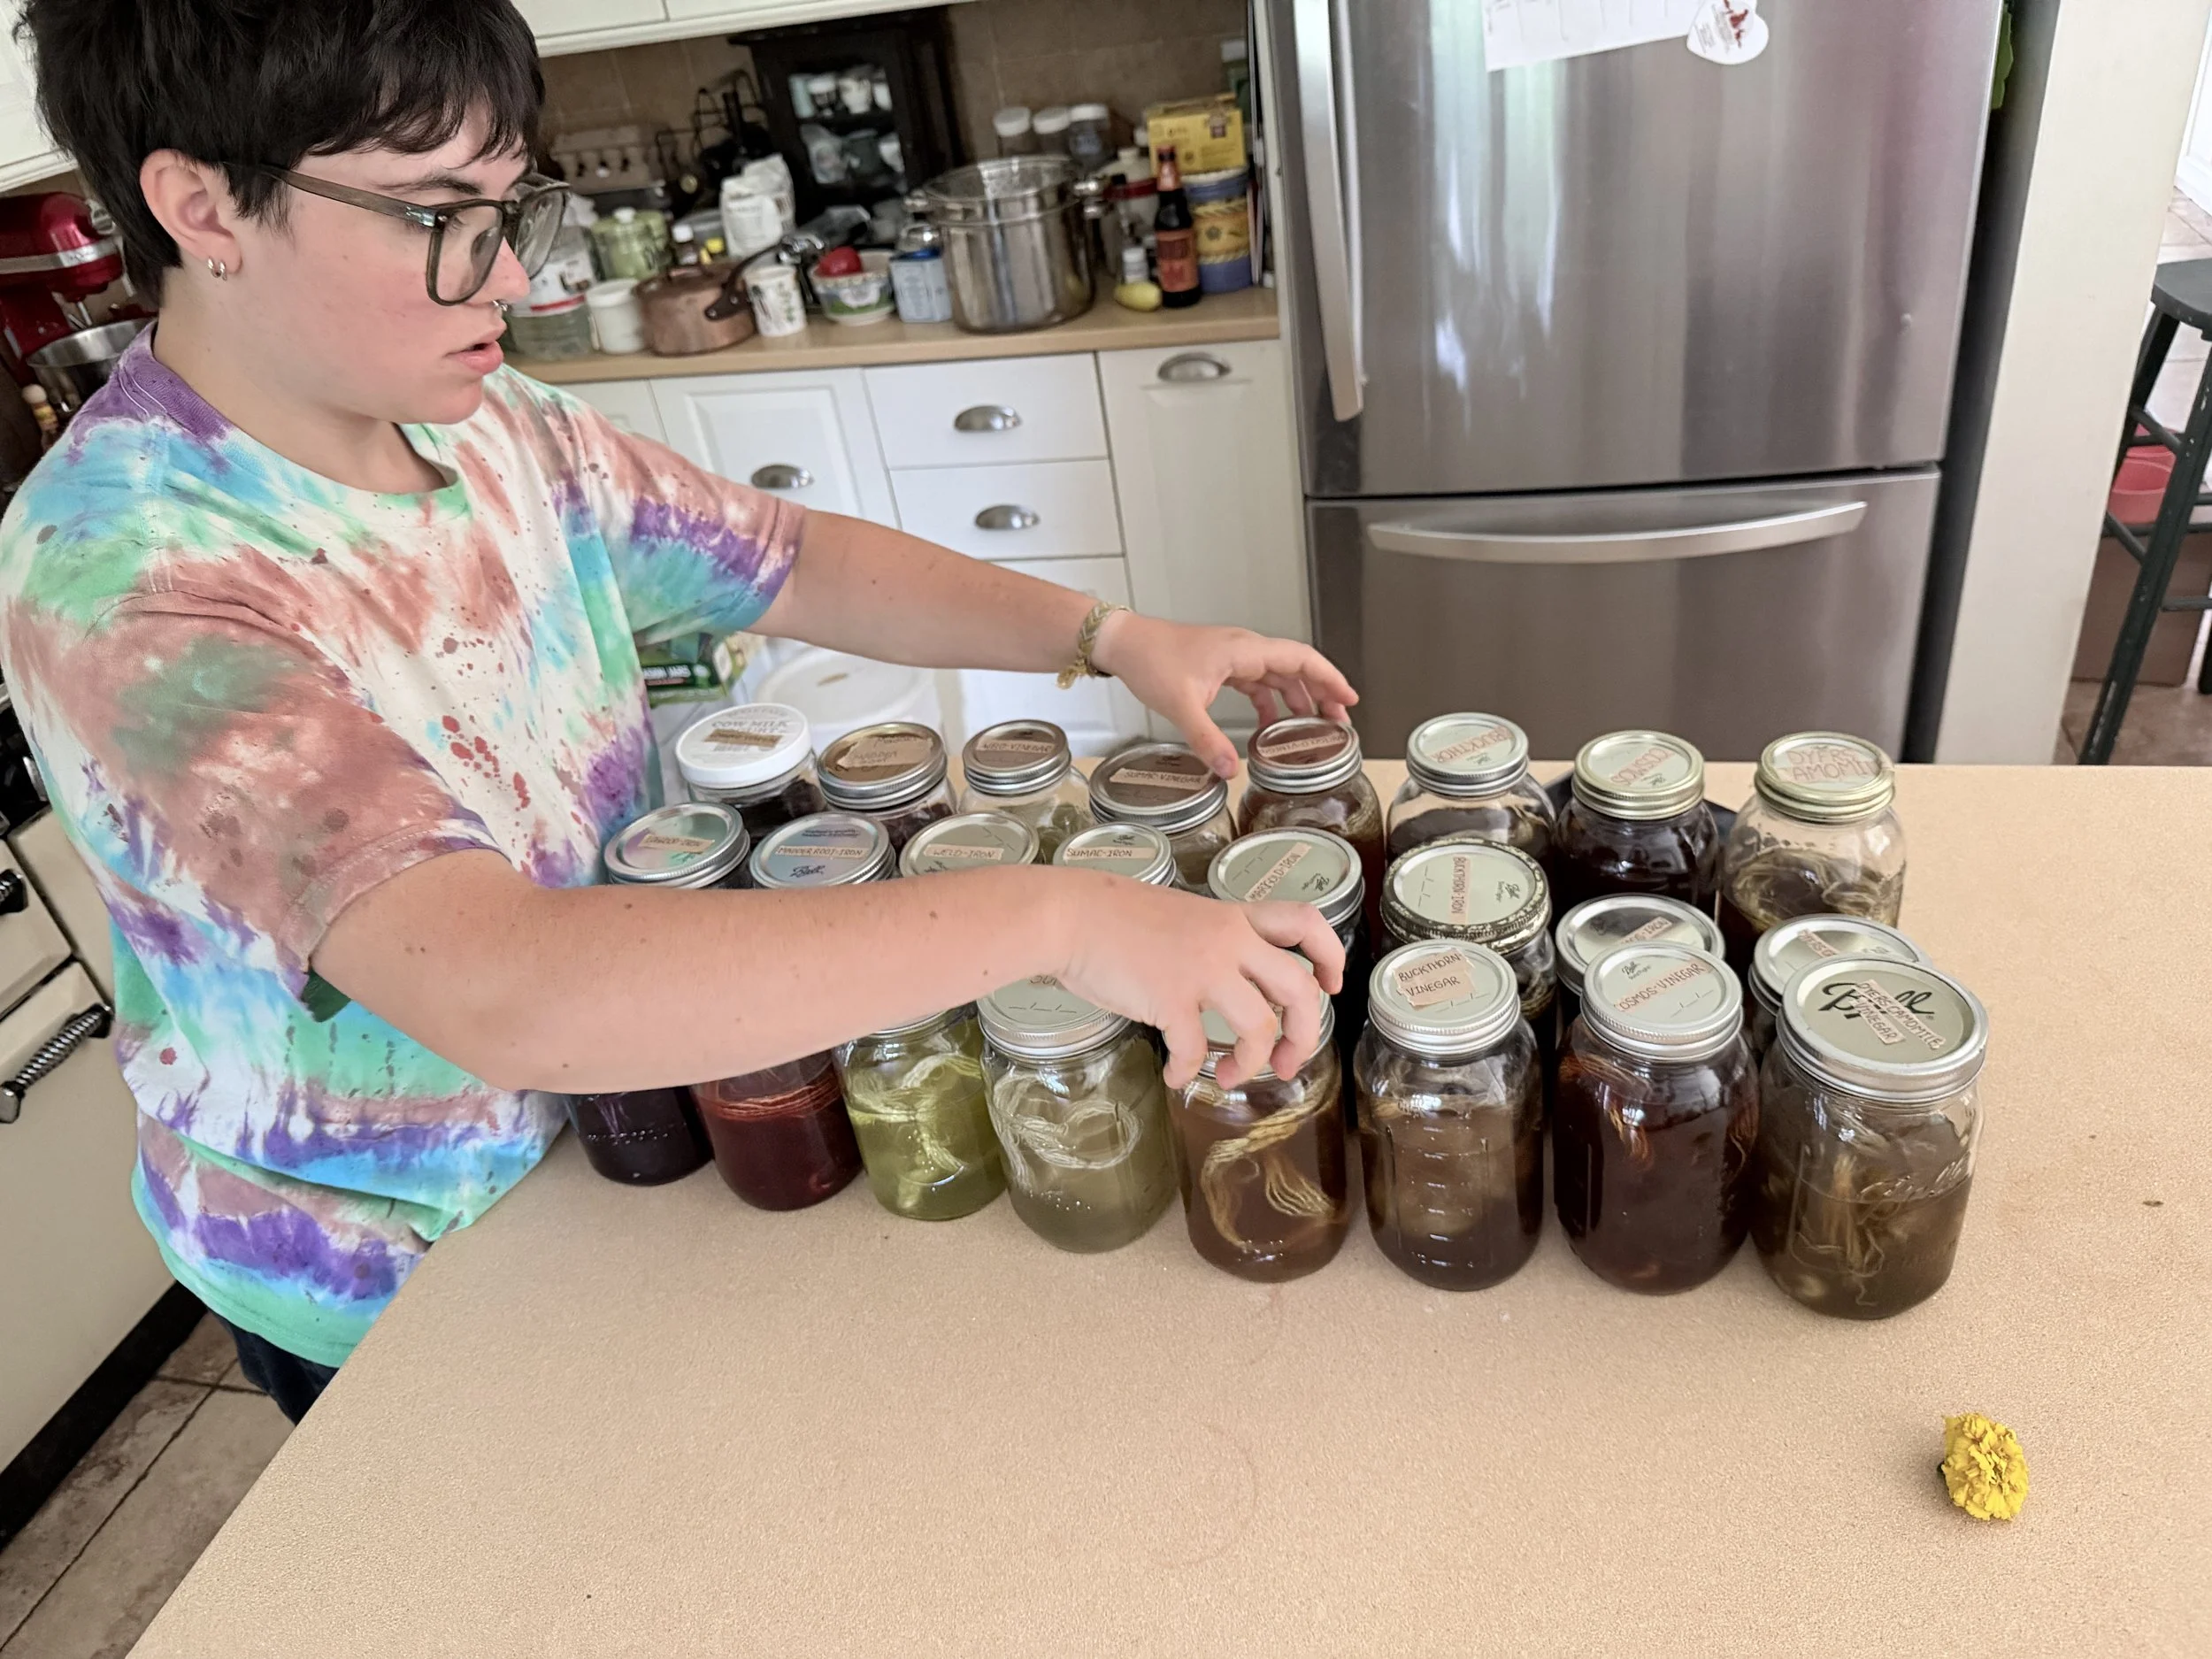
Once we had the dyes ready, we divided each dye into 3 different jars. (If we were dyeing more than just samples, we would have made more of each dye and divided into pots instead of jars.) So now each dye had 3 jars. One jar of each dye stays the same (if you want to get science-y, you can call this the control). To the second jar, we added an acid - in our case, 2 tablespoons of white vinegar - to brighten the dye. And to the third jar, we added iron - just the tiniest pinch - to make the dye darker.
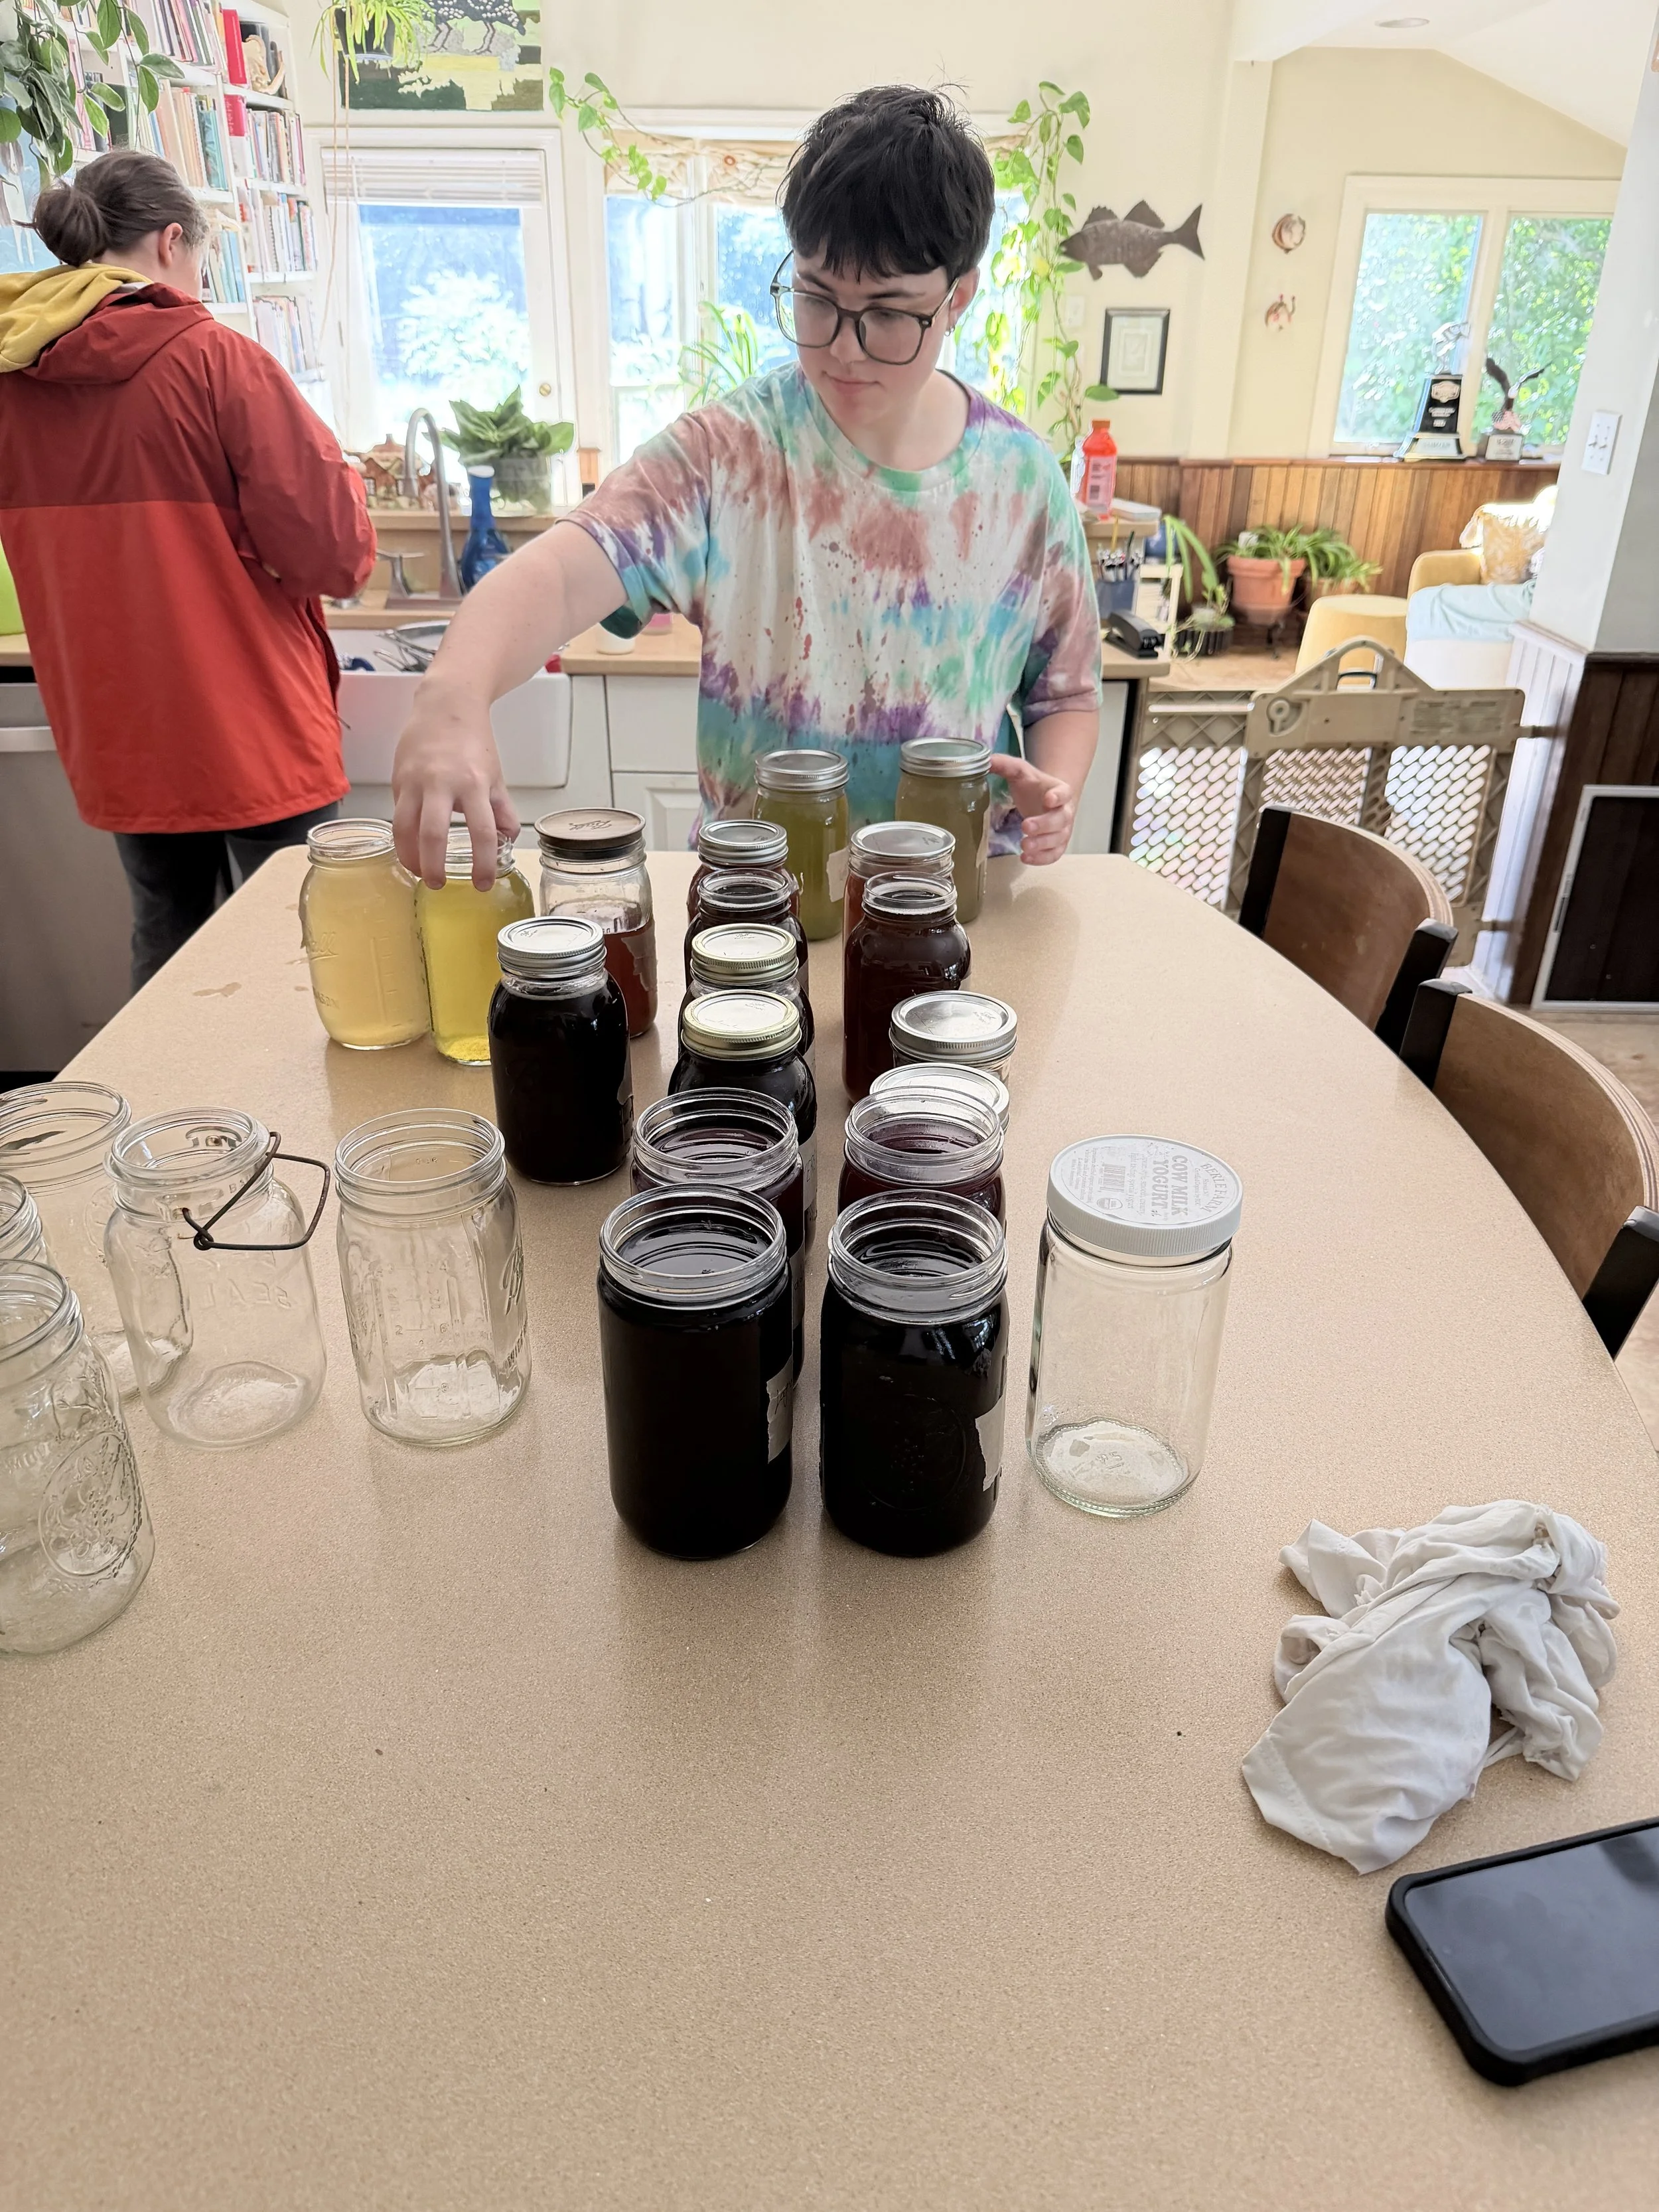
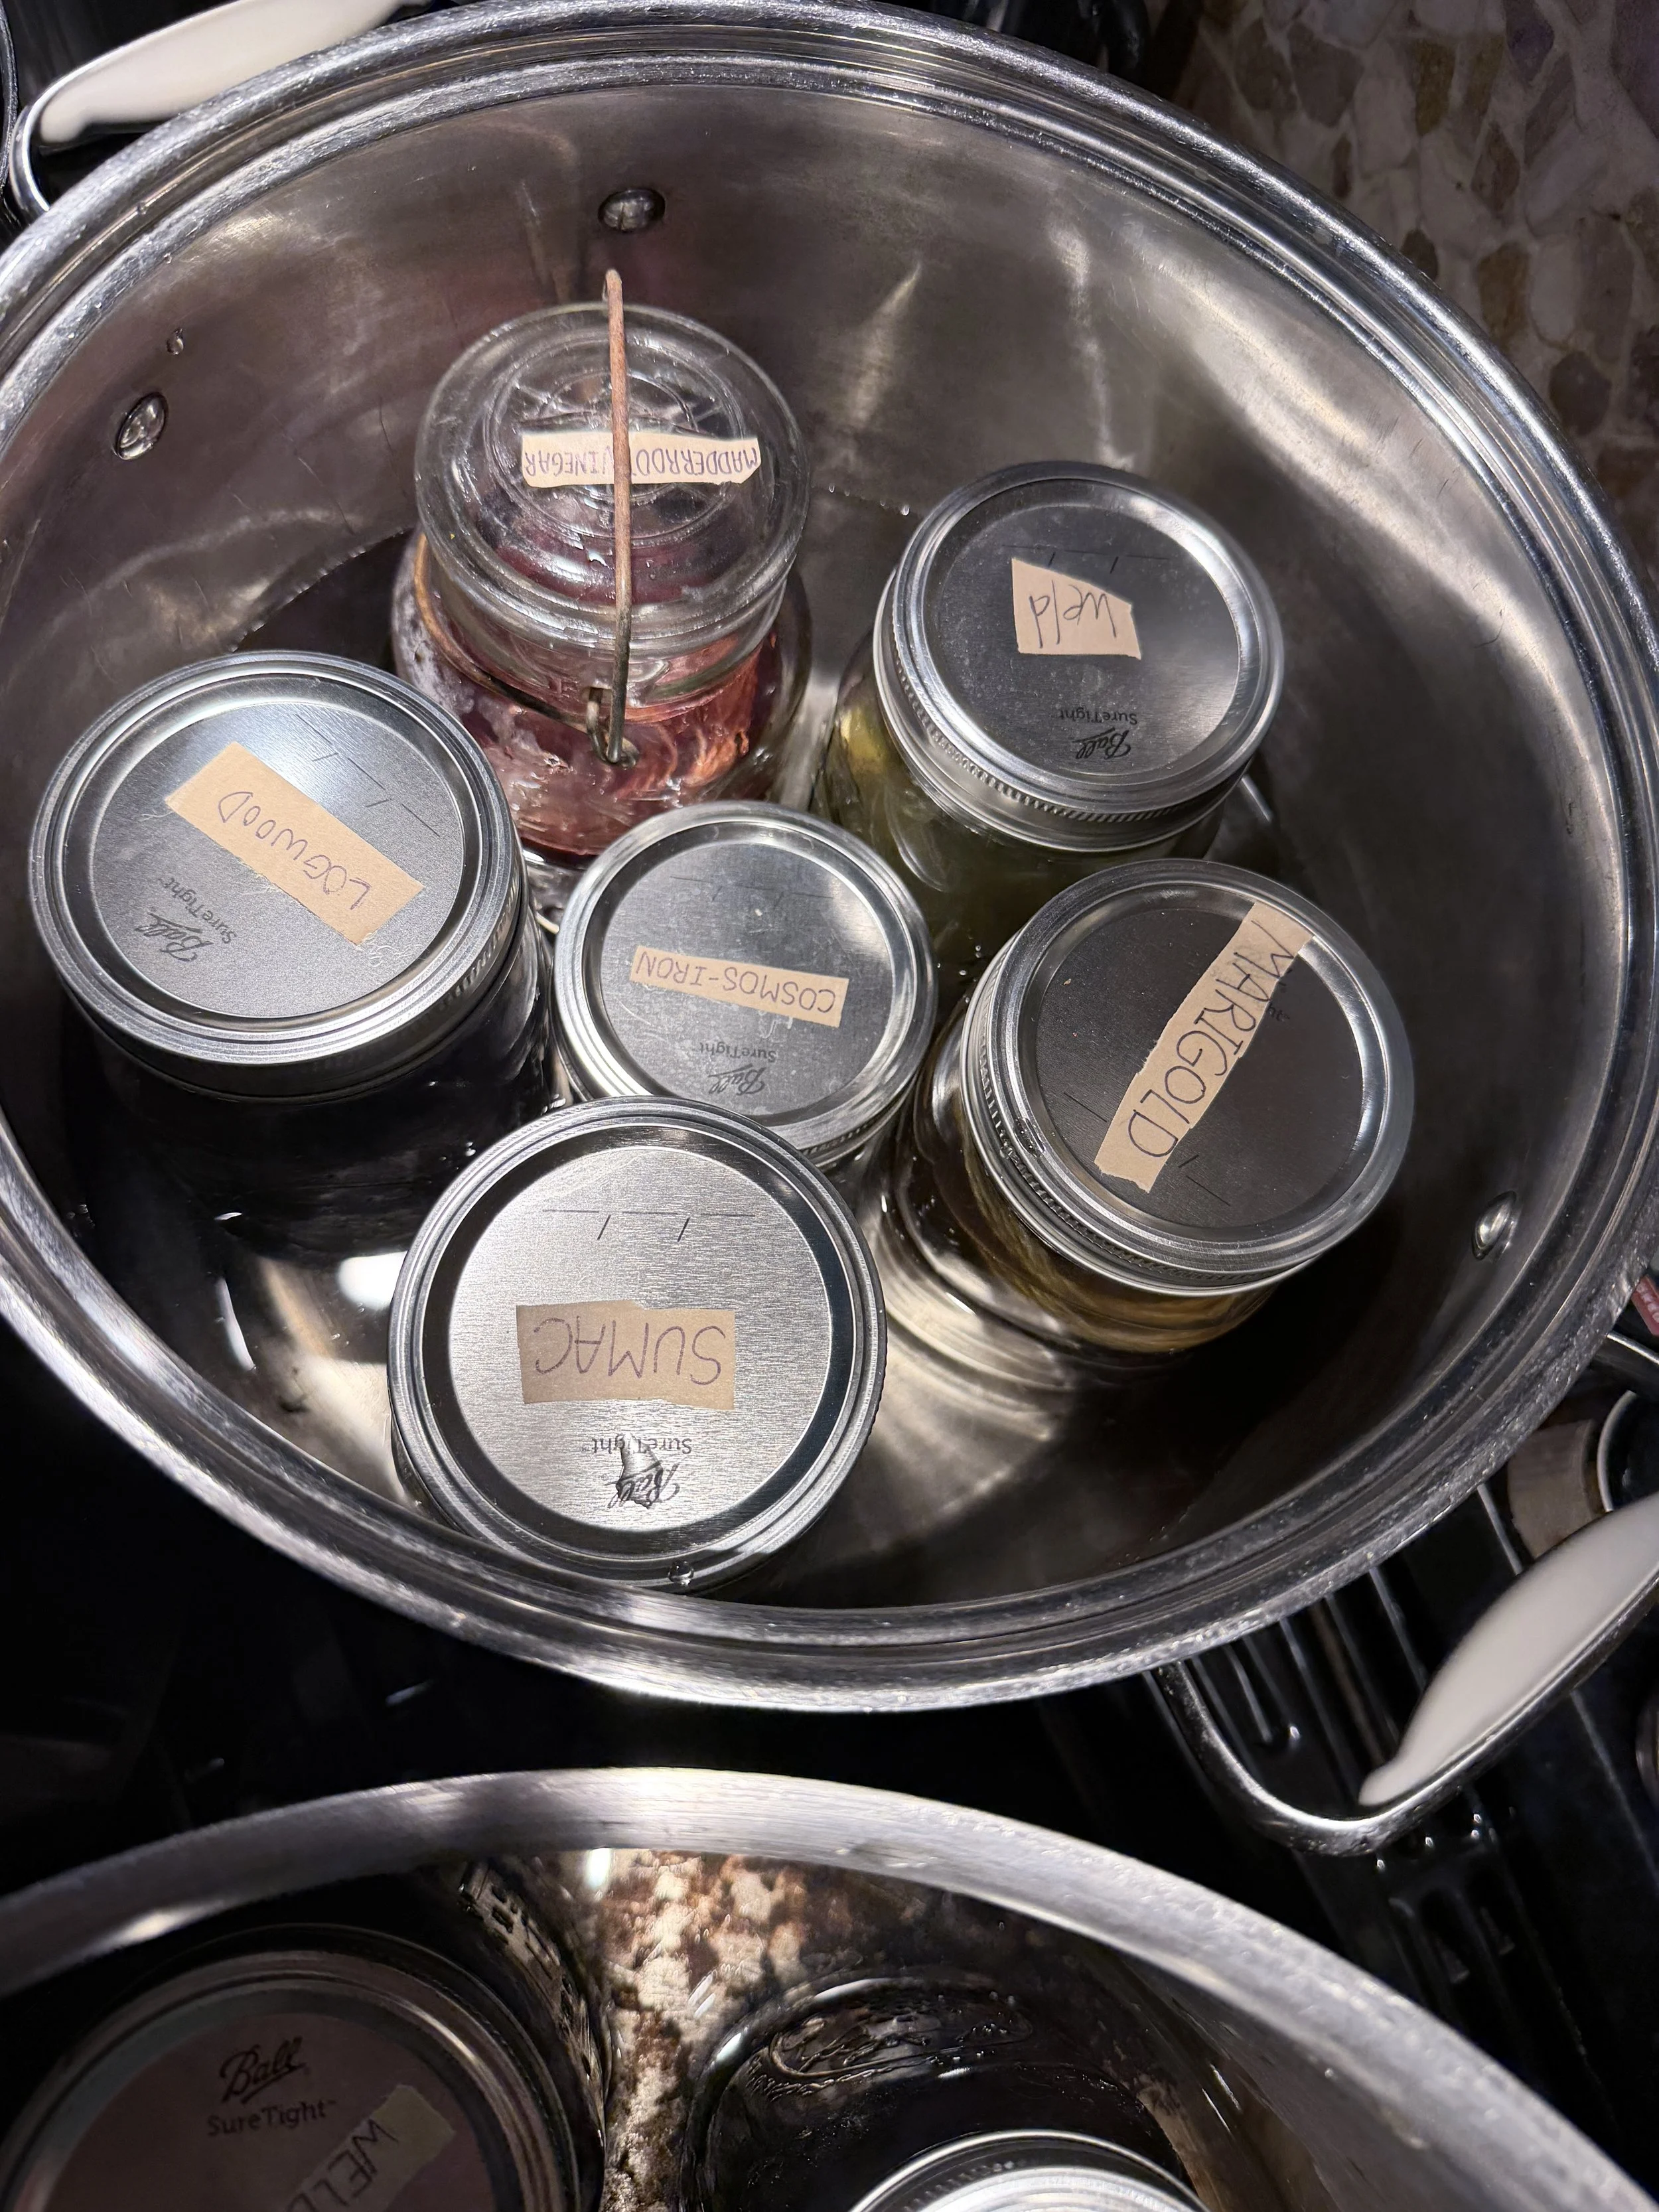
It is very important to LABEL everything clearly throughout the whole process, especially if you are working with multiple different dyes. We labeled the lids of the jars so they wouldn’t get damaged in the next step.
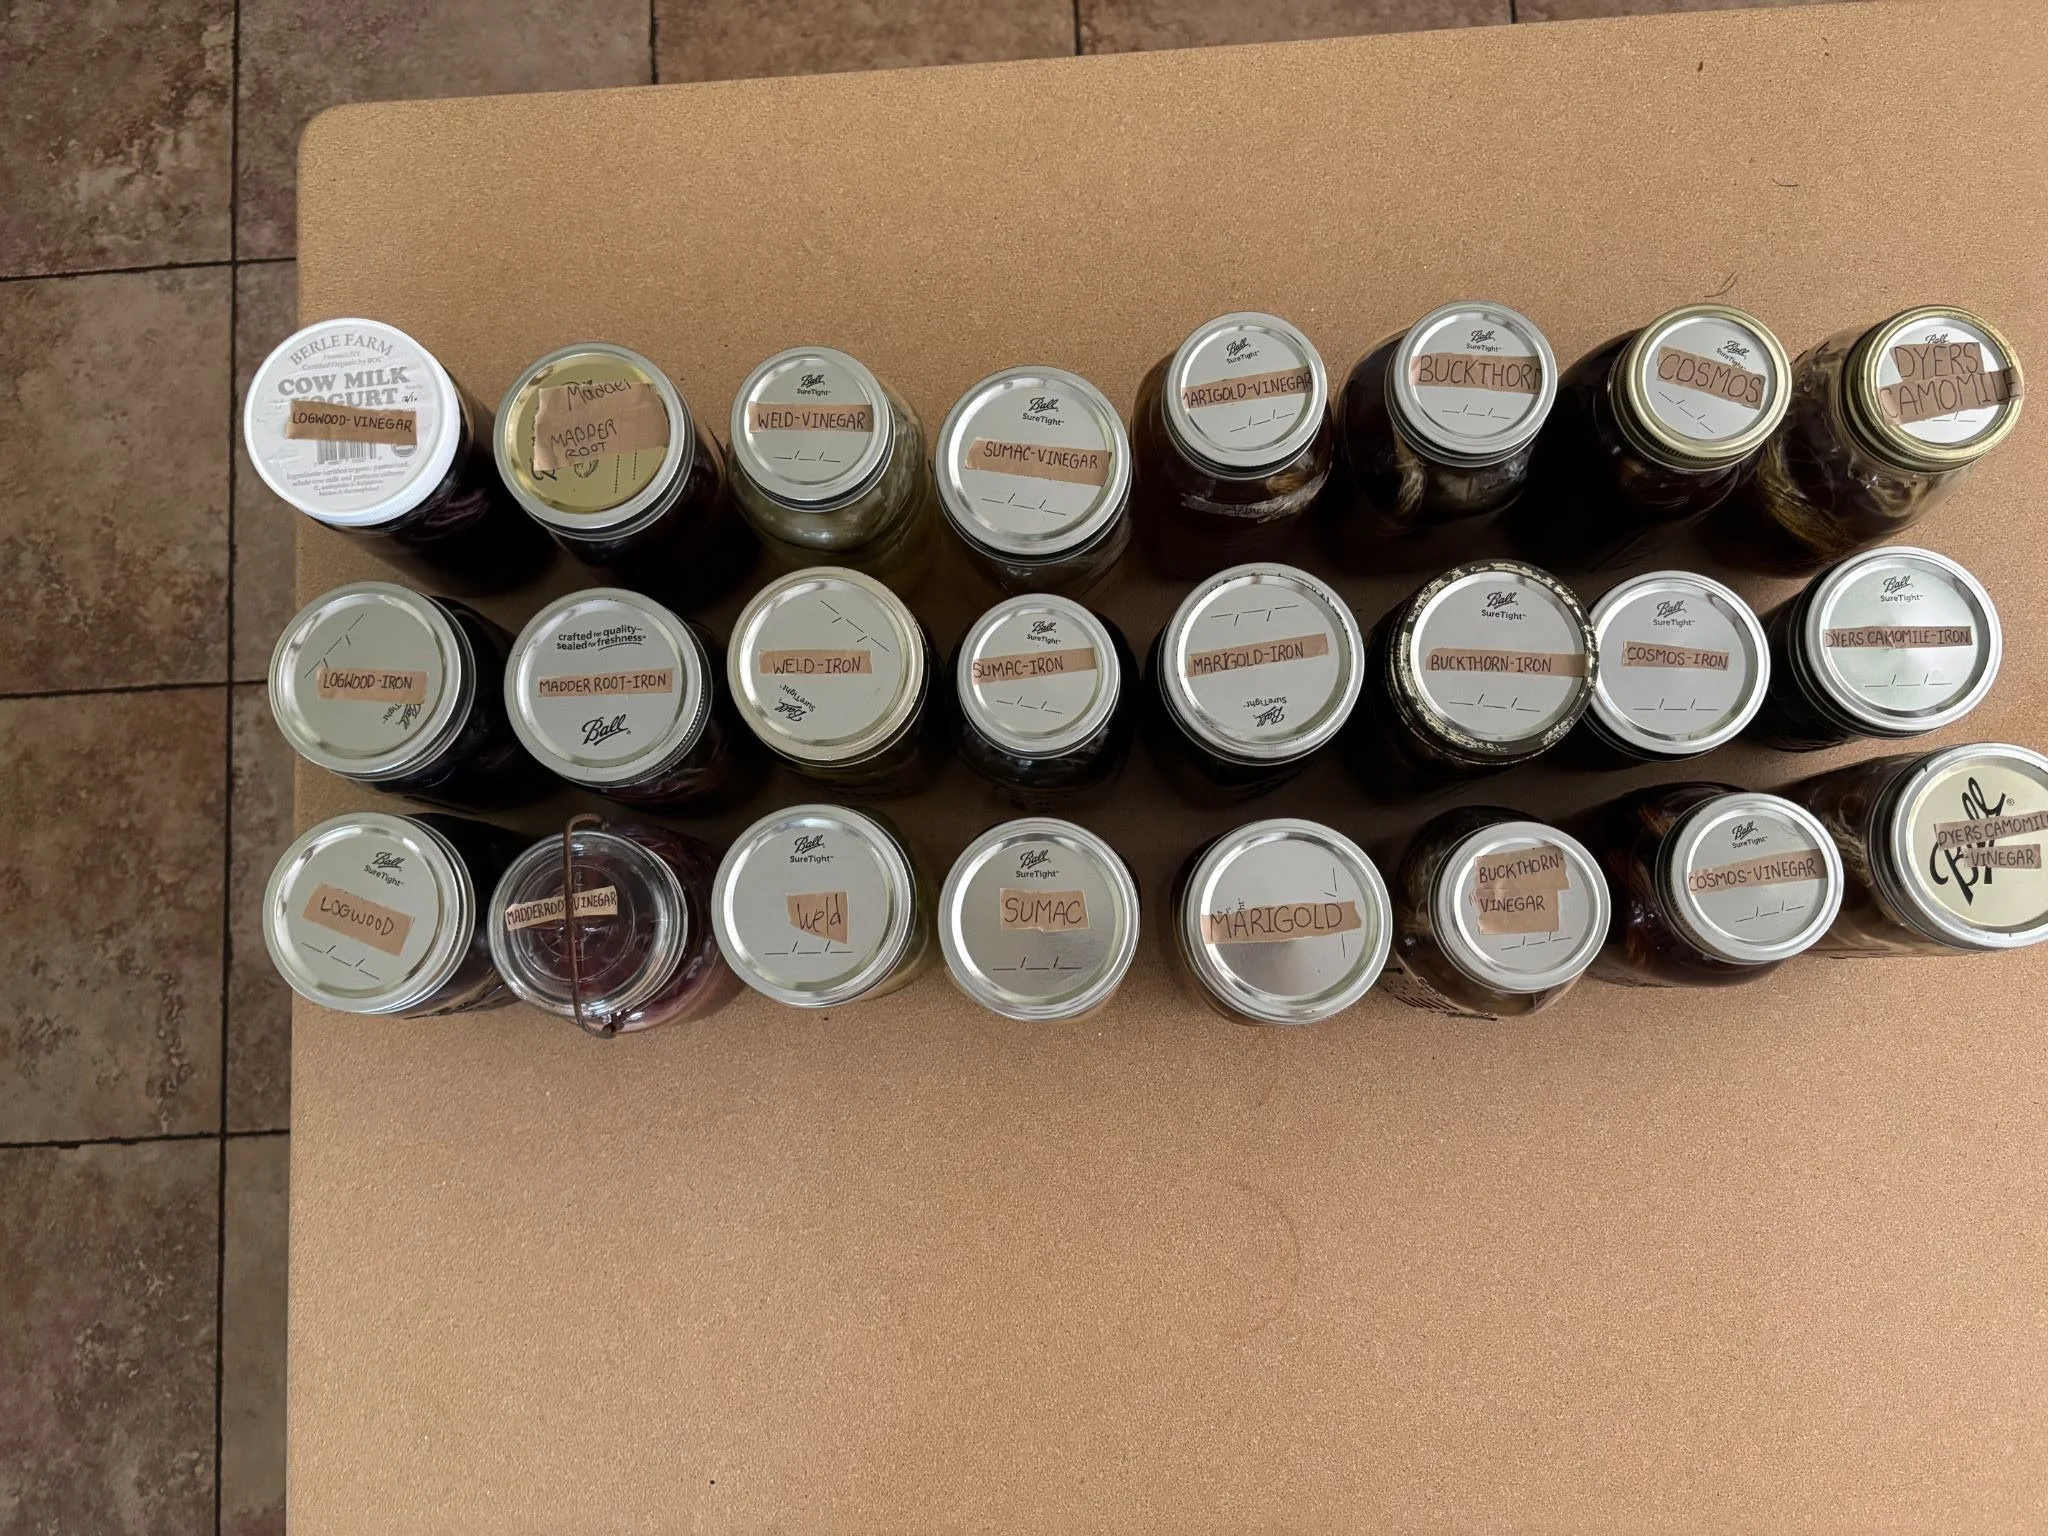
Photo credit: Lou Bilbe
Ready to dye!
Step 6: Dyeing (at last!)
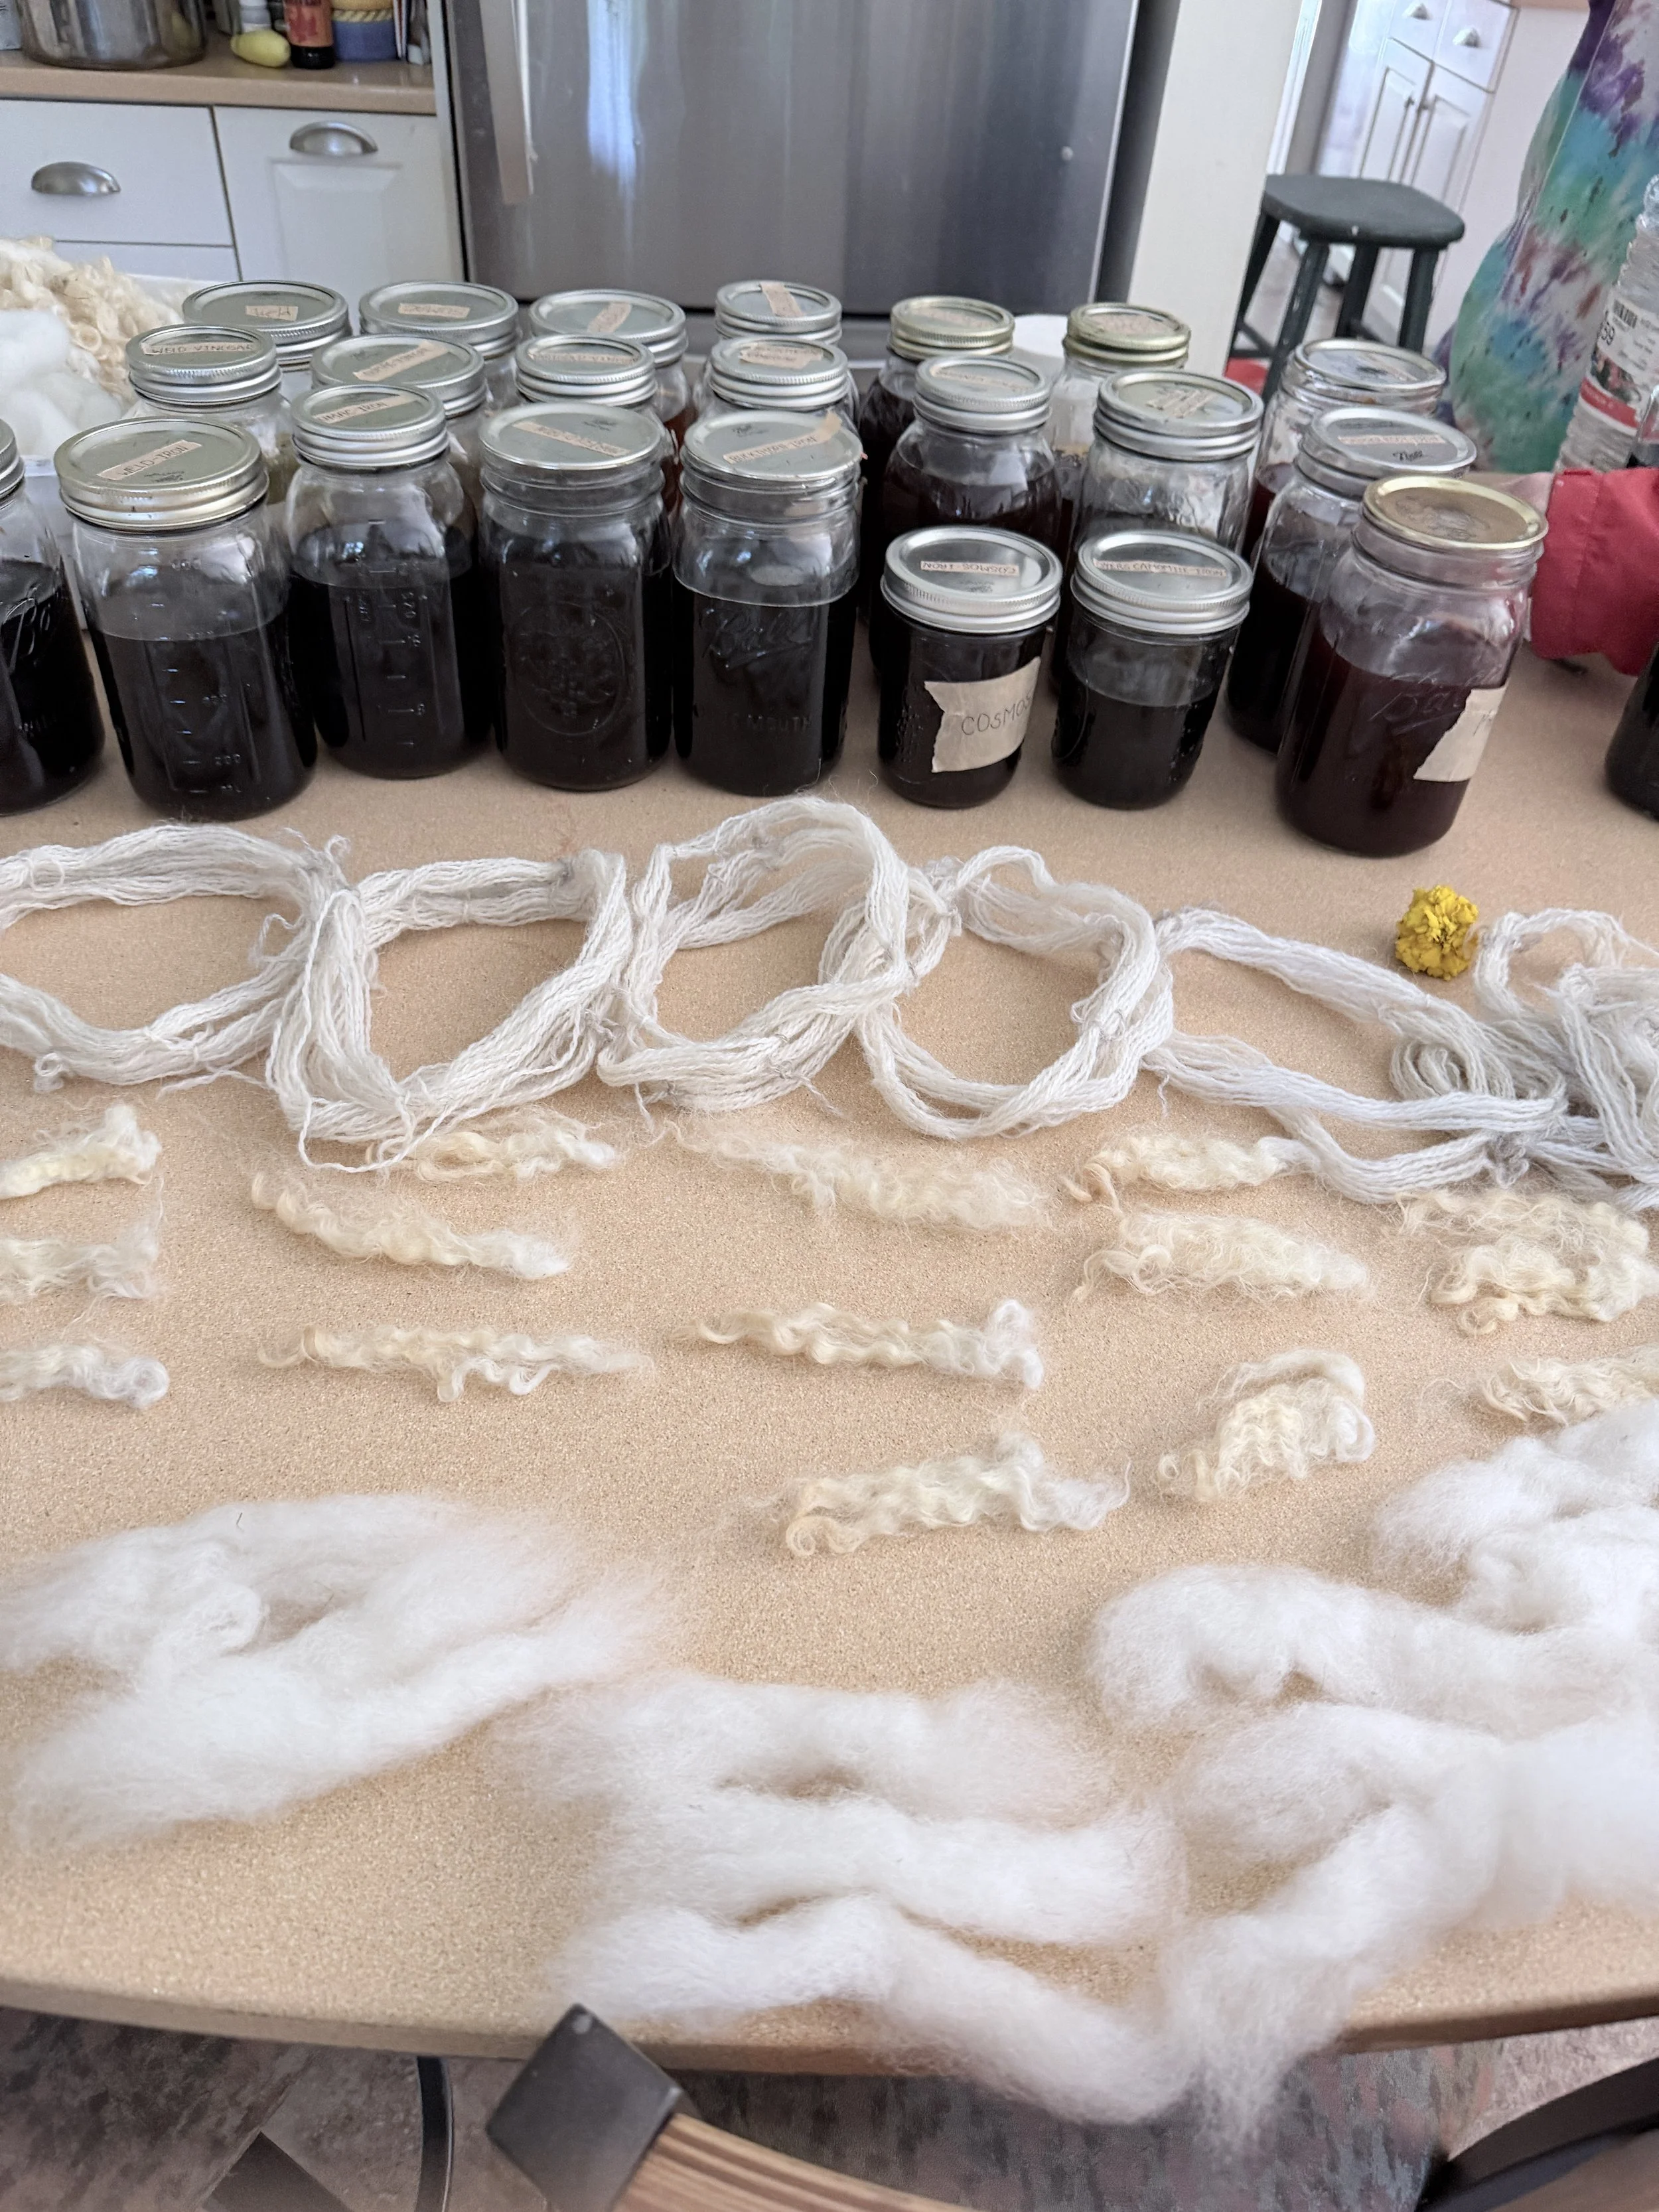
After having separated each dye into three jars and modifying two of the jars (one with vinegar and one with iron), we put the fiber samples in each jar. We chose to dye raw wool, roving, and a mini hank, so we put one of each in every jar.
After screwing on the lids, we put the jars into pots on the stove and added enough water to the pots to rise to about ⅔ of the jars’ height. We set the pots to simmer, aiming for a temperature between 180 and 200 degrees Fahrenheit. We let them simmer while covered for about 20 minutes before leaving the lids on and letting the jars cool slowly. Once completely cooled, we removed the jars.
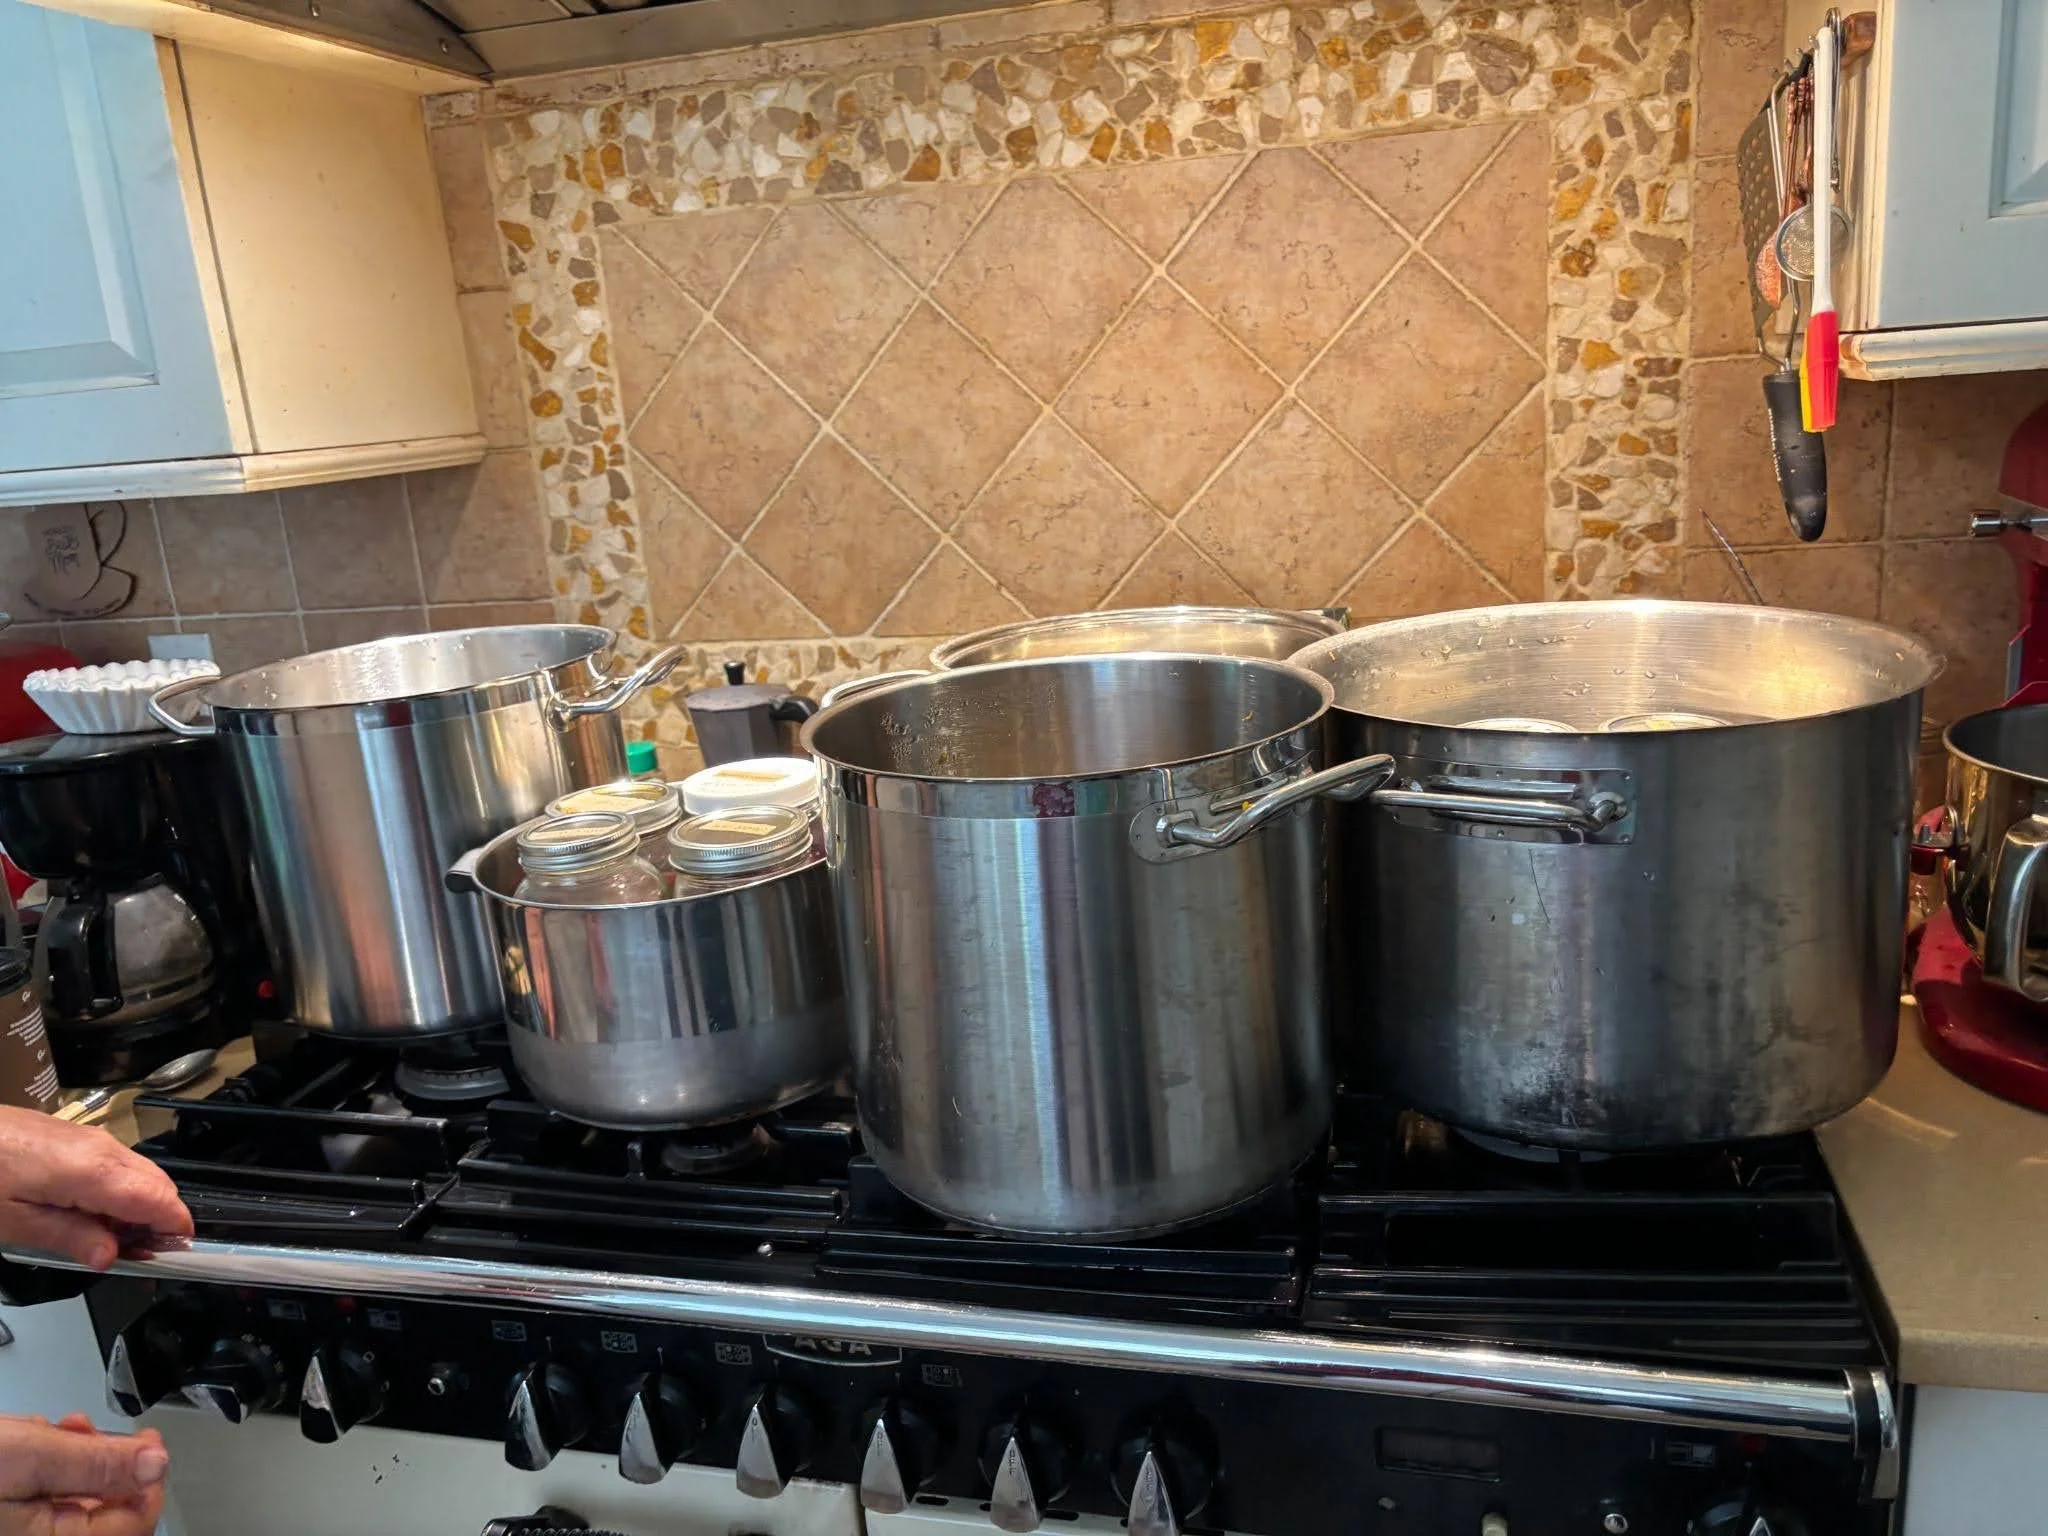
Photo credit: Lou Bilbe
The following day, we opened the jars and wrung out each sample and set them out to dry in the sun. Since we were working with so many different samples, we carefully labeled the table so there wouldn’t be any mix-ups.
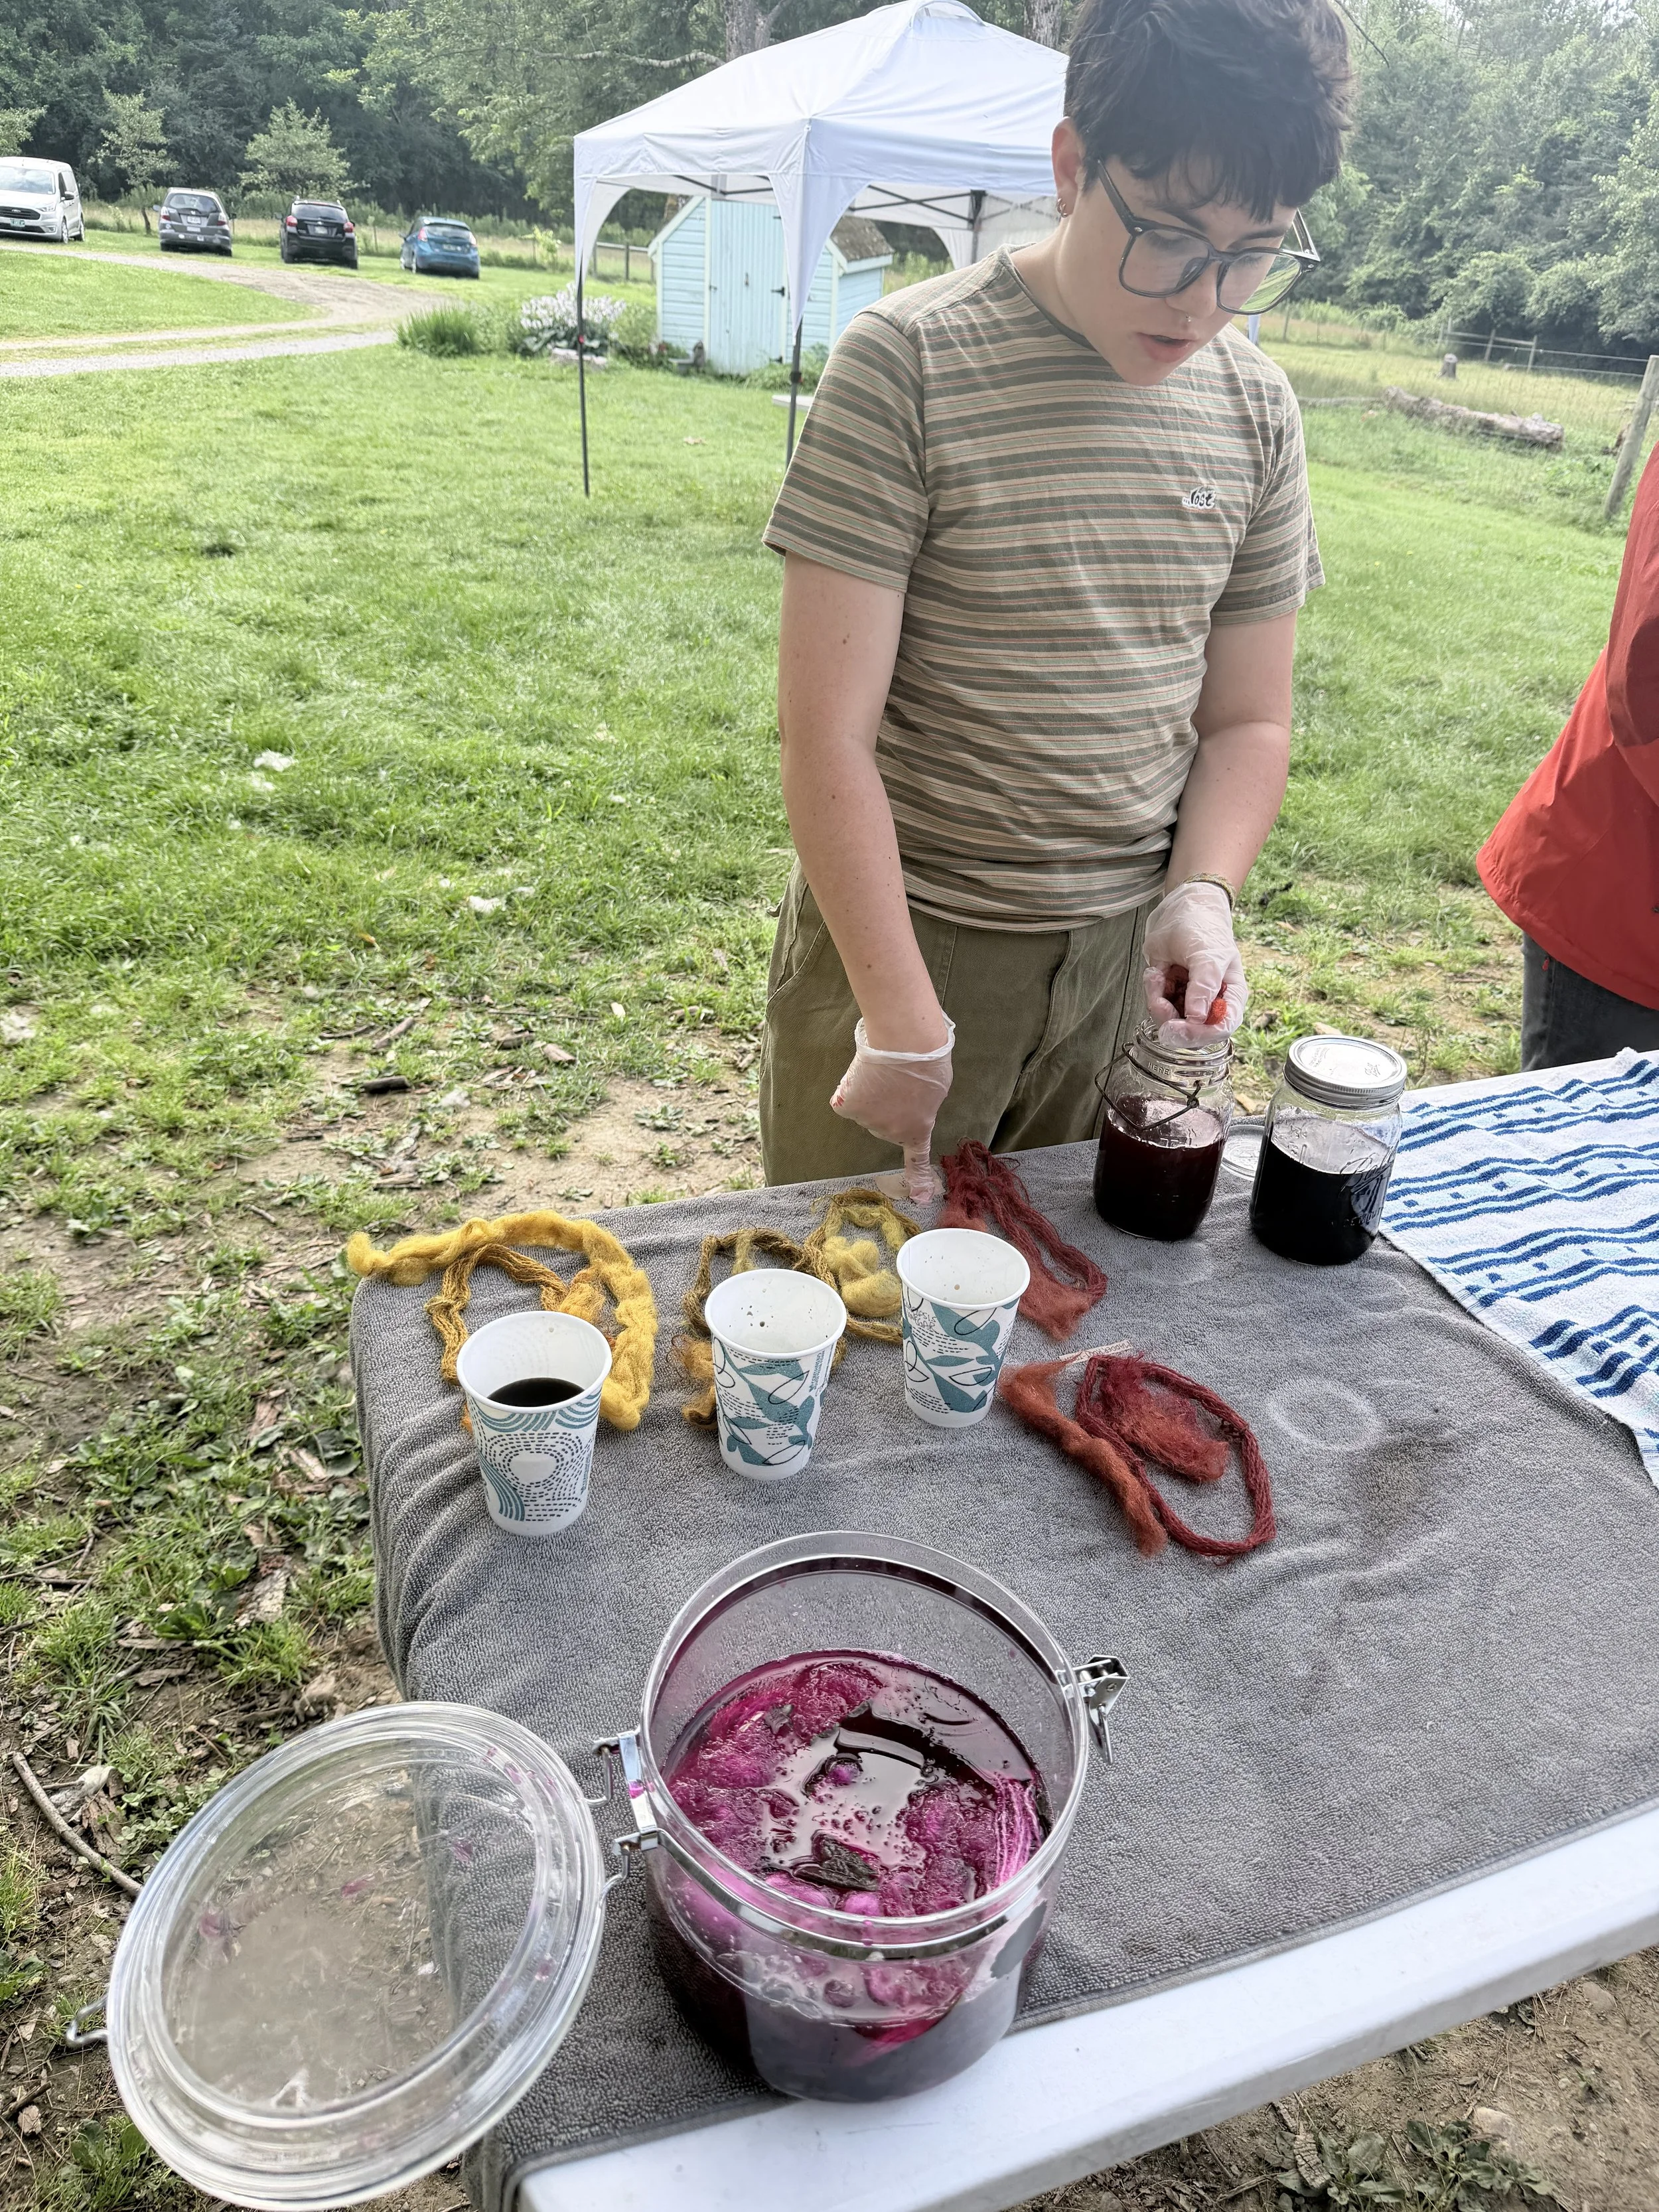
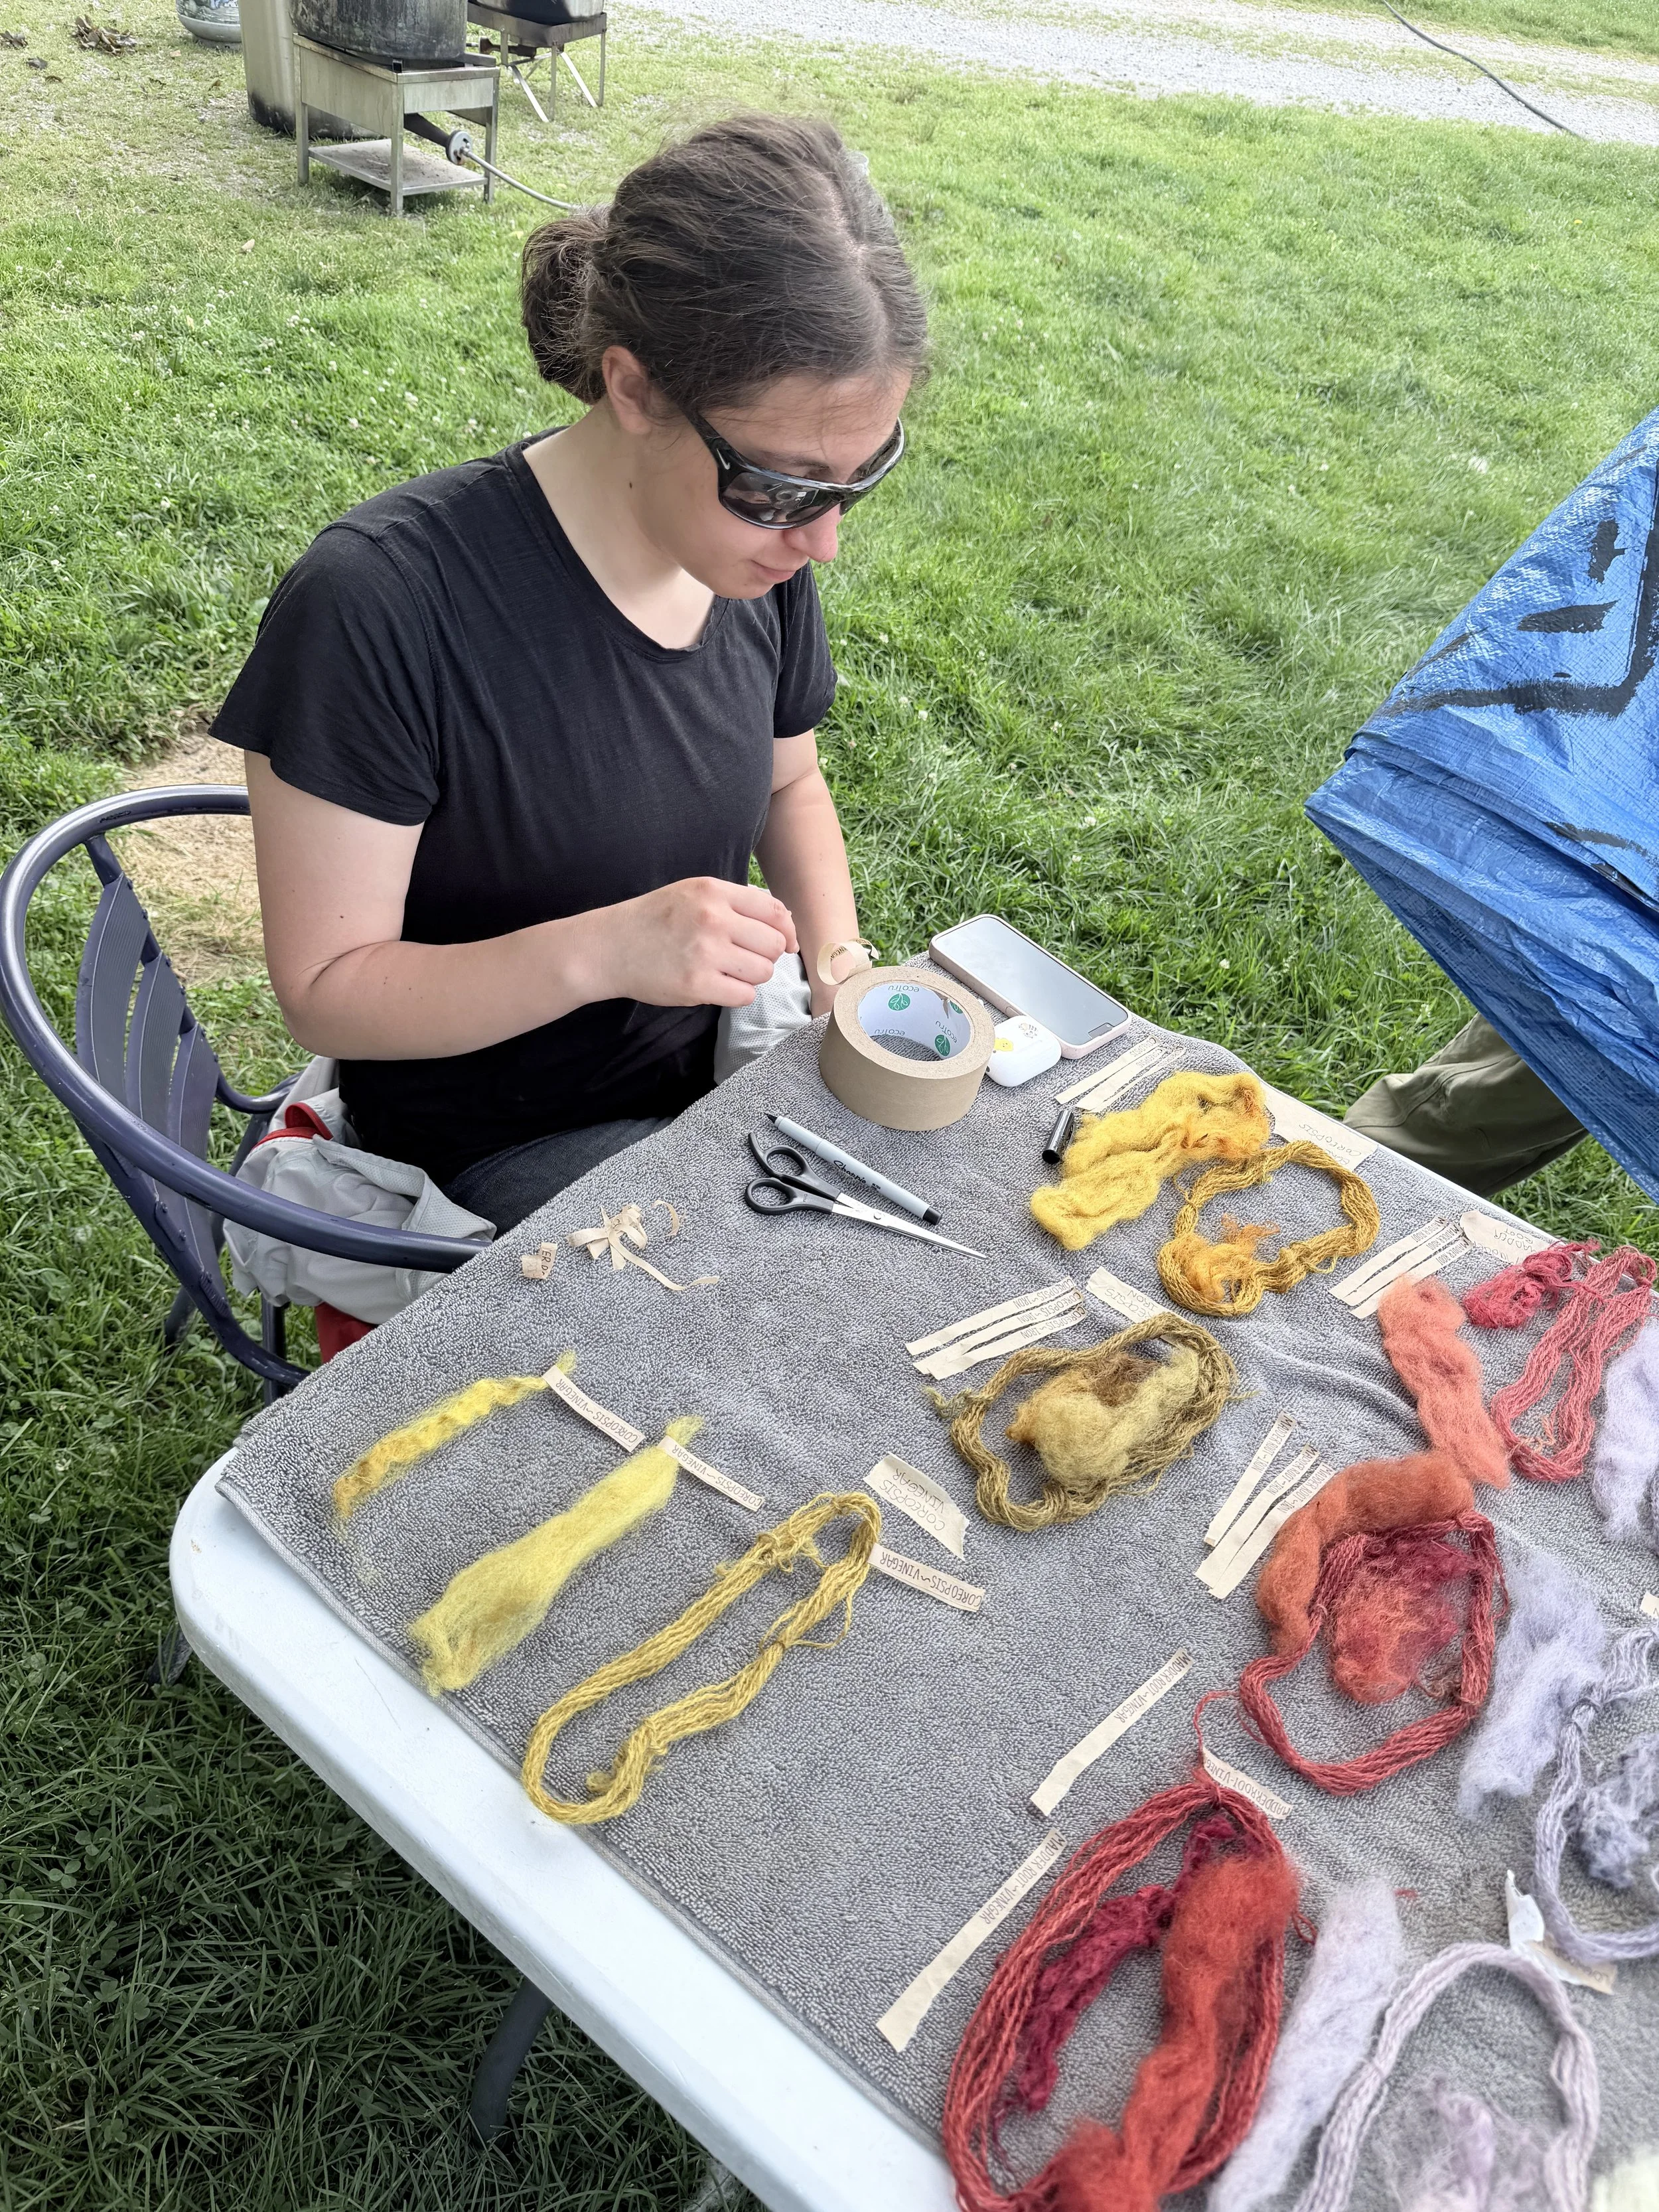
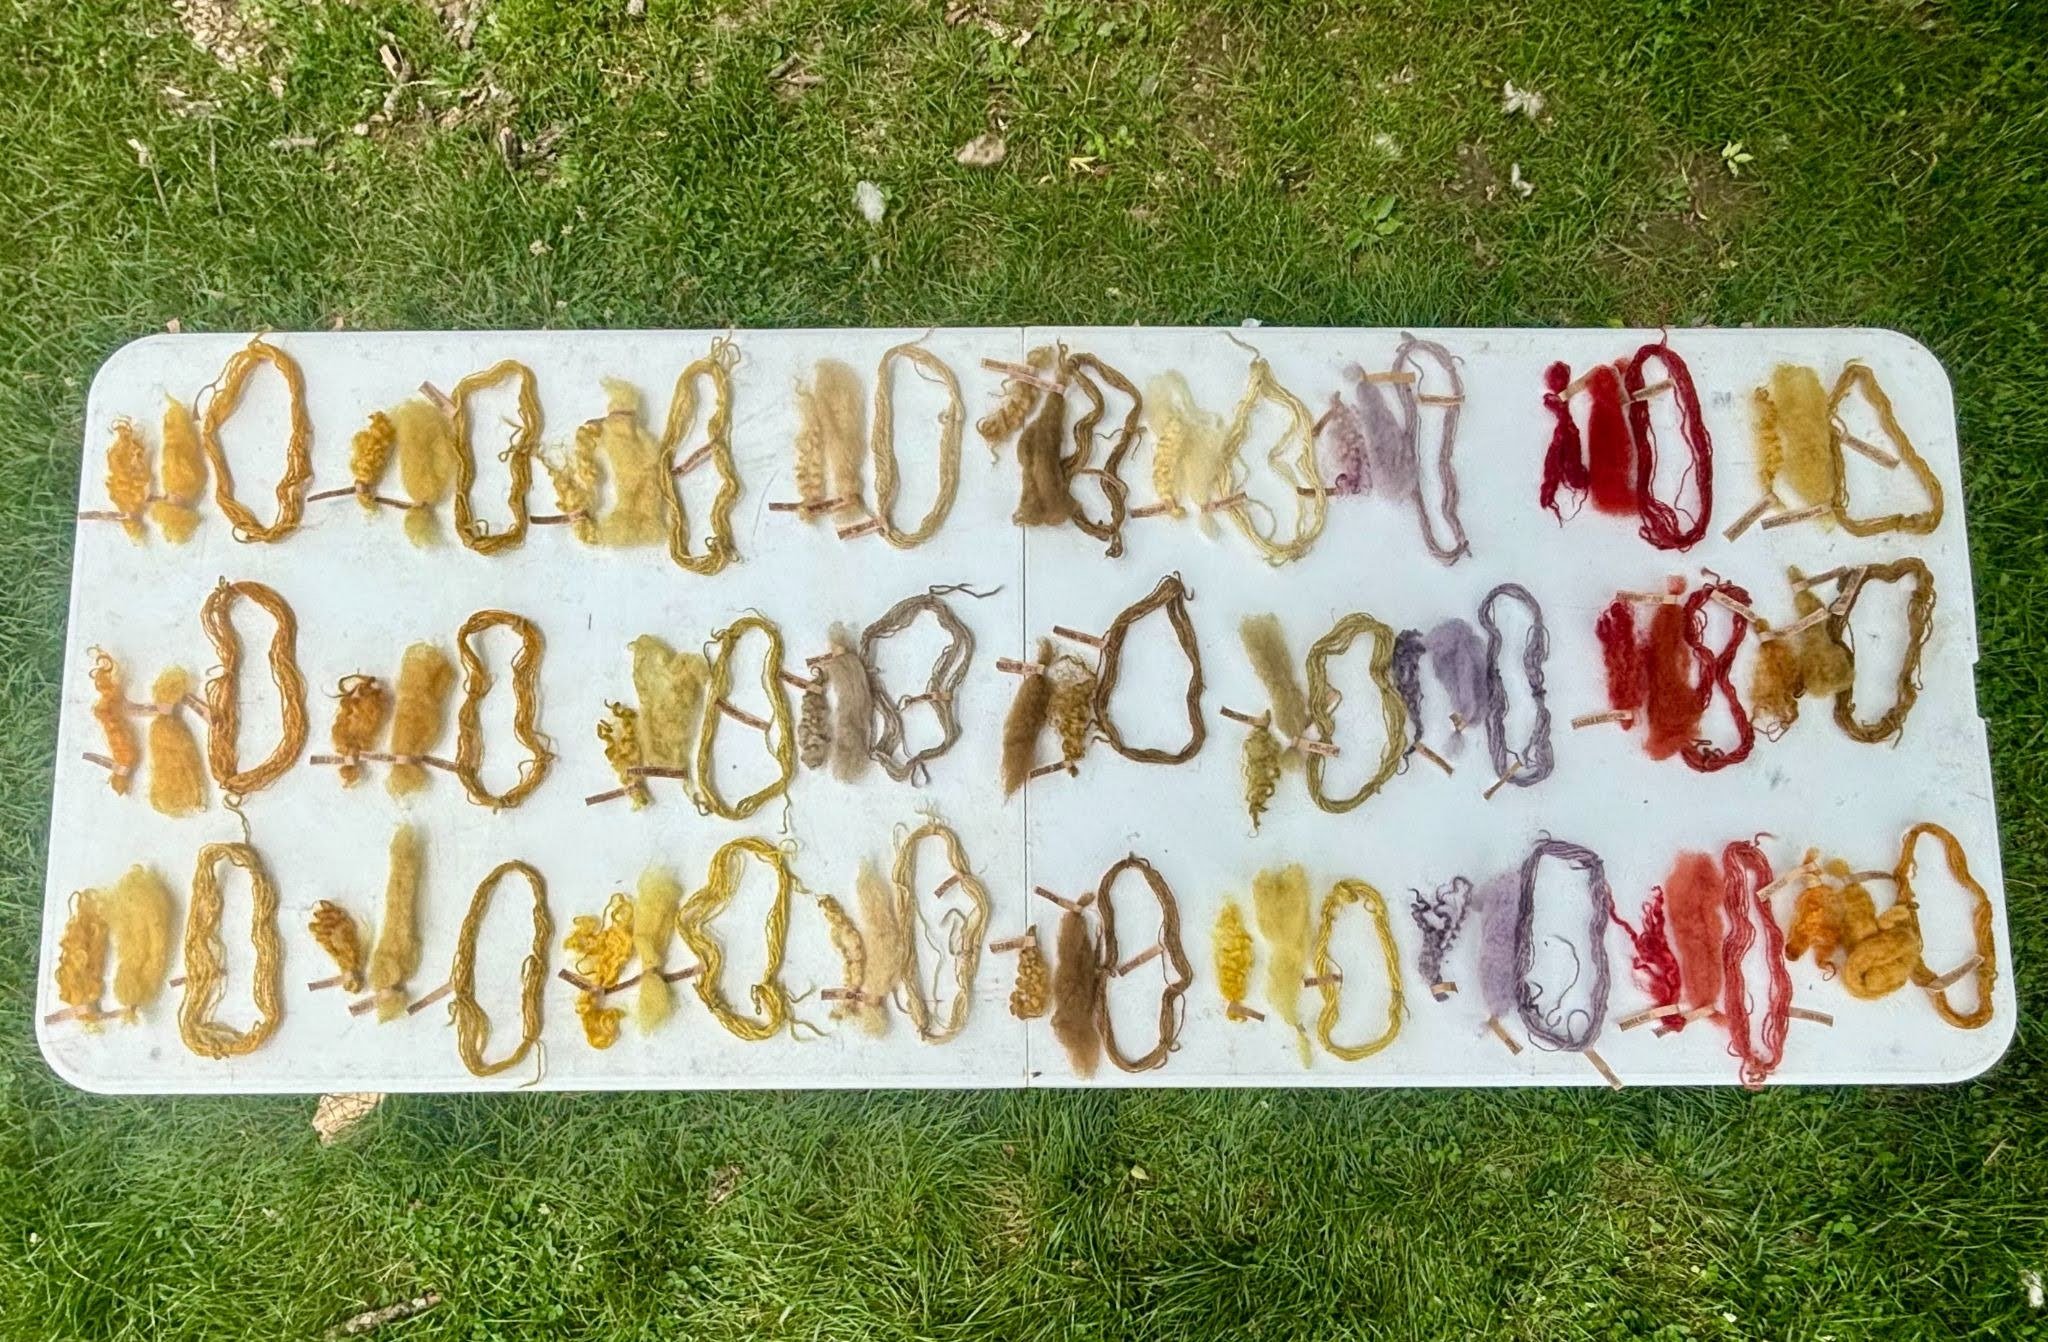
Photo credit: Lou Bilbe
Step 7: Rinsing
We didn’t rinse our dye samples since they are just going to be on display. However, if you want to work with, create, and/or wear the fiber you dye, rinsing is an important step. While rinsing will often lighten the dye results, it makes sure that your fibers won’t bleed or run in everyday use. You rinse with cold water. We use an old washing machine (only for the spin-out function) because we dye in large batches, but you can use a bathtub, sink, bucket, or any other container of appropriate size. Once rinsed, we set the machine to spin out the water, but if you are working with a bathtub or other container, you can wring out the water with your hands, and finally, set out your fibers to dry in the sun. If you are dyeing a hank, before you set it out to dry, it is a good time to snap the threads to get out any kinks and then hang them to dry.
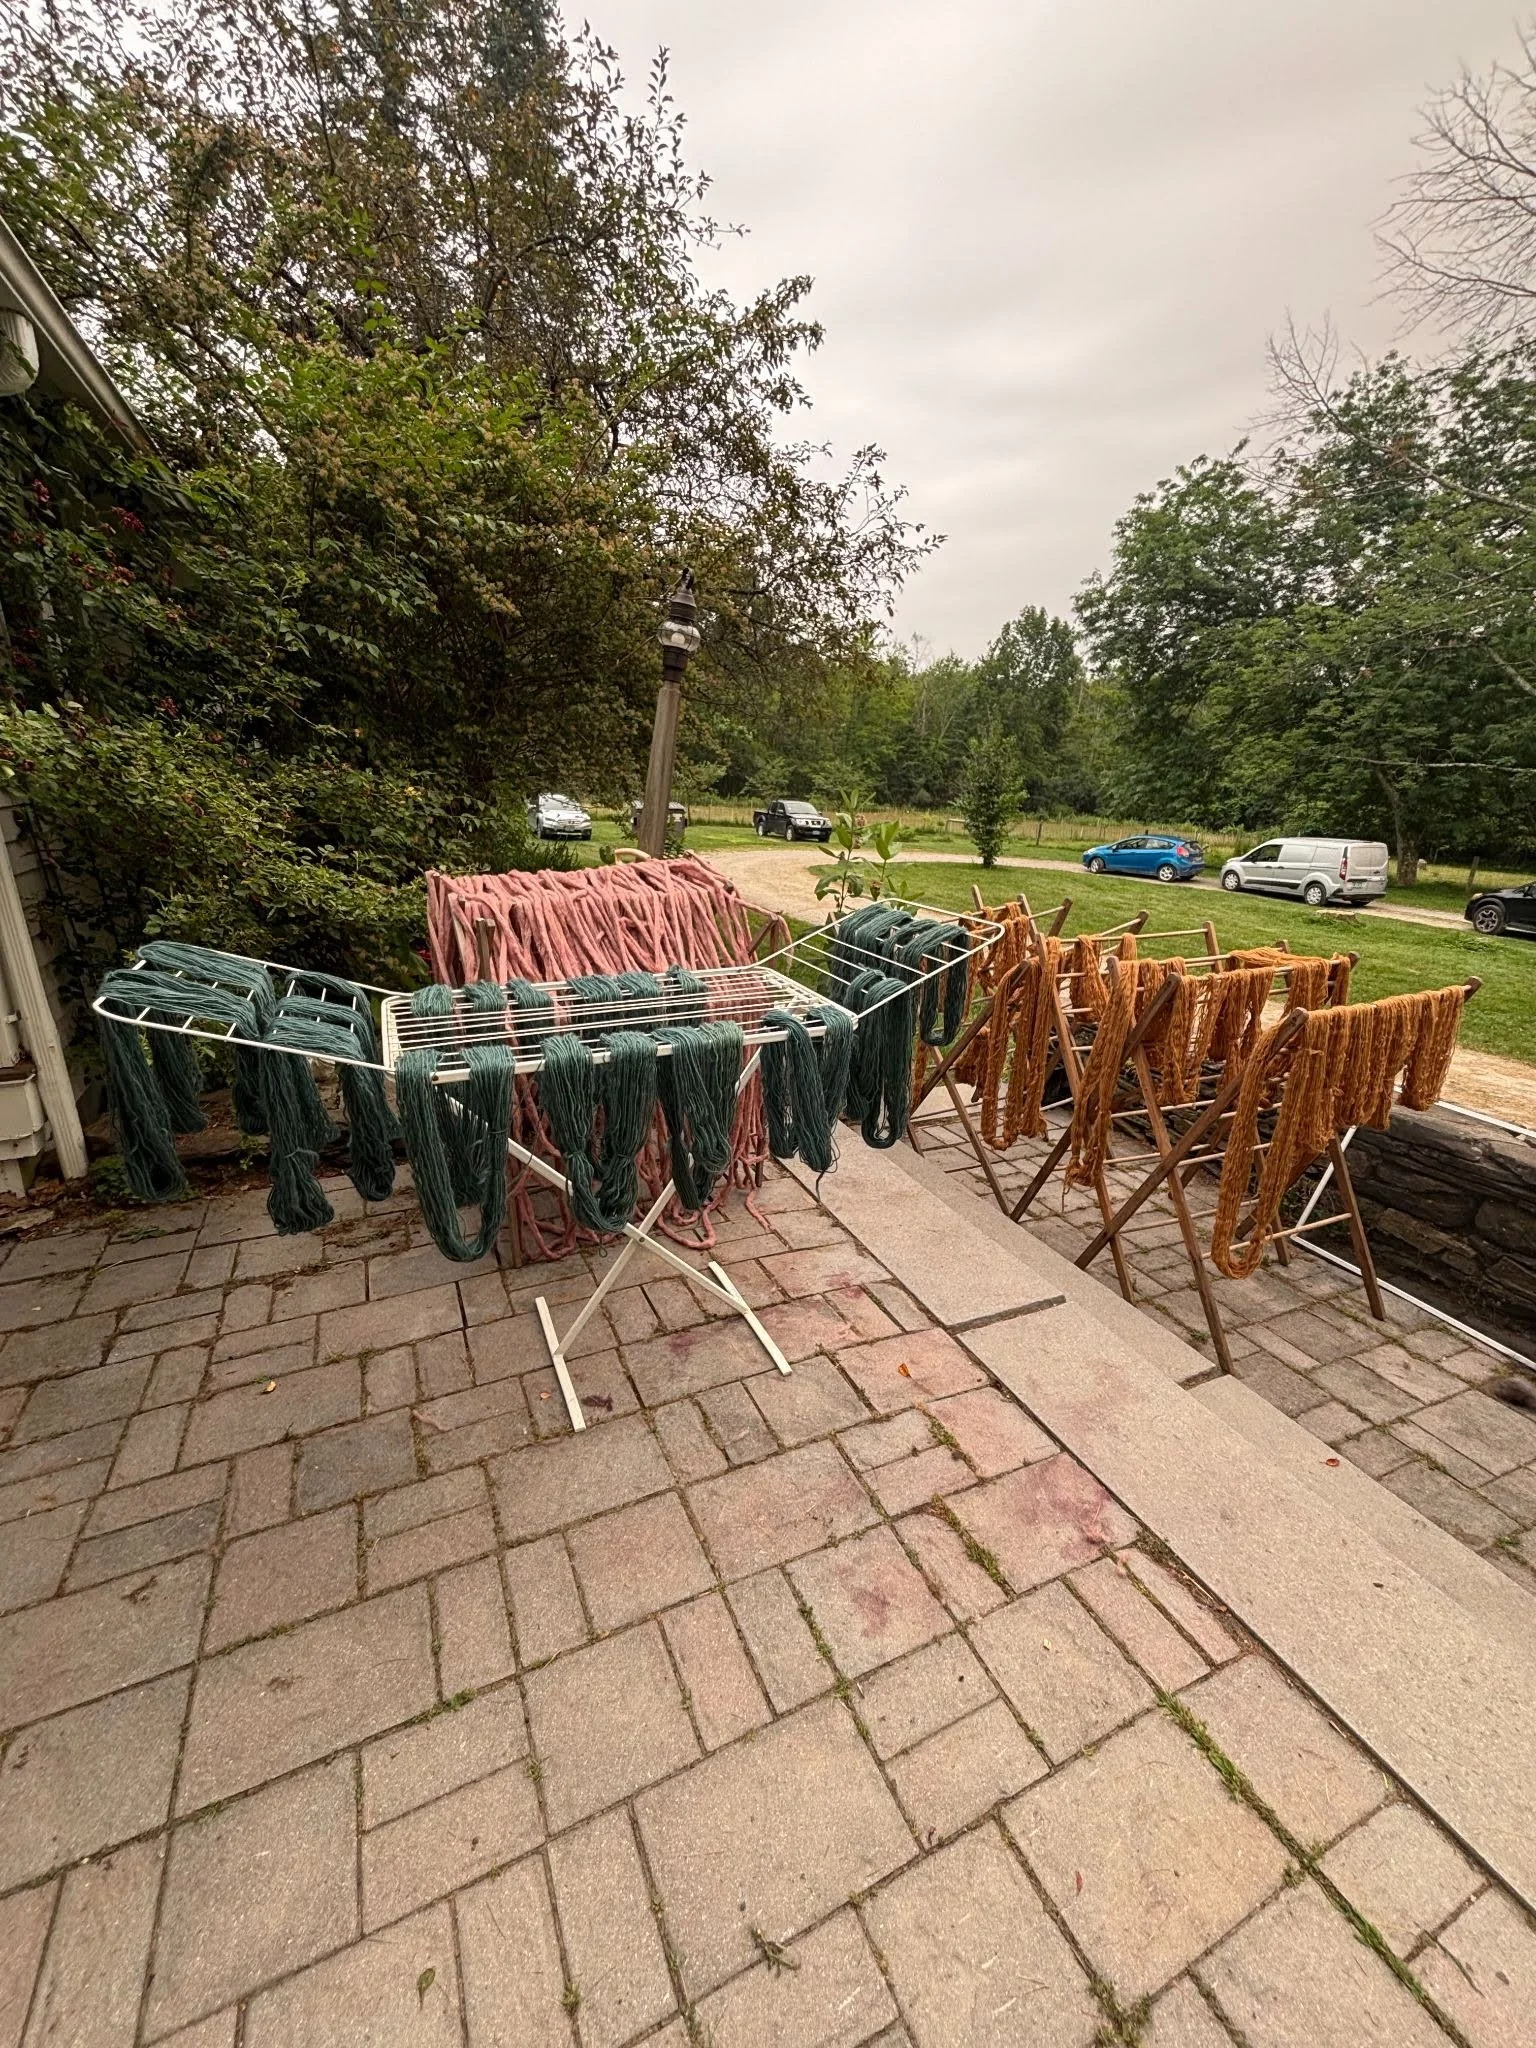
Photo credit: Lou Bilbe
Step 8: The Final Product
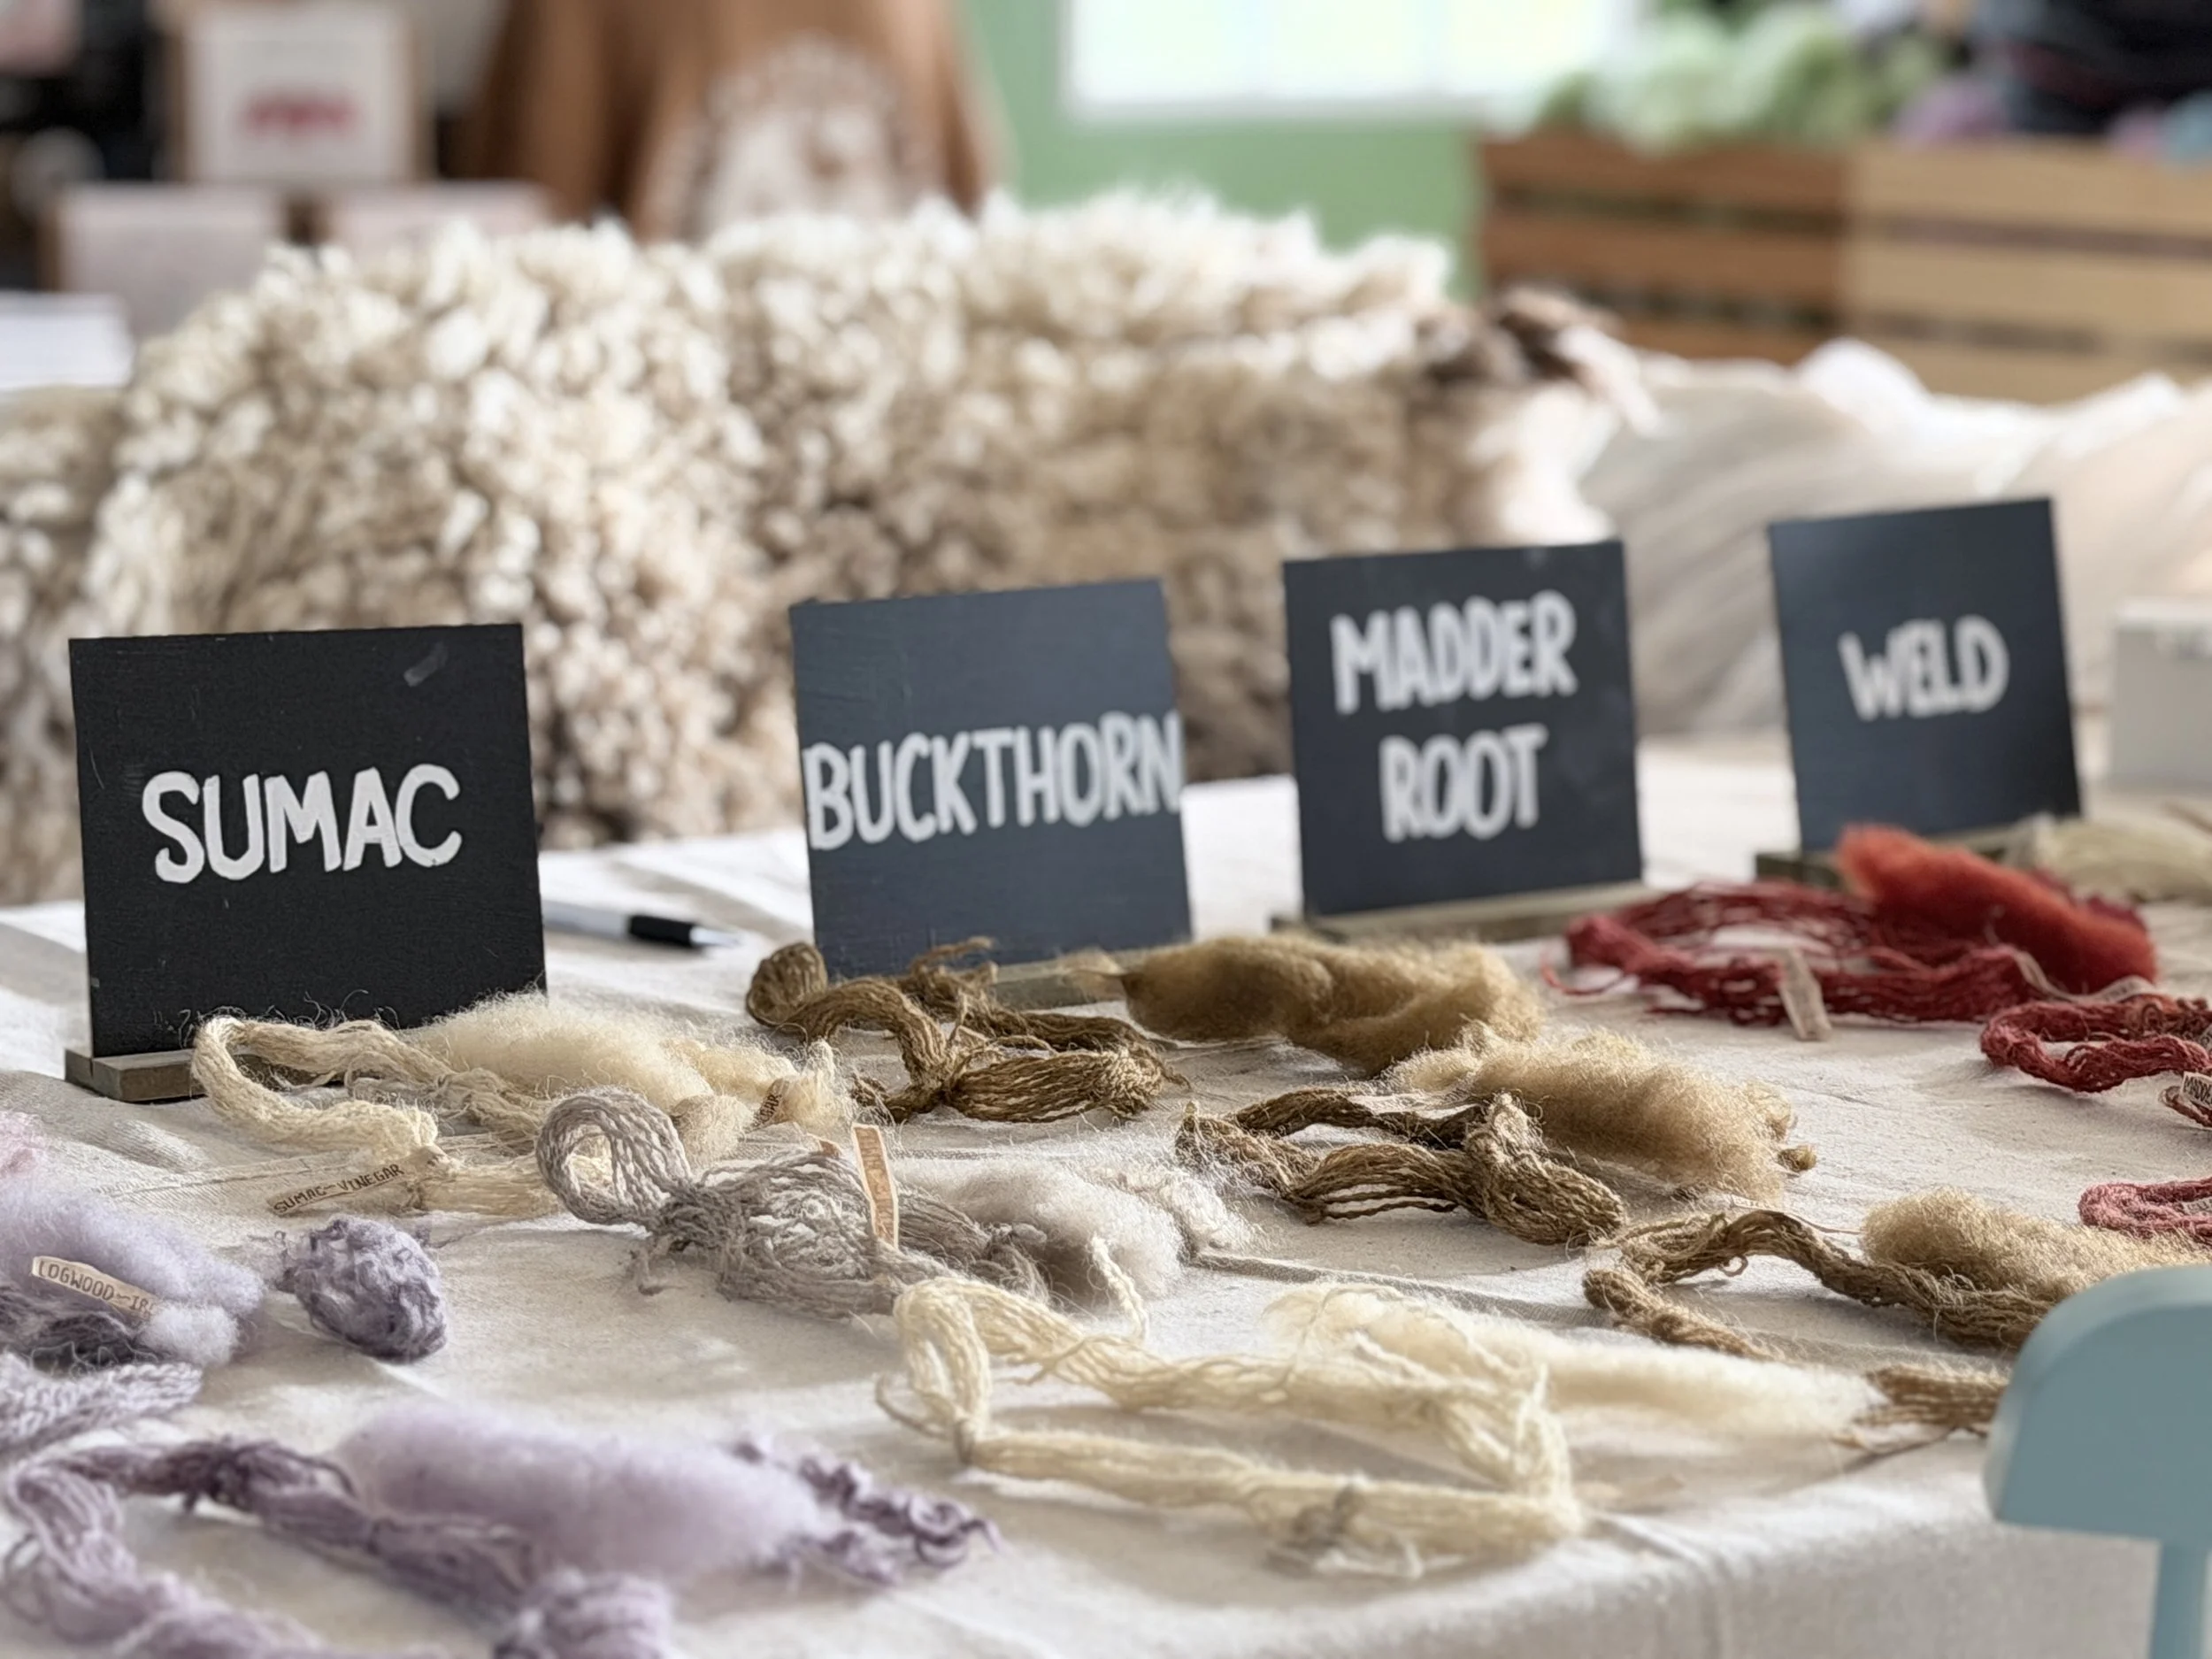
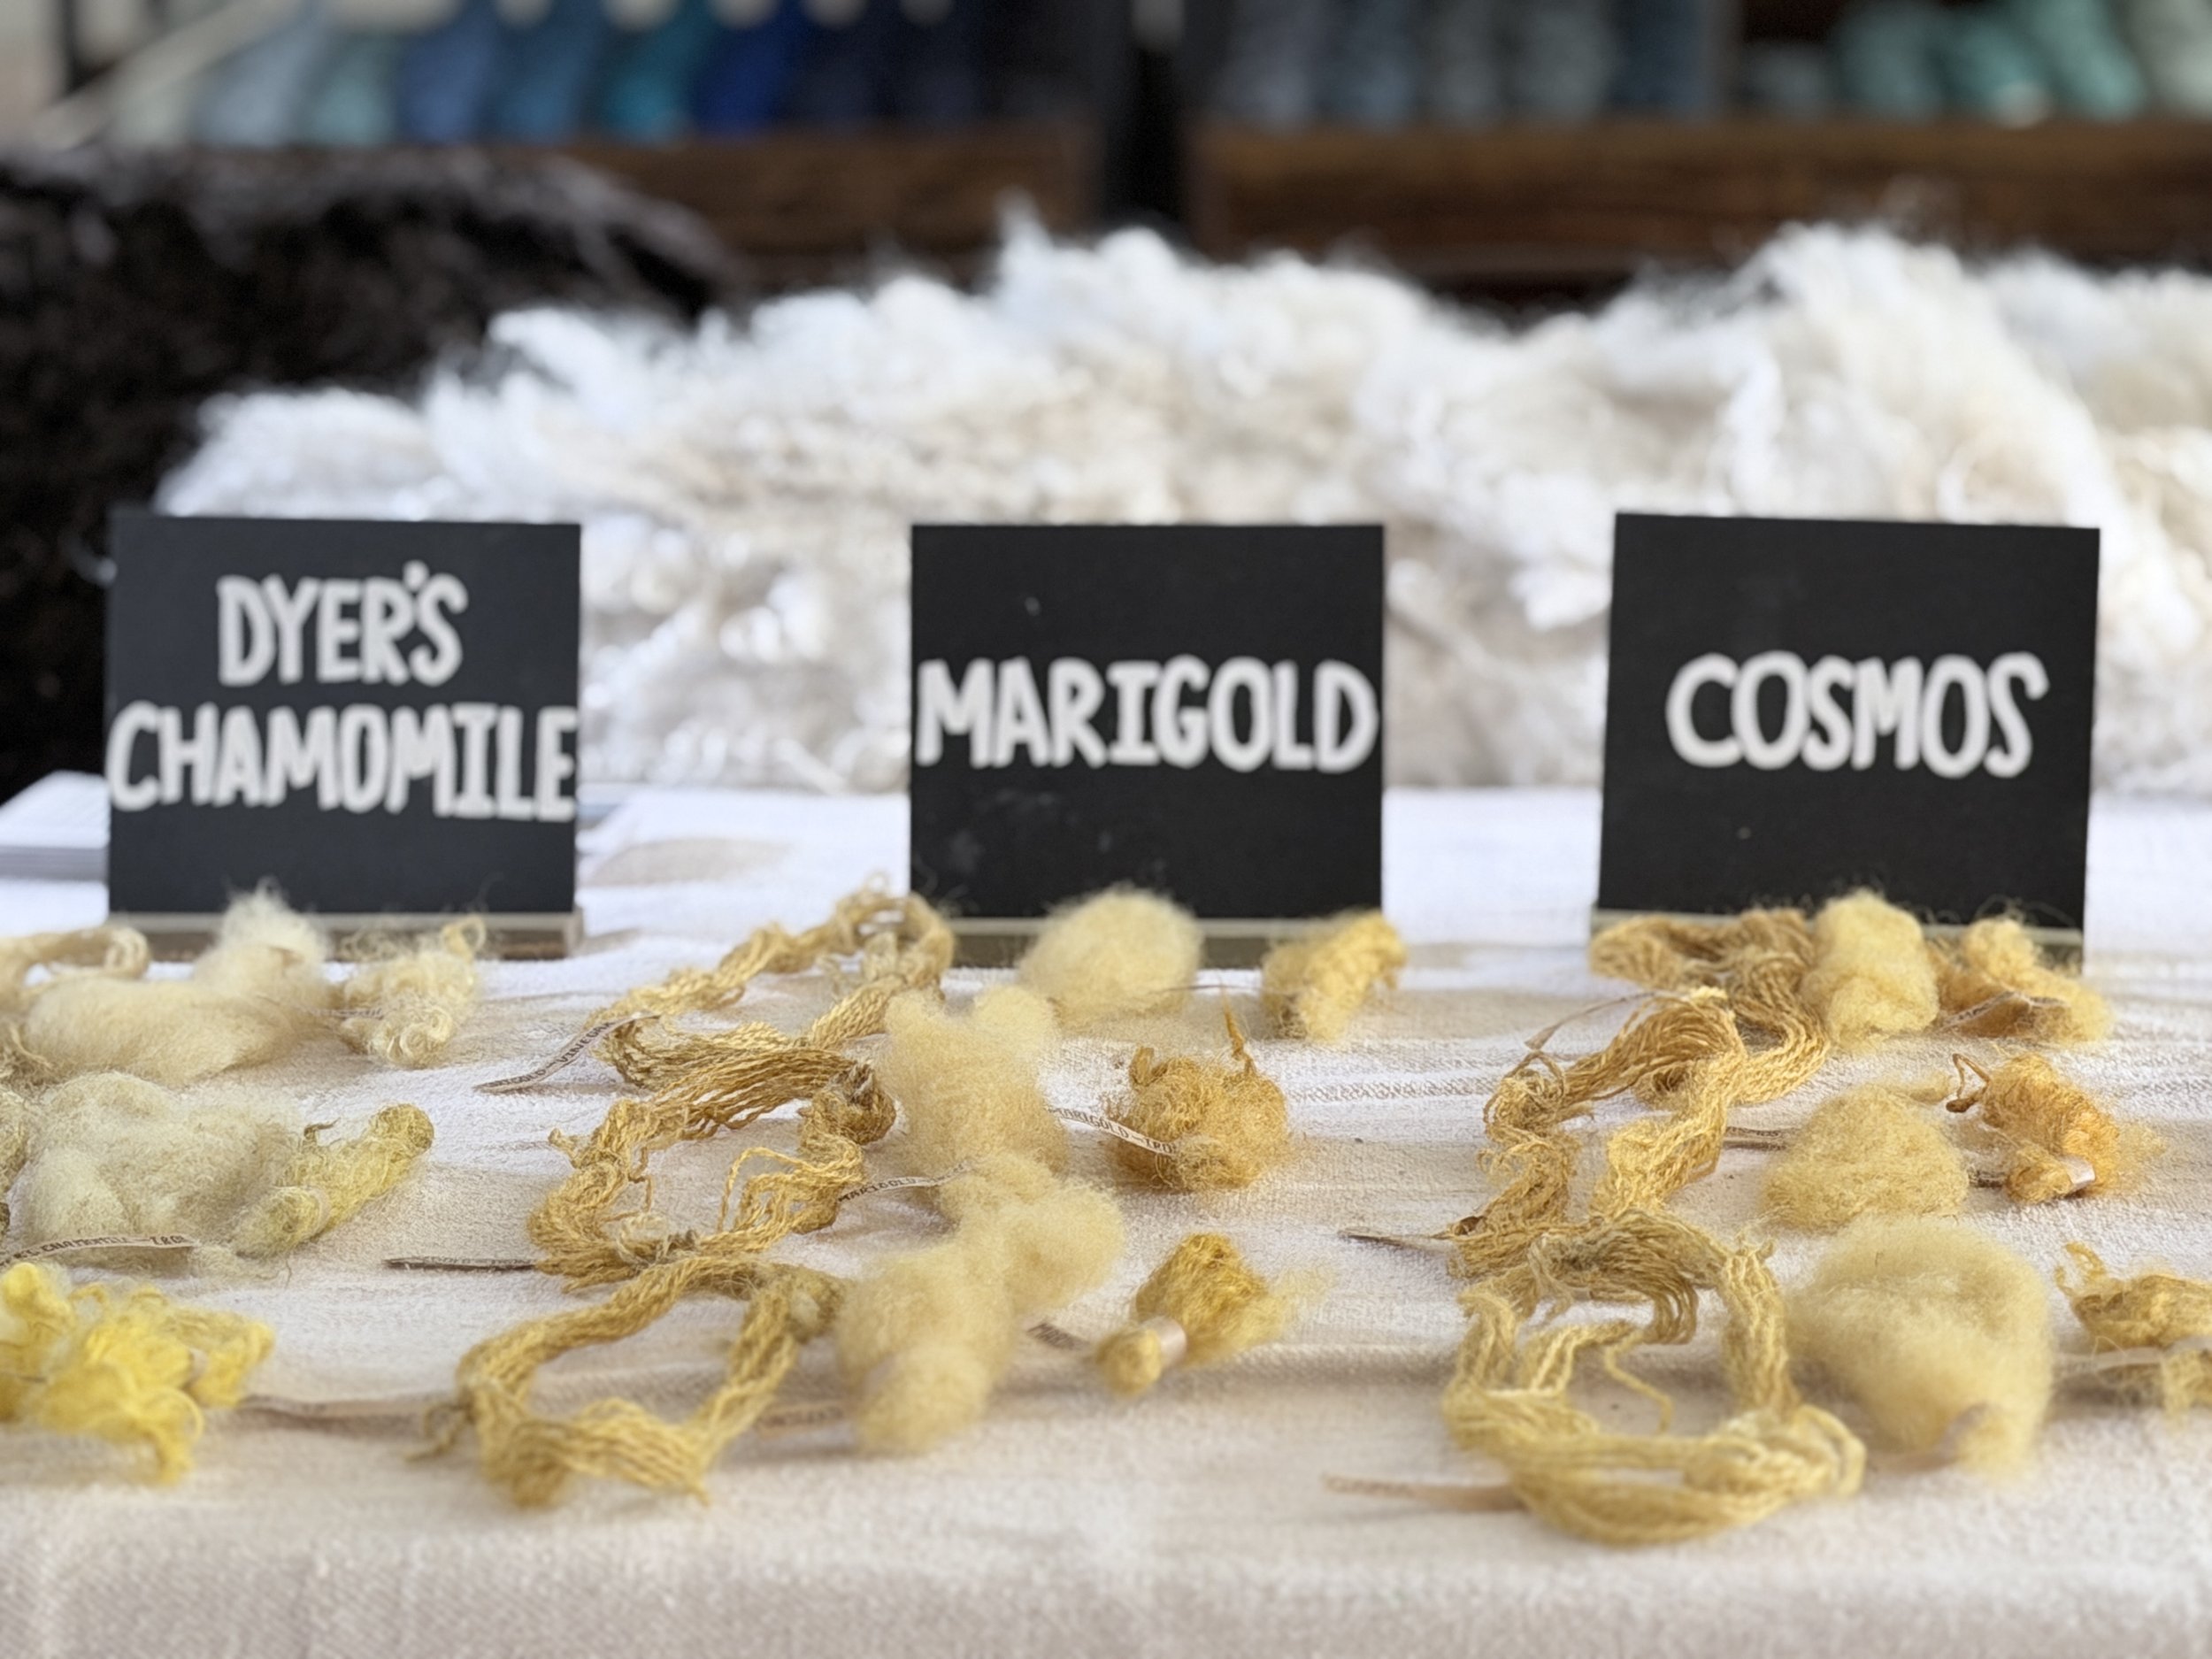
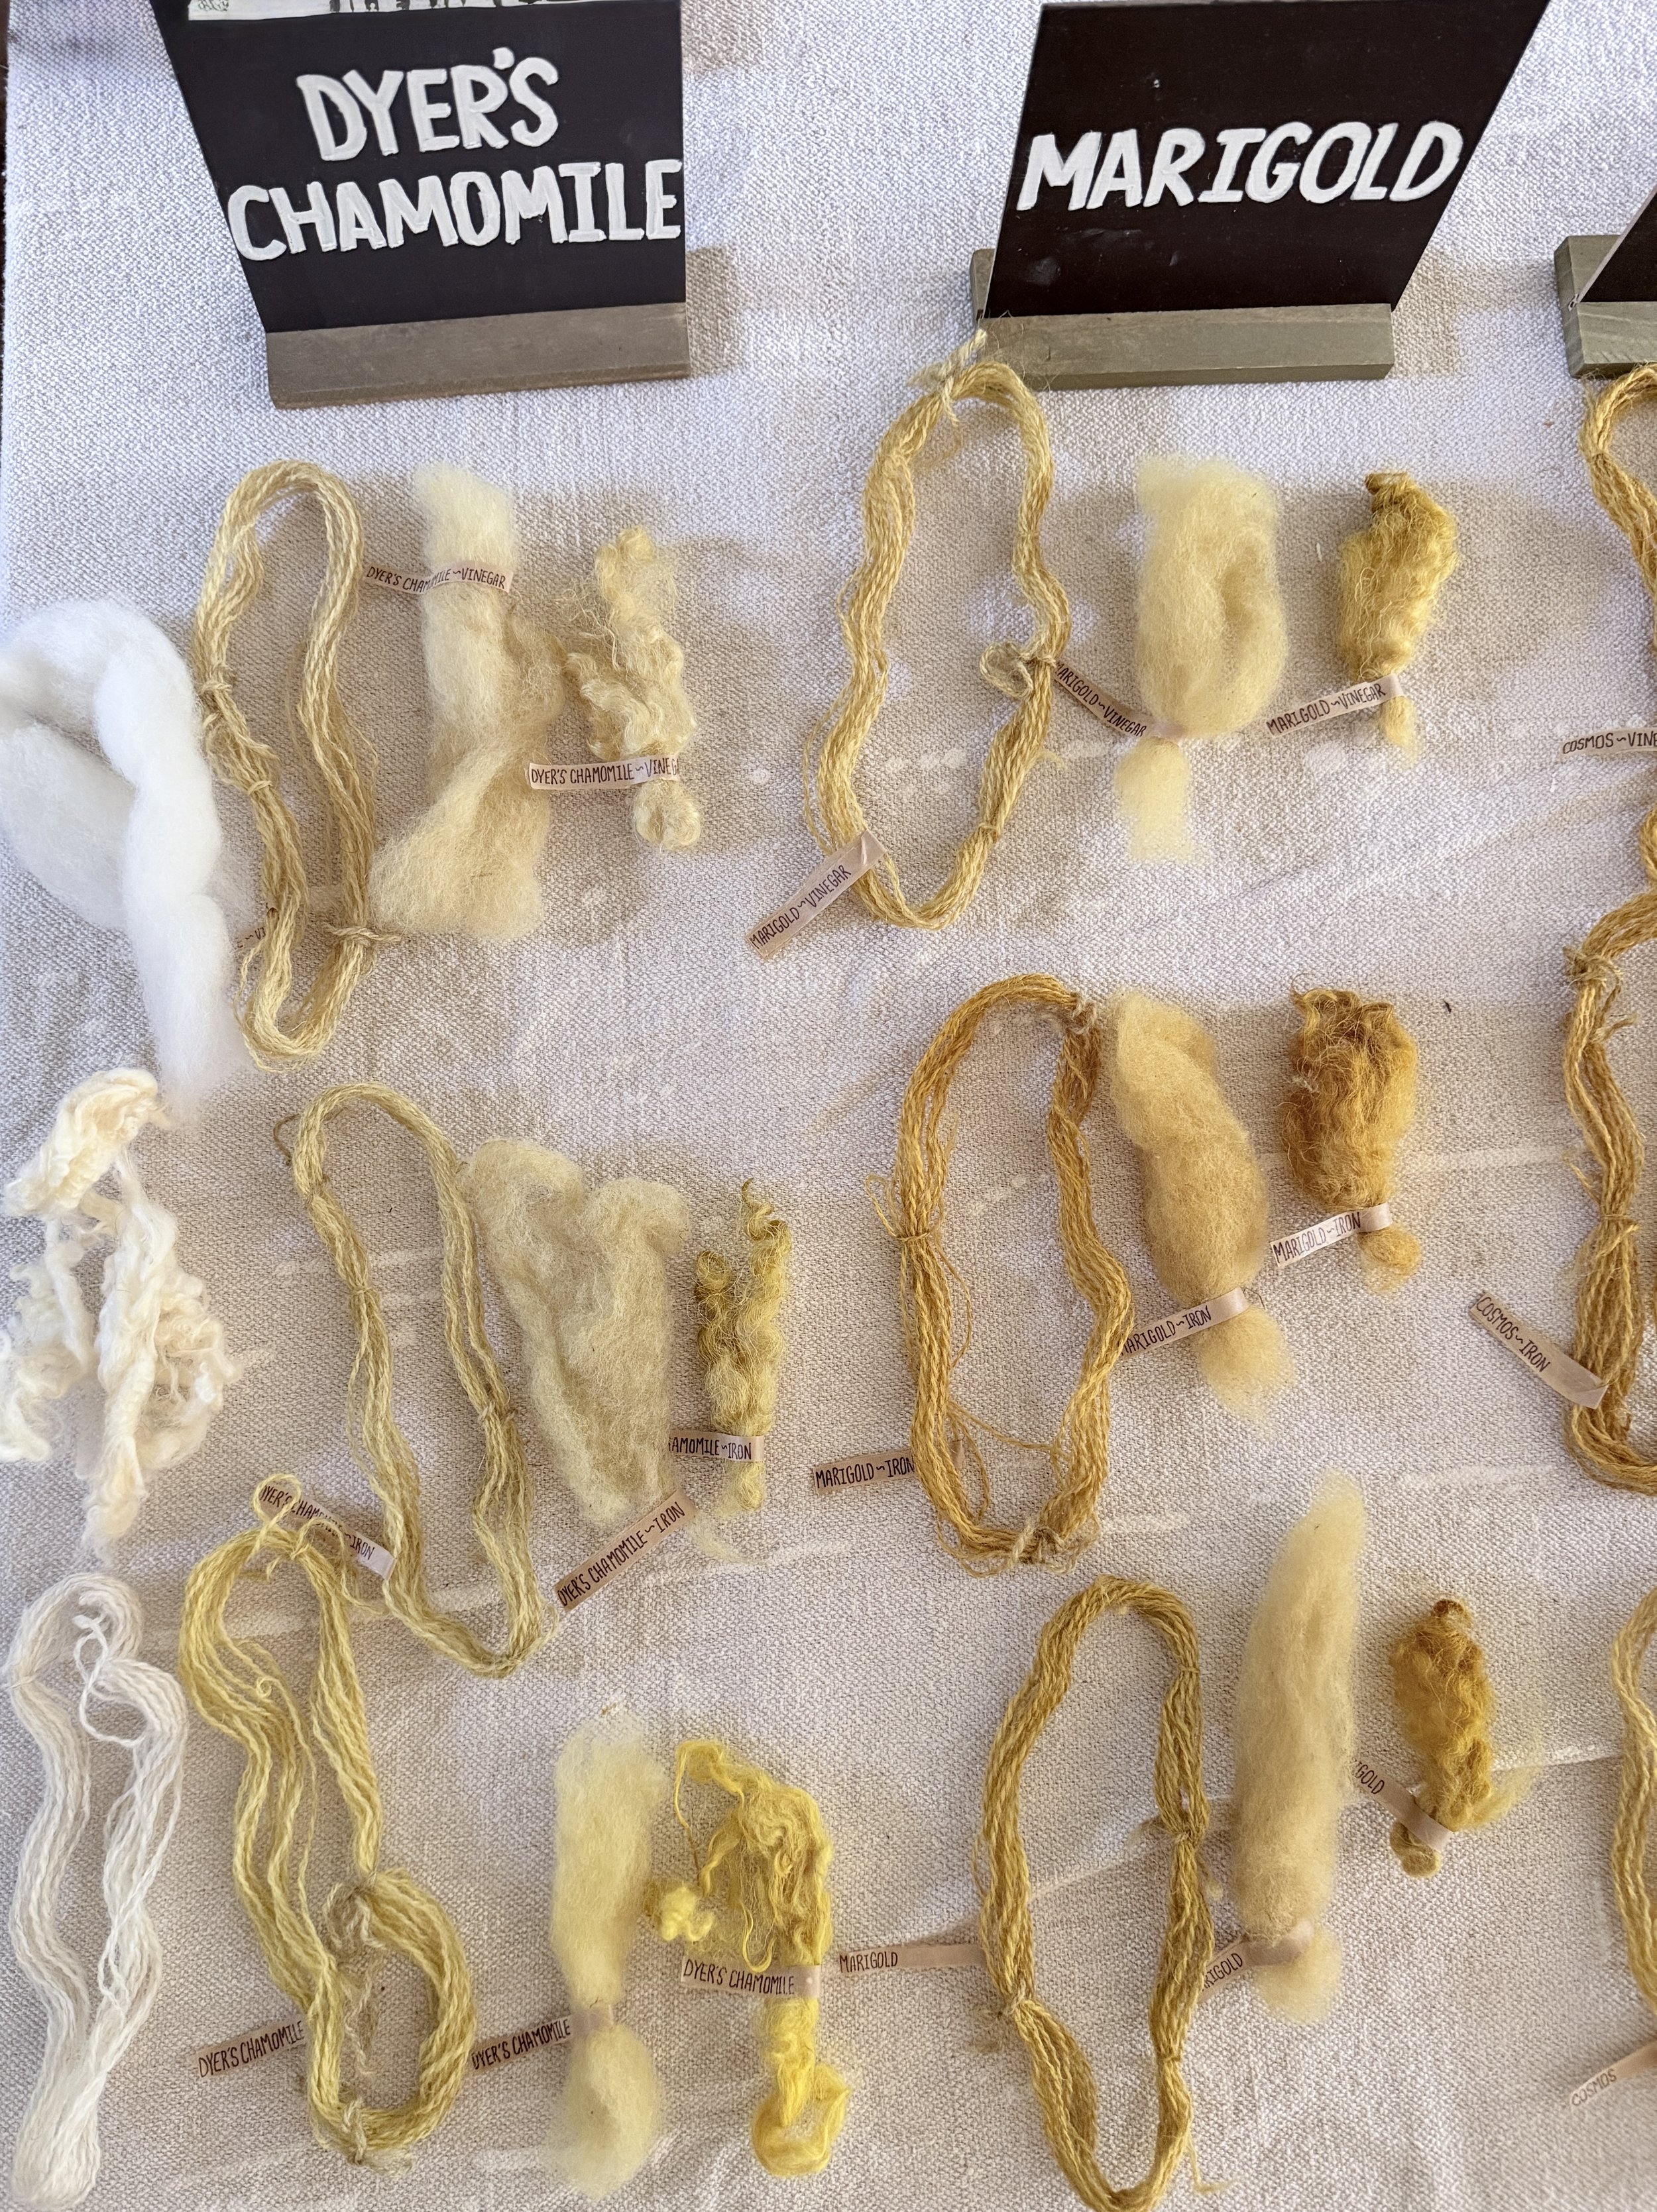
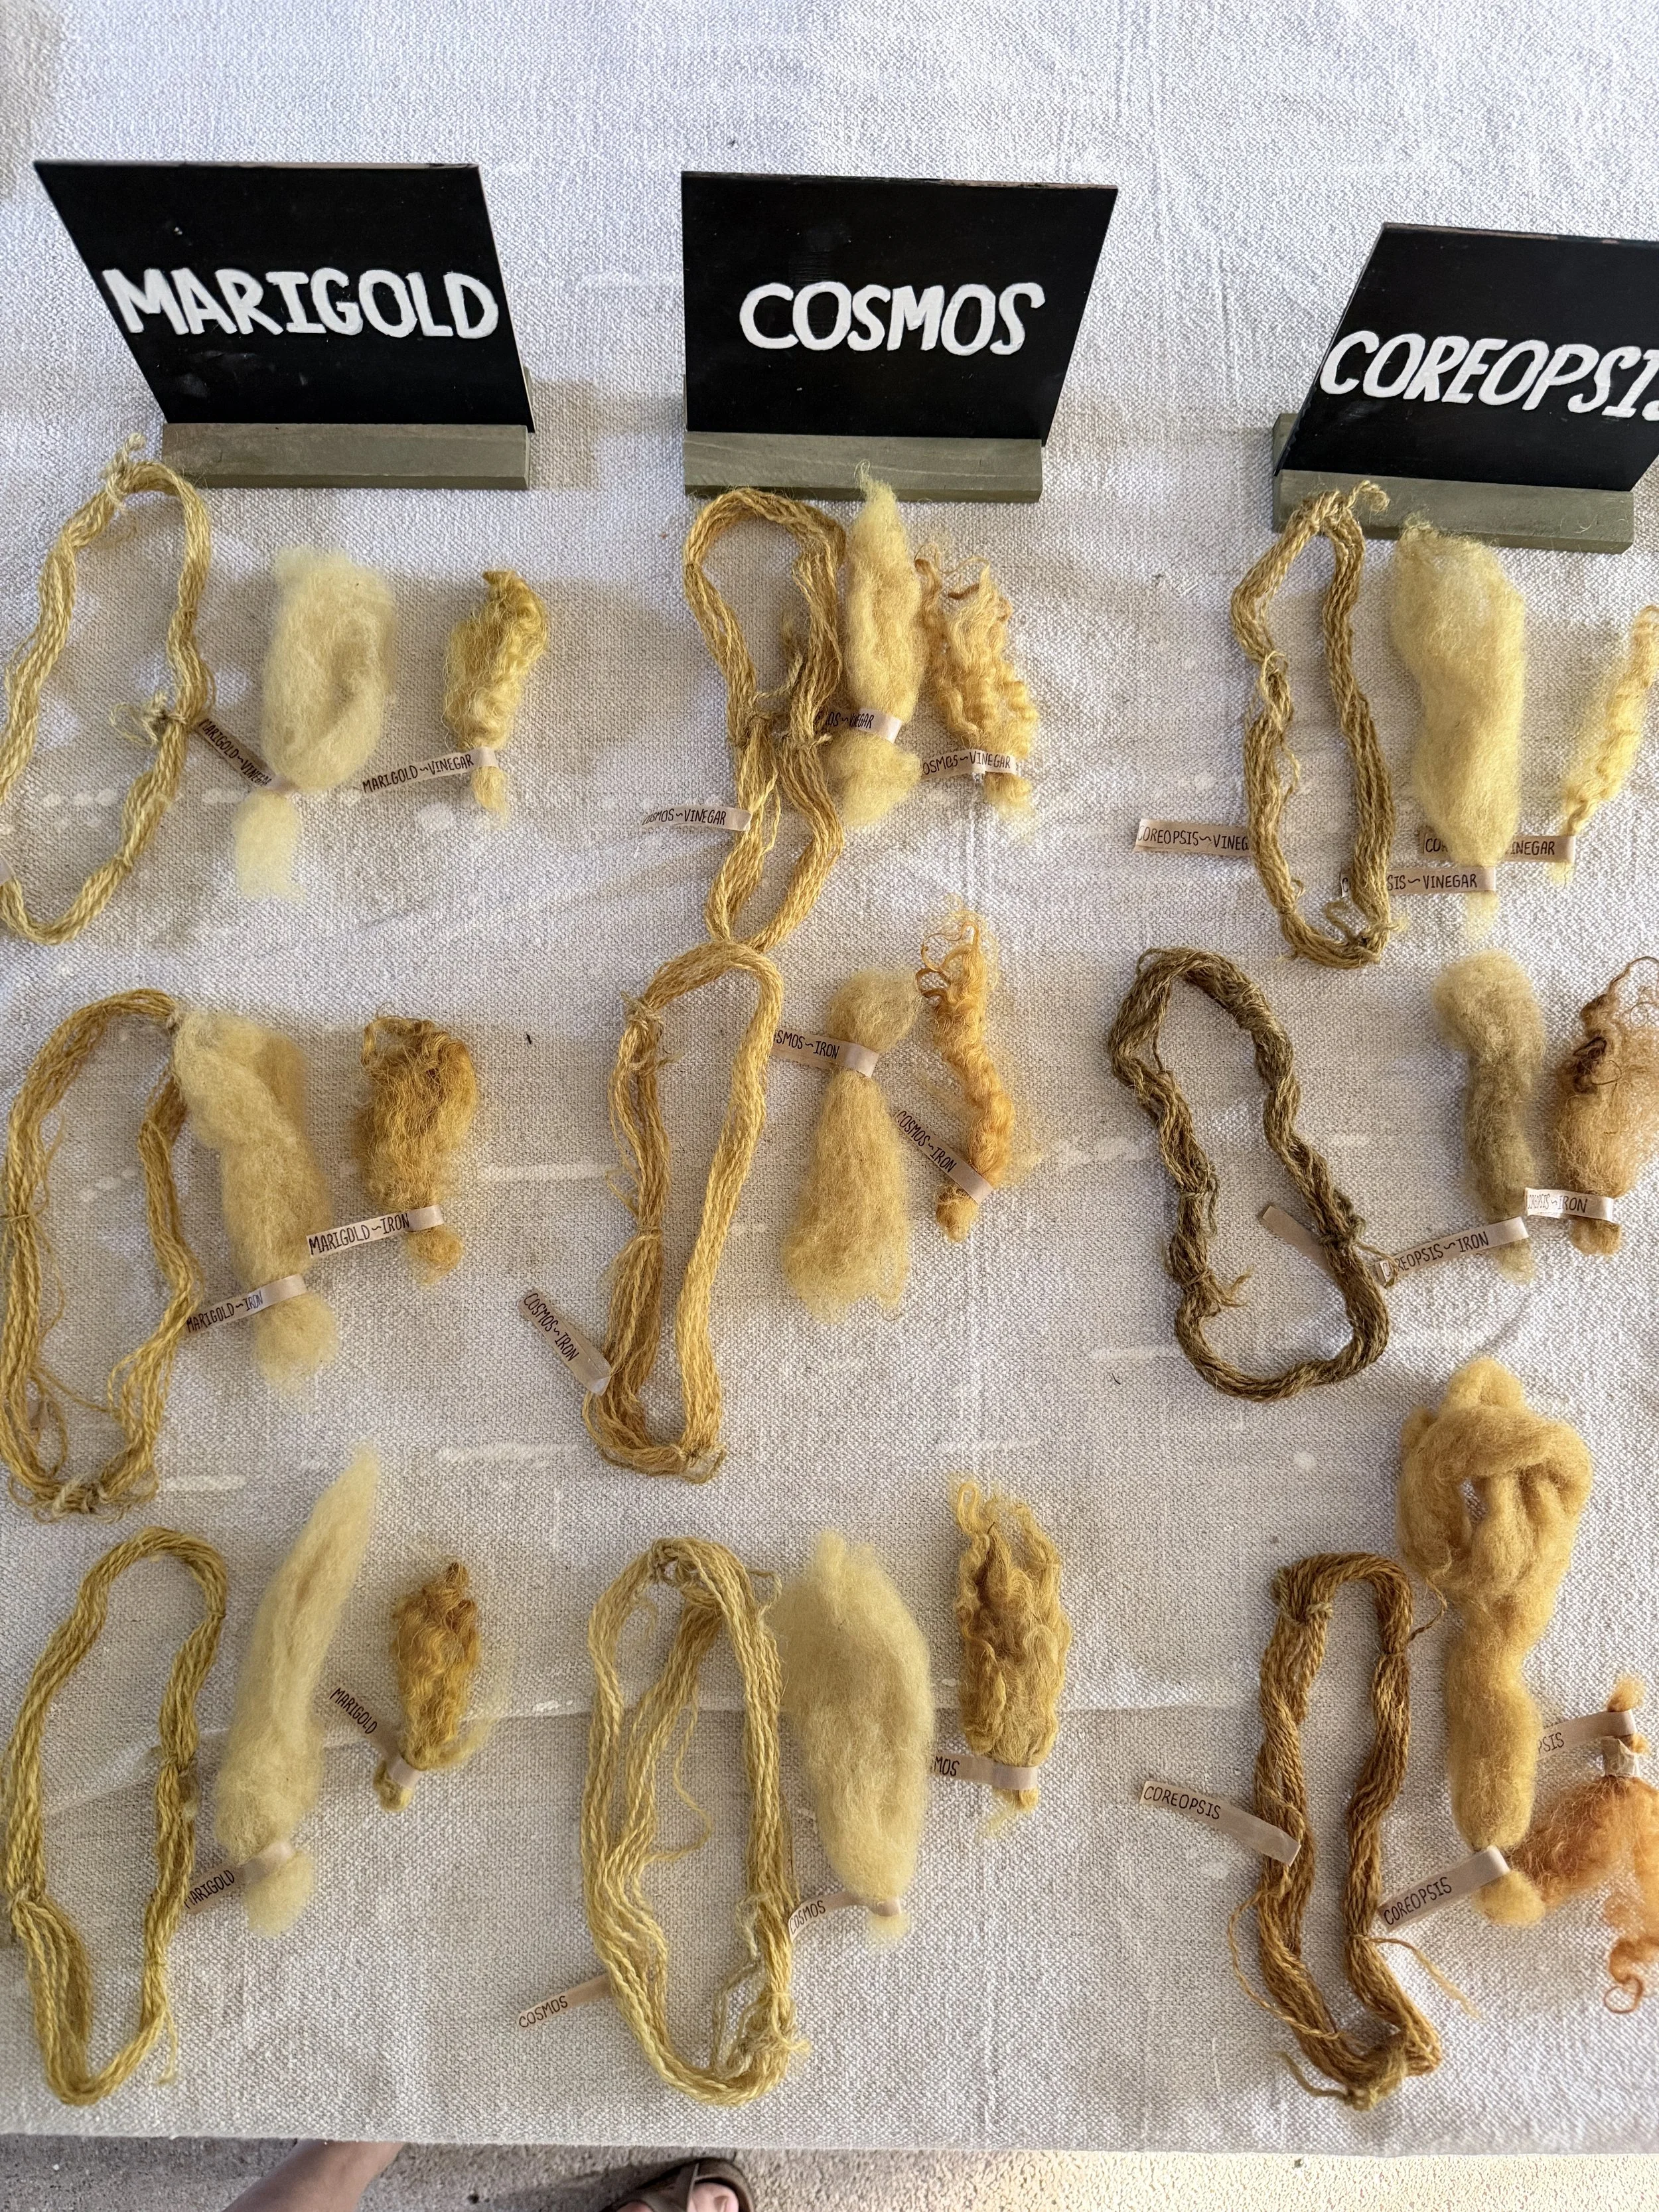
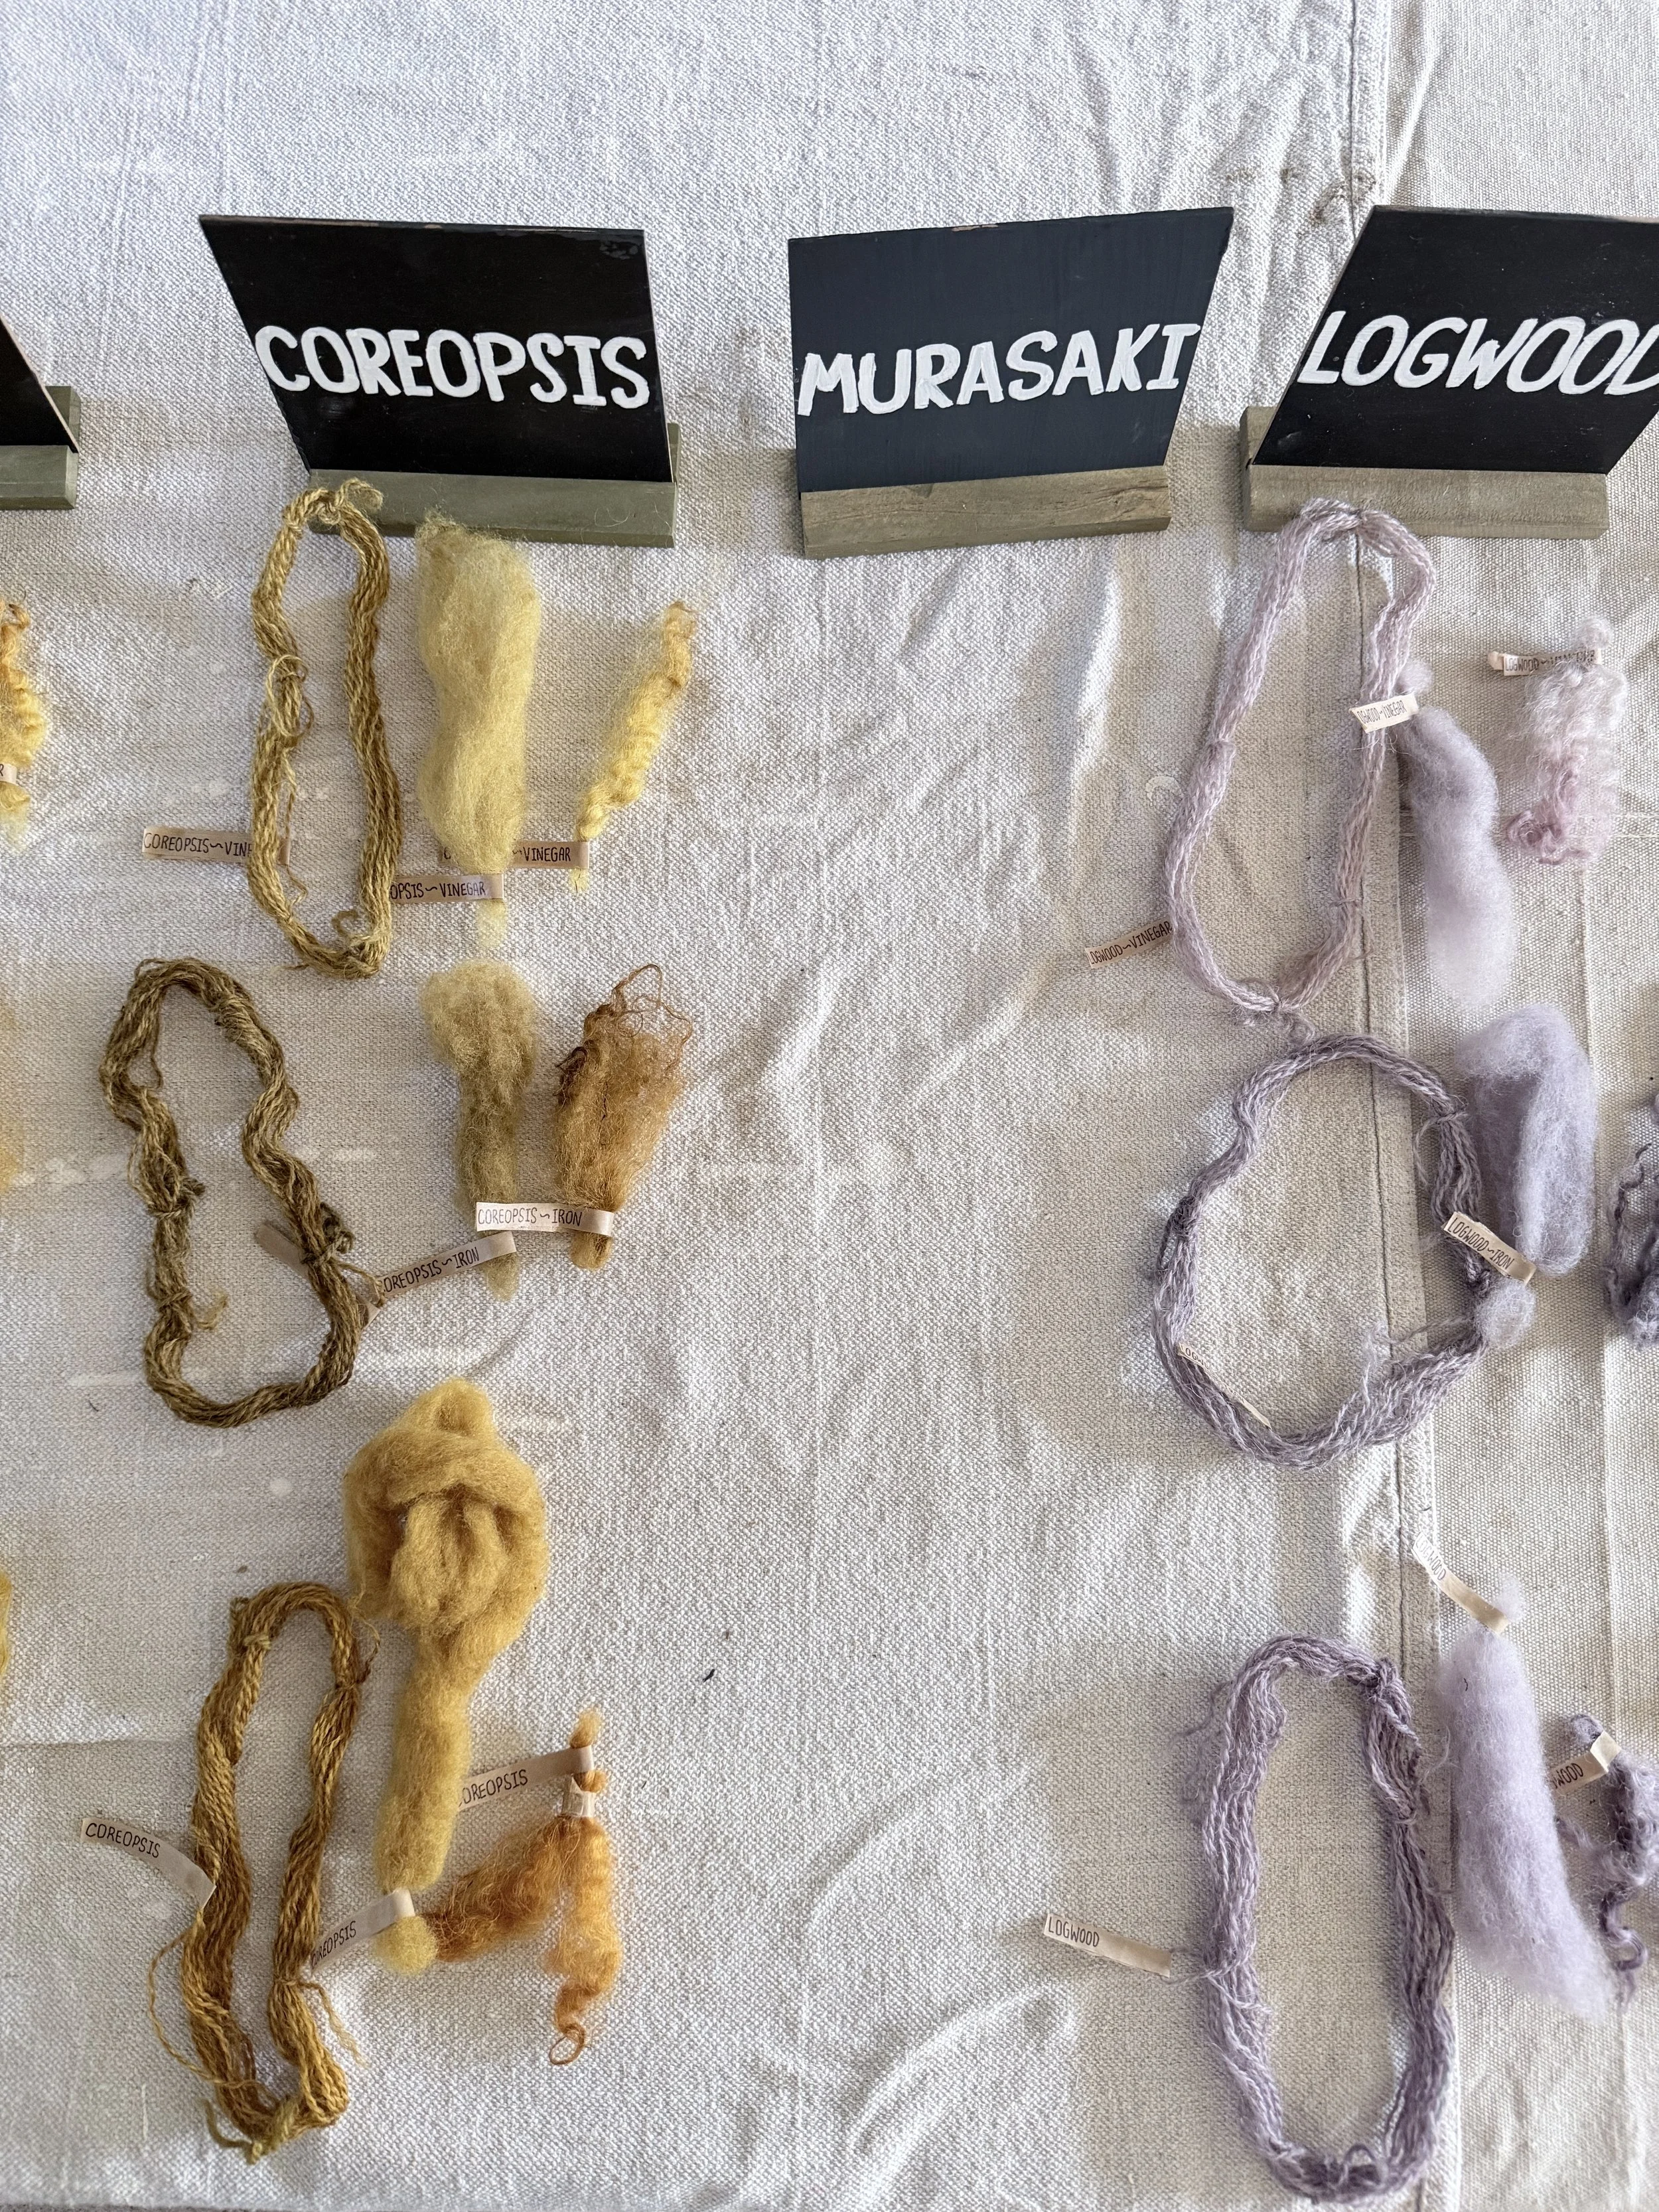
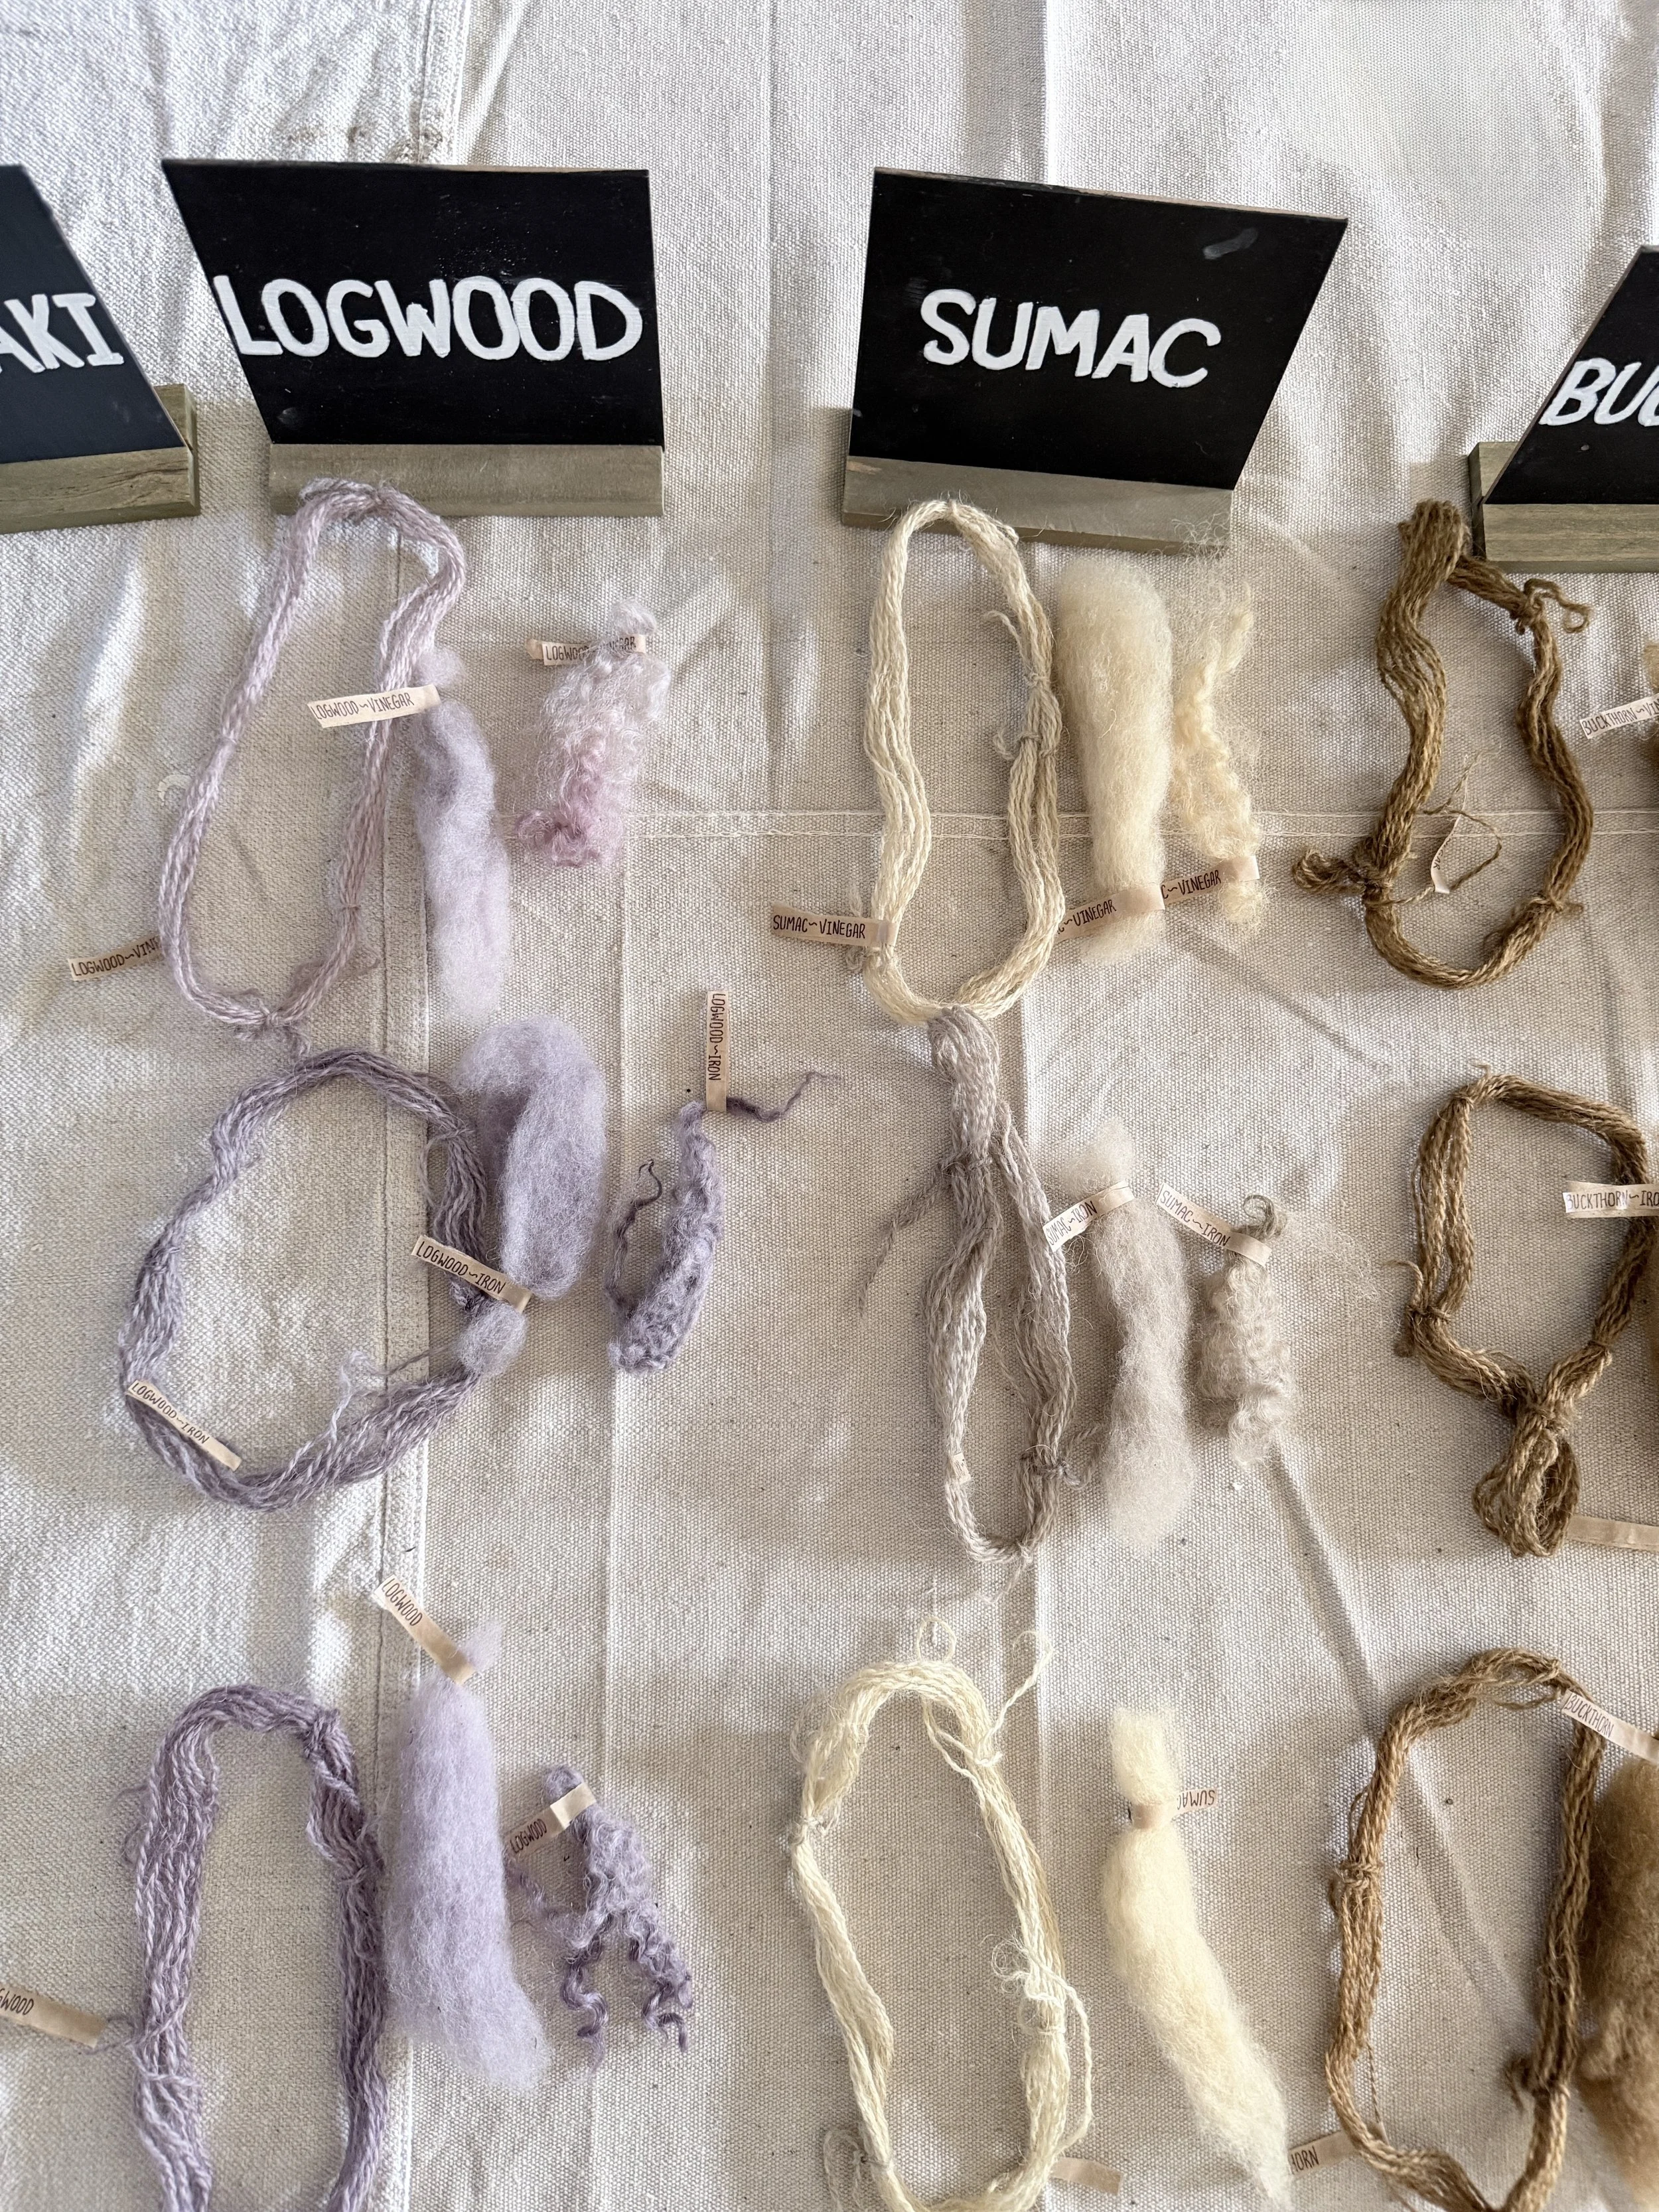
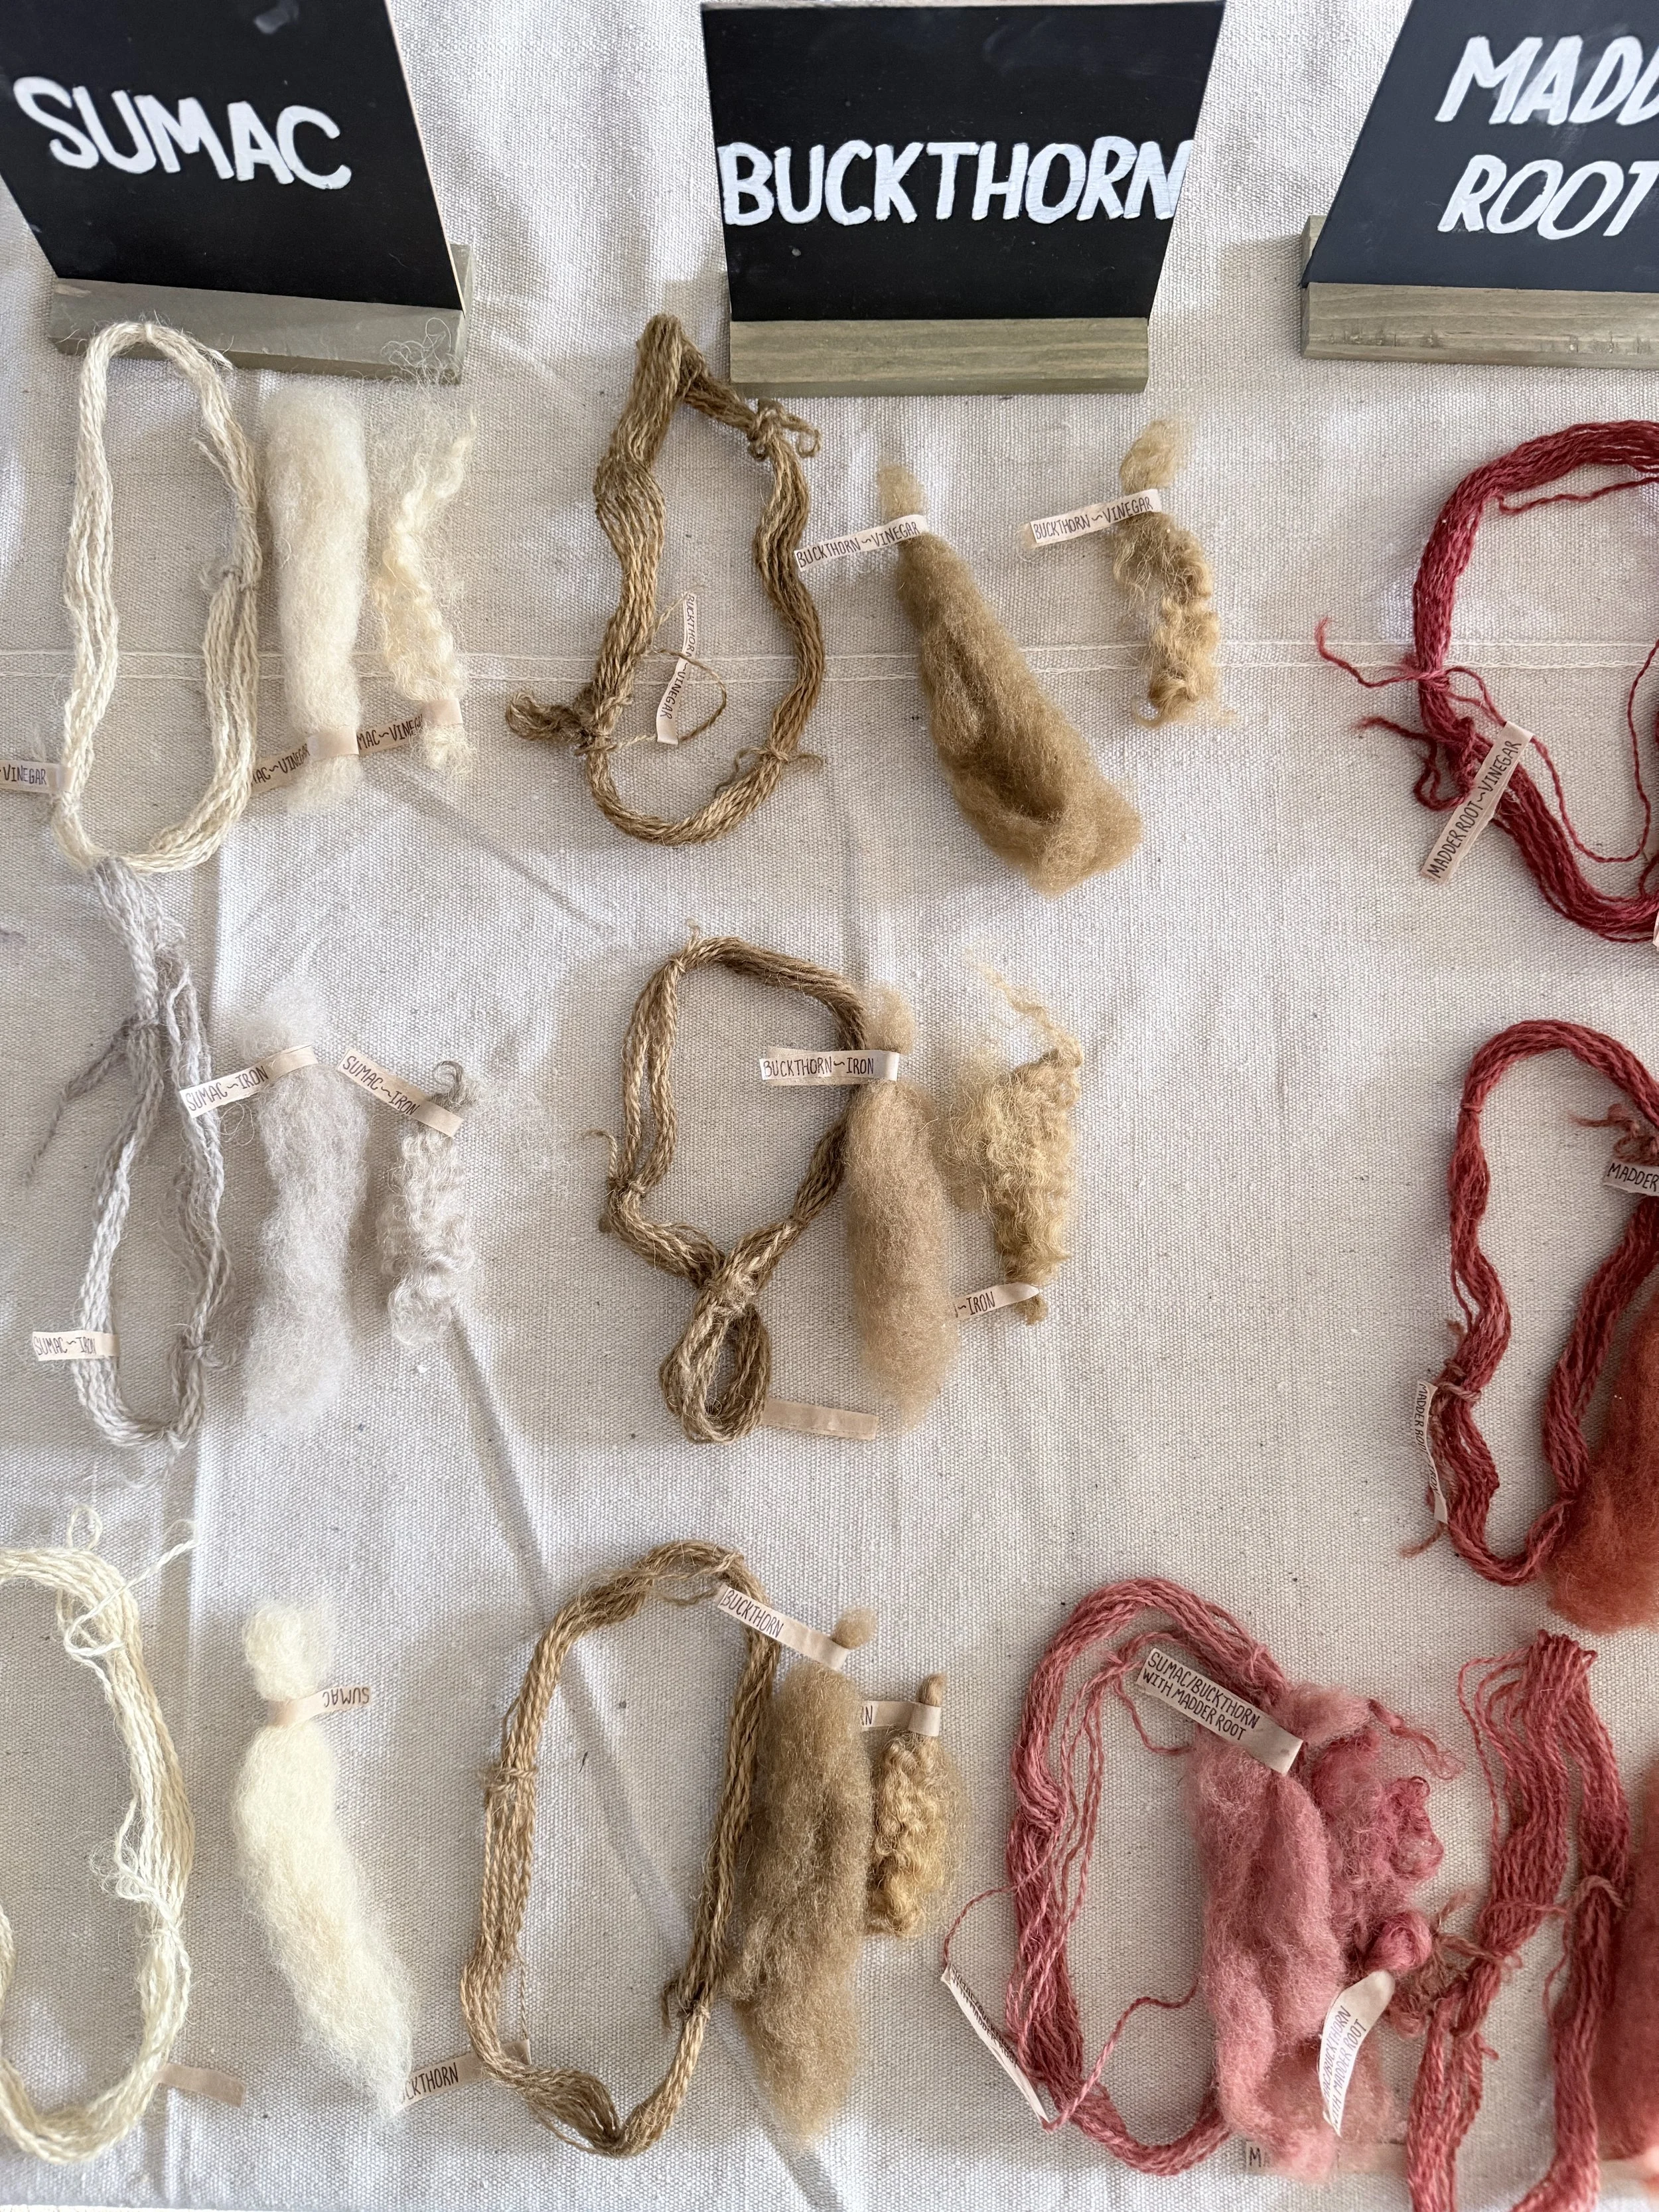
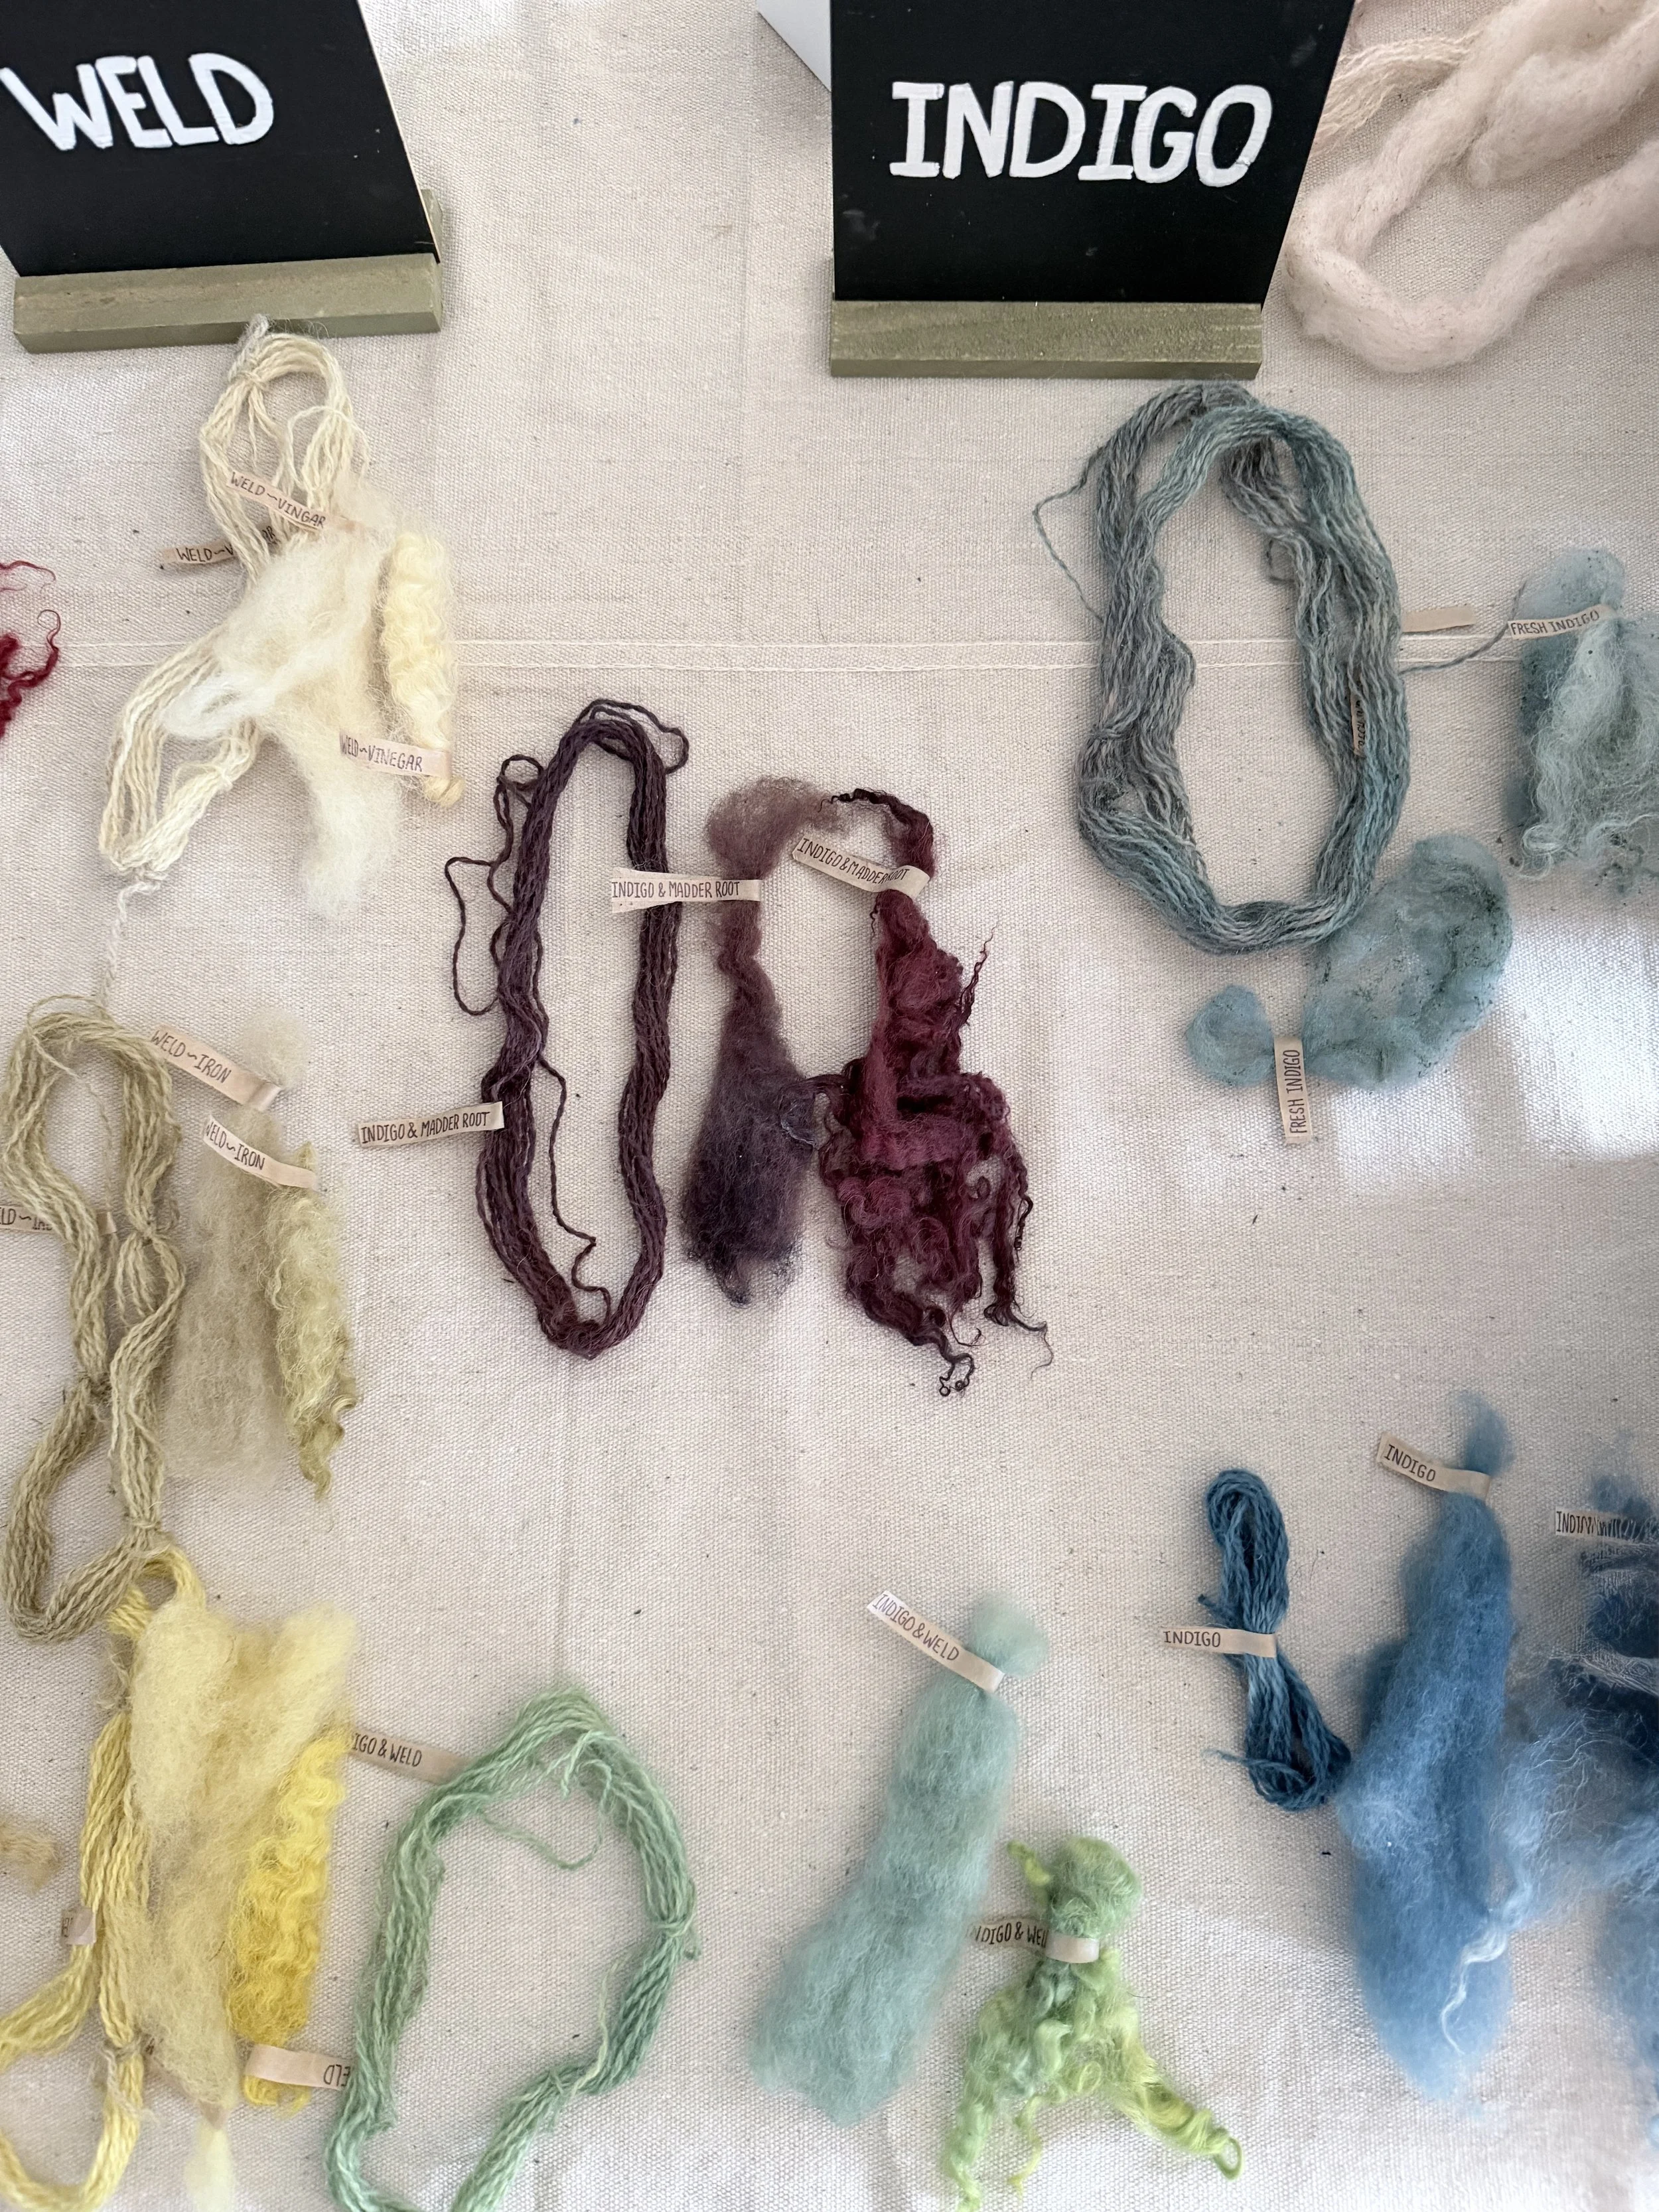
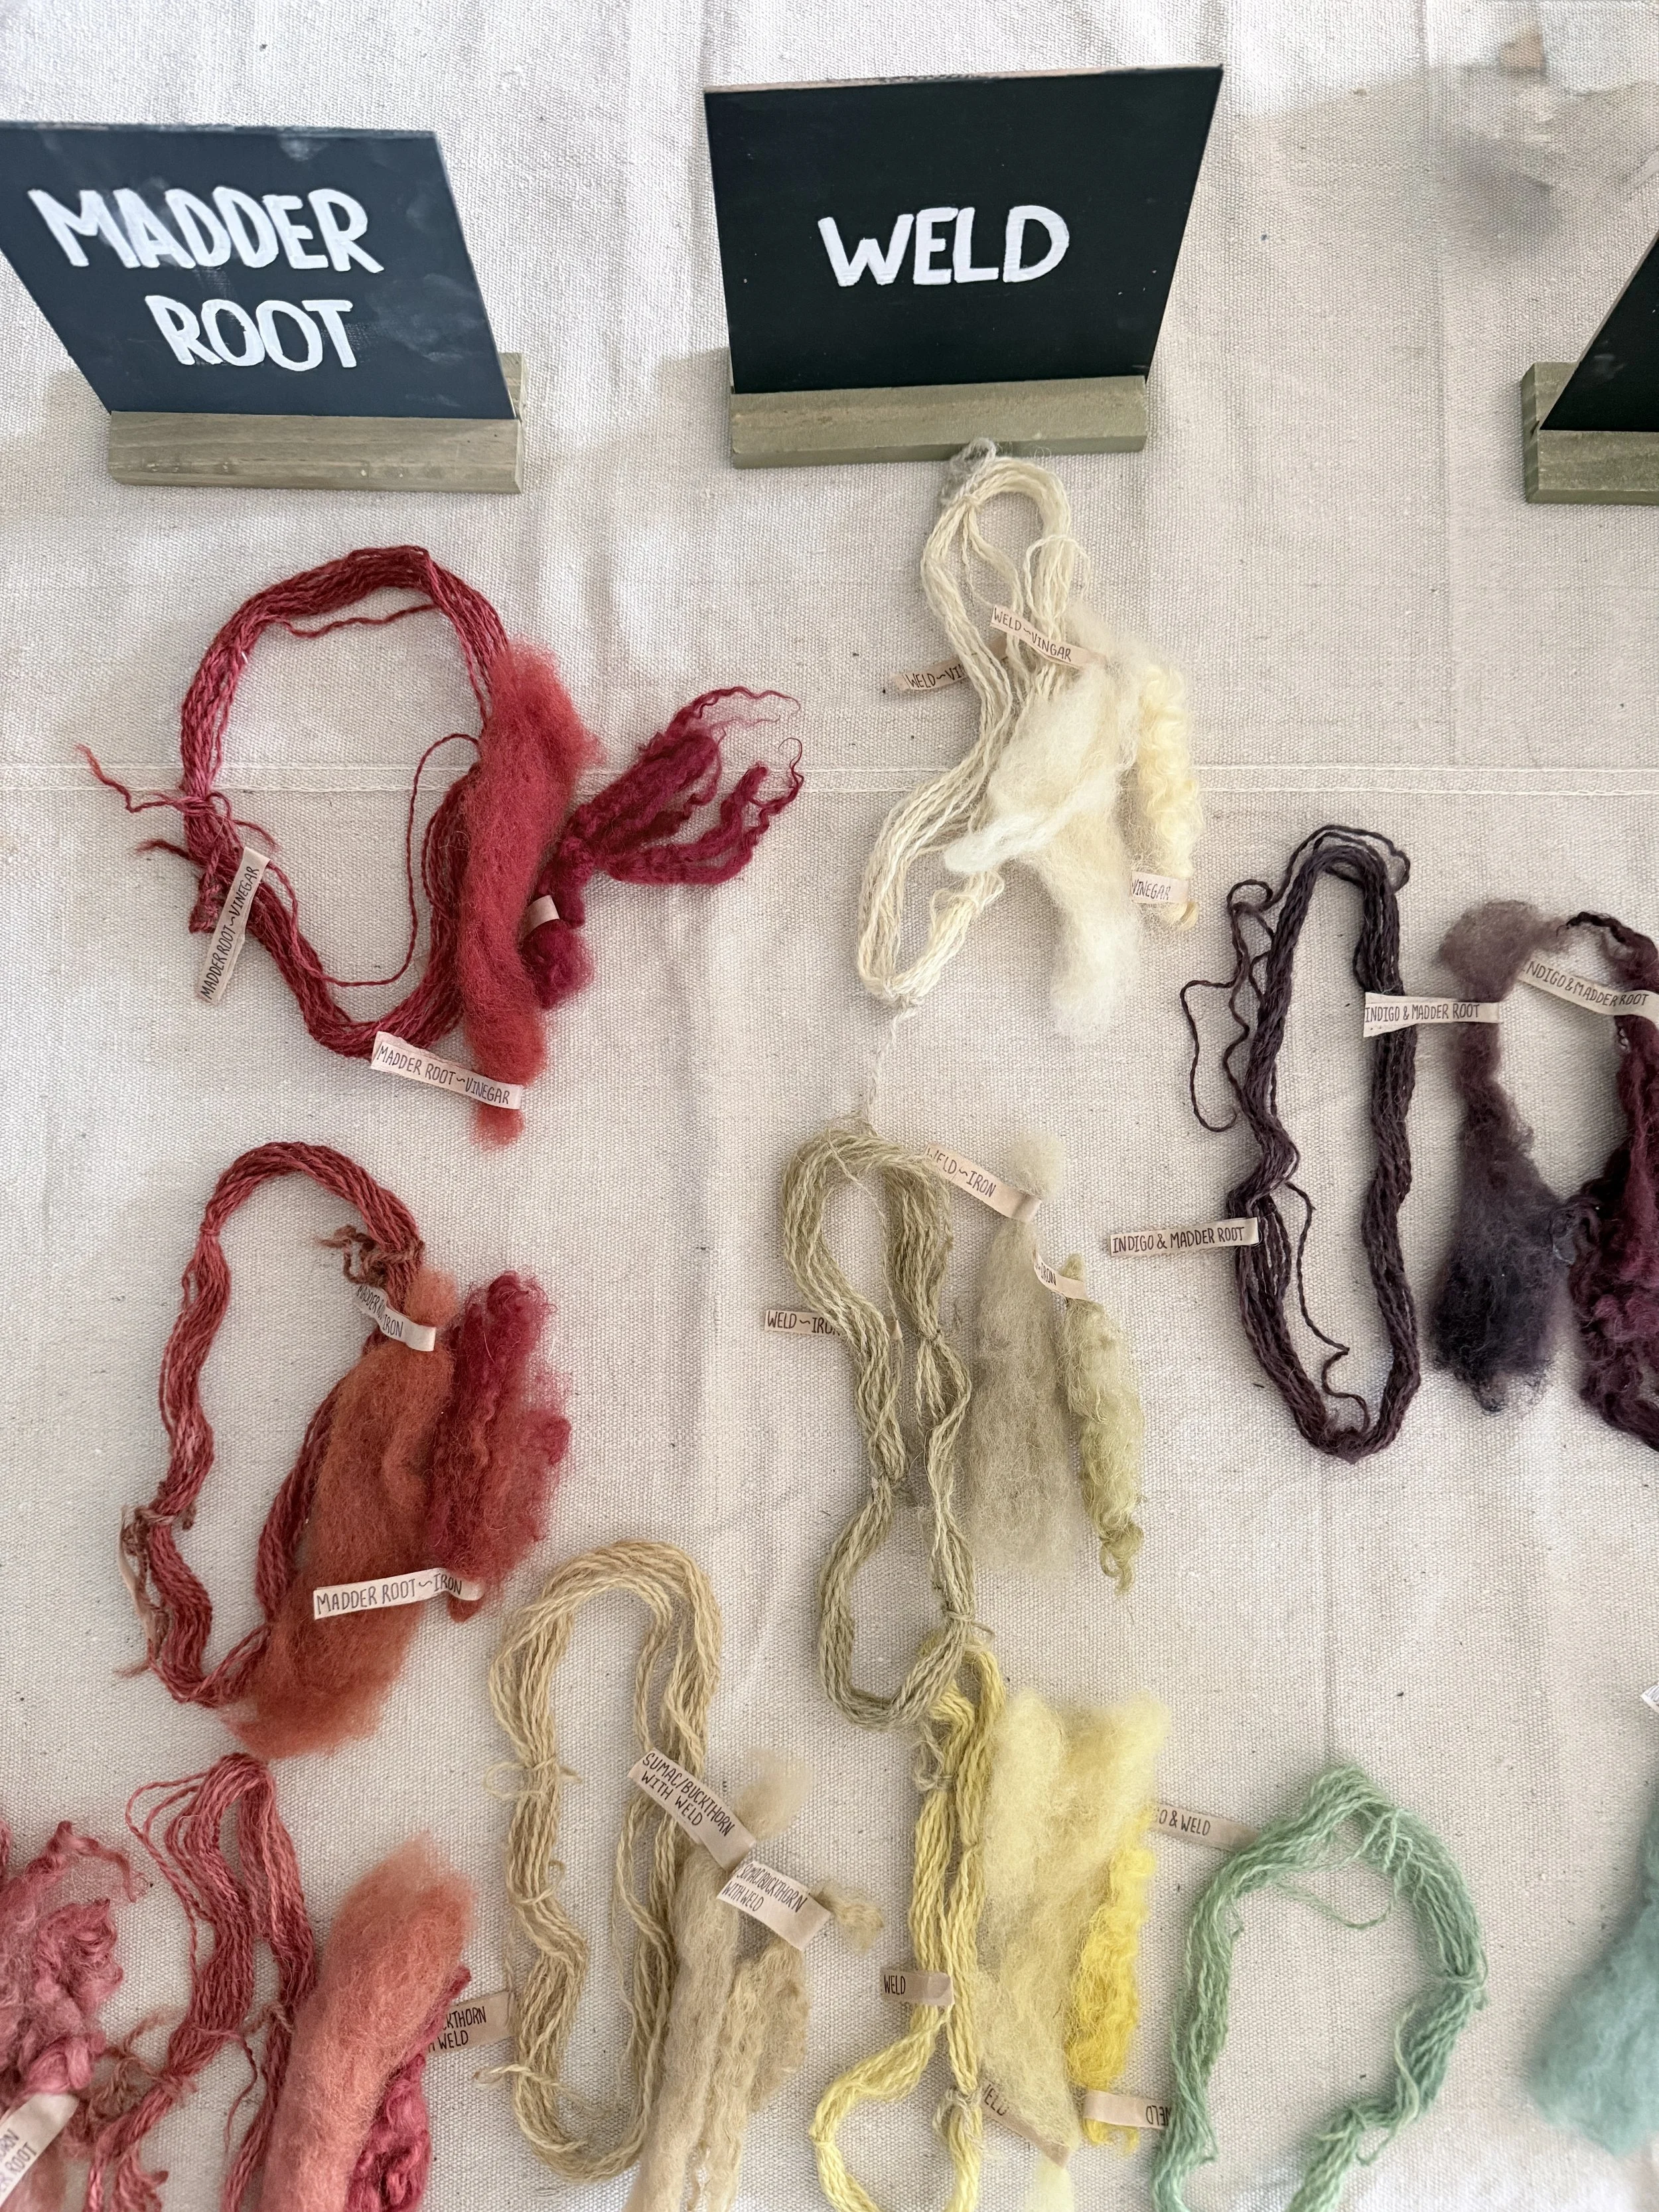
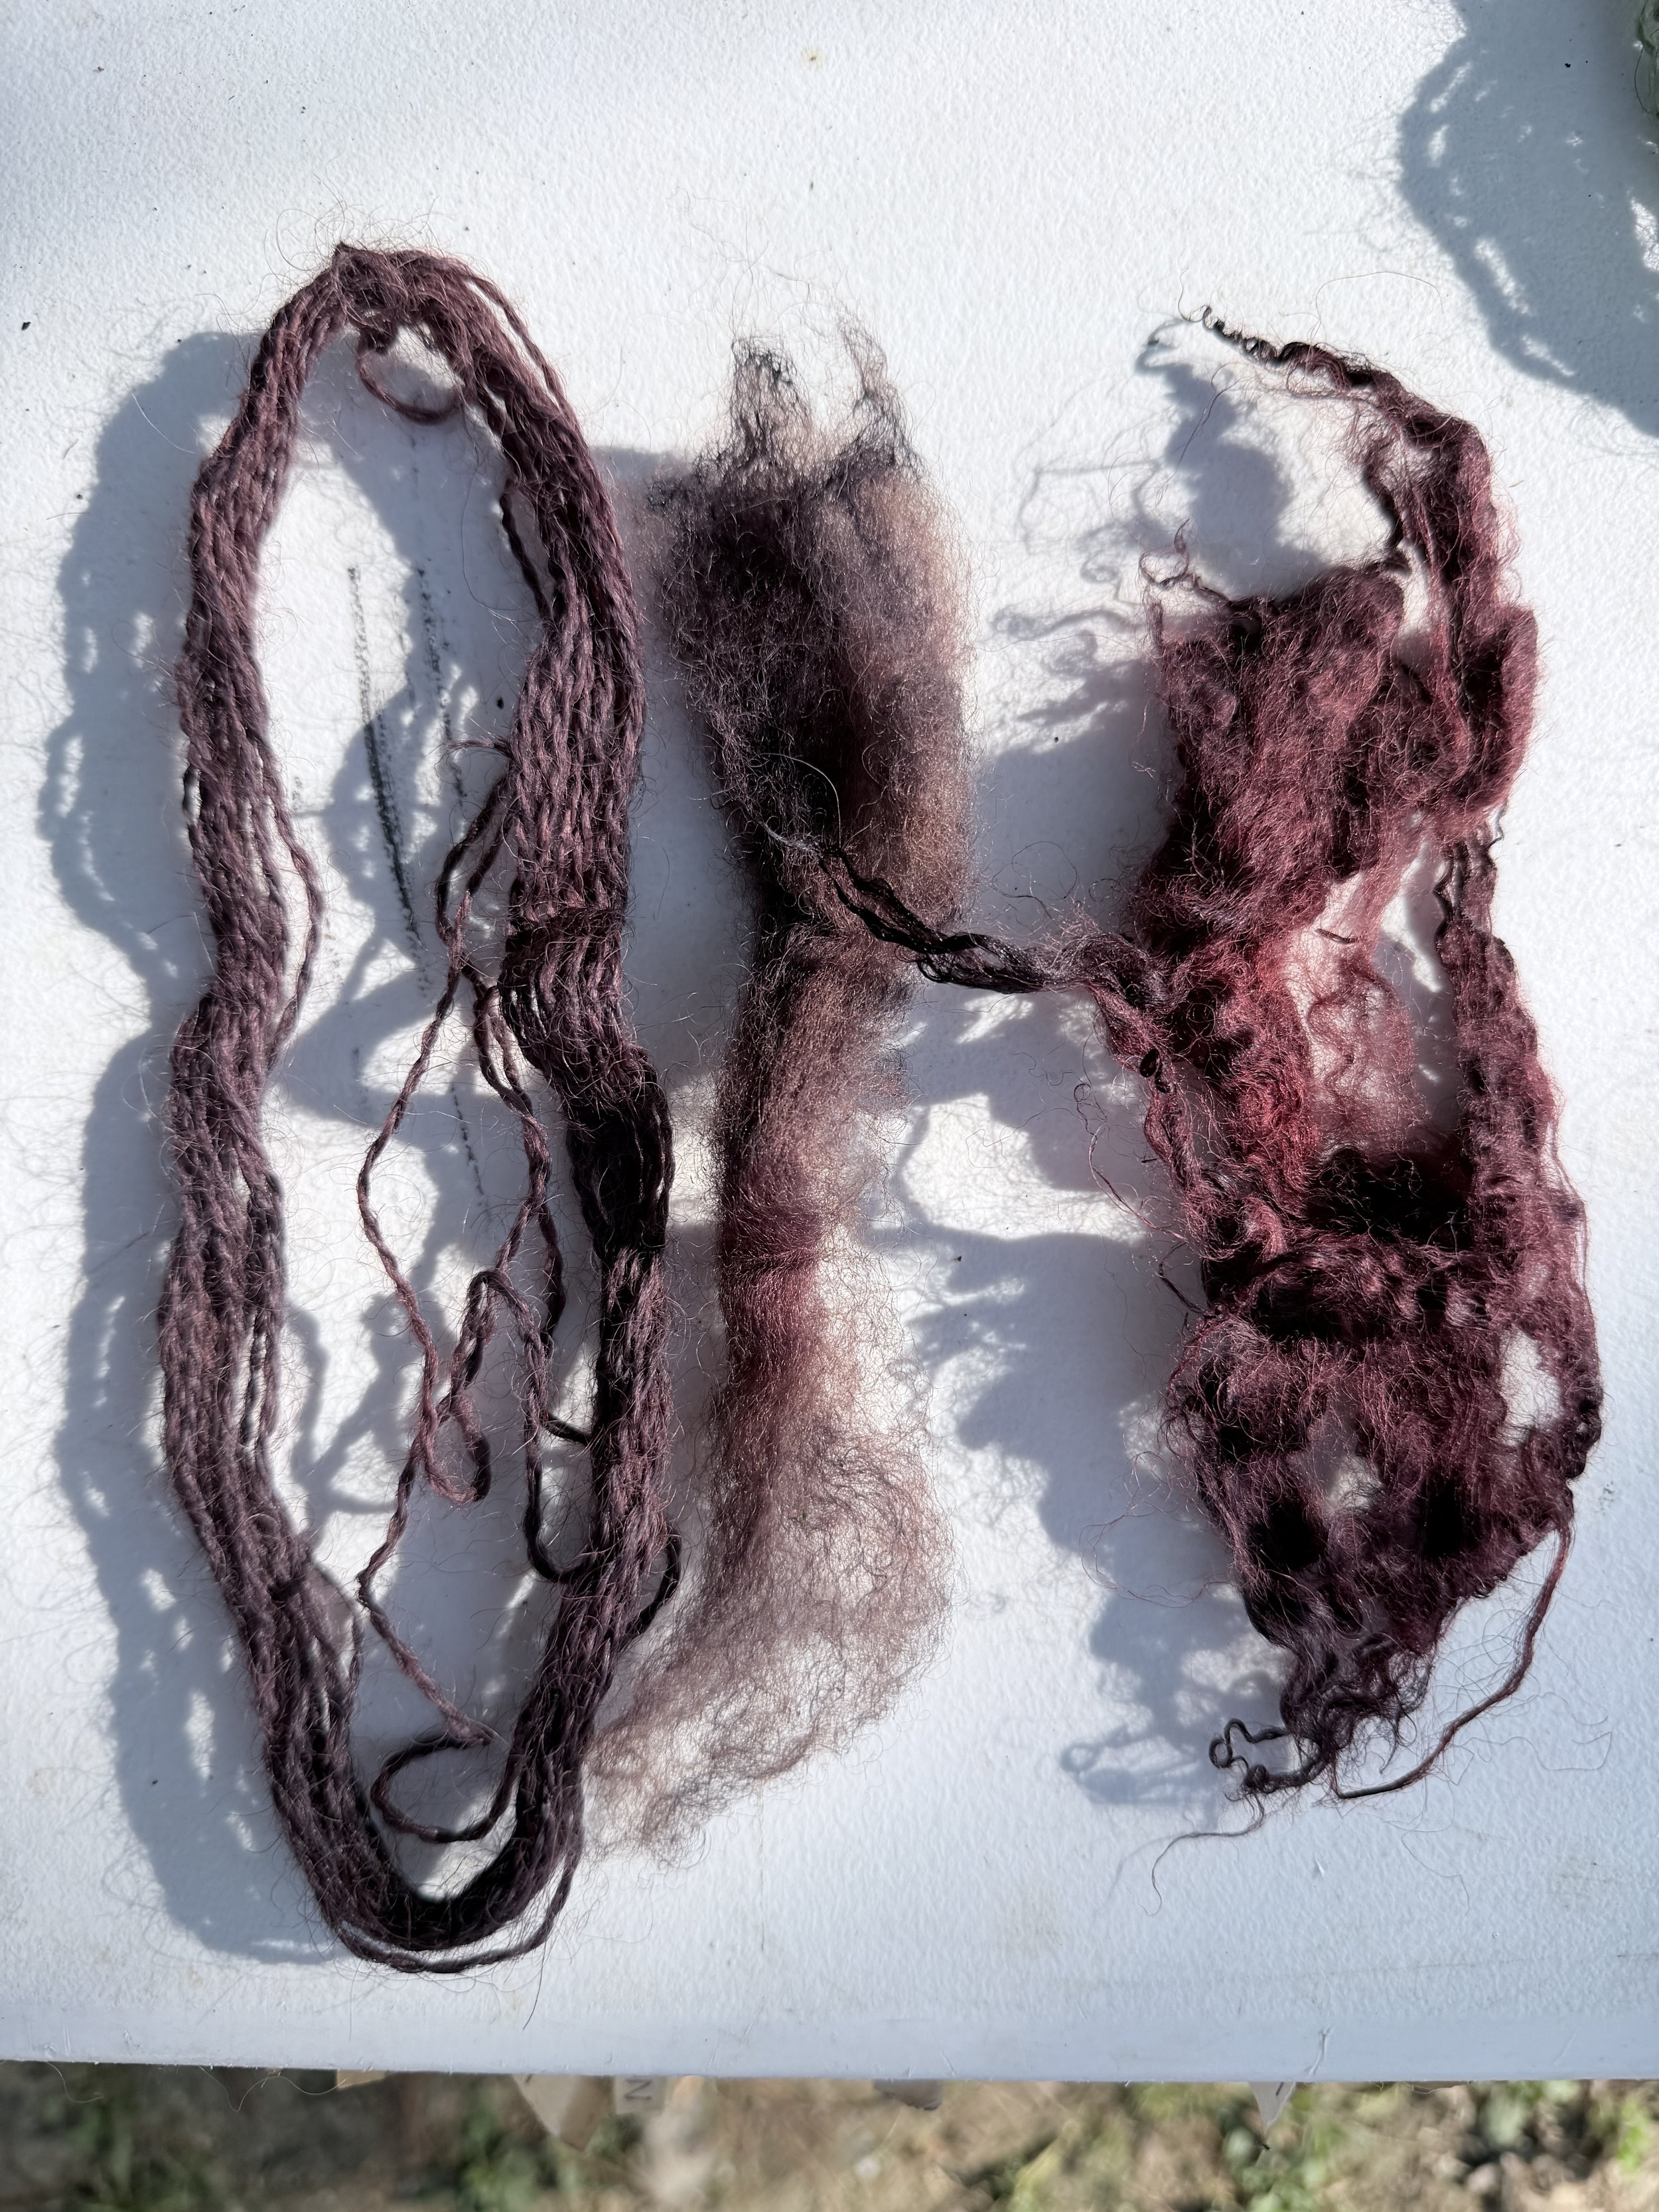
Our final product resulted in over 40 samples of natural dyes ranging from pale yellows to neon greens, earthy browns and greys, to saturated magentas, teals, and purples! We carefully labeled each one and put them on display at WoolWorks 2026. Photos of the WoolWorks display will follow soon!
Resources for the Natural Dye Enthusiast
Websites, Videos, & More
Botanical Colors: Mordant Guide: This is a very helpful guide to mordanting, but we recommend getting your supplies from Maiwa, listed below.
Books & Supplies
Thank you to the fantastic team of Lou and Bella for their work spearheading this project!
This tutorial was written and edited by Lou Bilbe and Tammy White; webpage prepared by SJ Larkspur